DIY Post – No Sew Holiday Dress/Vest/And More


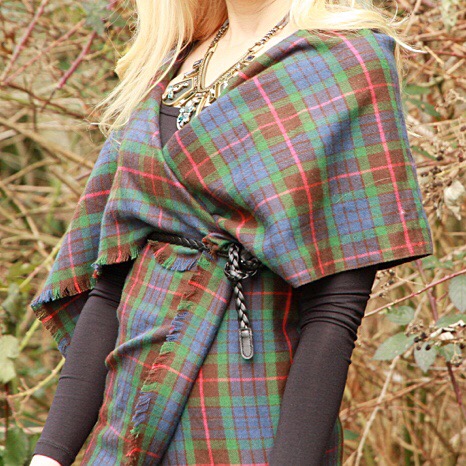
I love the versatility of the blanket scarf (tutorial here) and began playing around with the thought of adding armholes. From that emerged this clothing piece that can be worn many different ways. Above are a few examples. This was only about 5 dollars to make (with a coupon) and so easy. There is no sewing involved, just some measuring, cutting, fraying and styling of course! Again, like the scarf this only took about a movie’s length time to fray.
I am going to try and explain this as simply as I can with some detailed pictures…
Here is what you will need…
– seam ripper
– 100% cotton flannel (I found mine at JoAnn Fabrics). I had them cut mine 44″ in length. Depending on your size you may want to cut it longer – this is the part that will wrap around your body. If do not know if you will need more than 44″ in length, I would suggest wrapping it around yourself and making a estimate or better yet – have it cut to two yards of length a total of 72″. That way you have extra and can cut off whatever is not needed at home.
– a sweater, shirt or vest you already have (this is used only for measuring).
– a pen or chalk to mark material for cutting
Here is how you will make it…
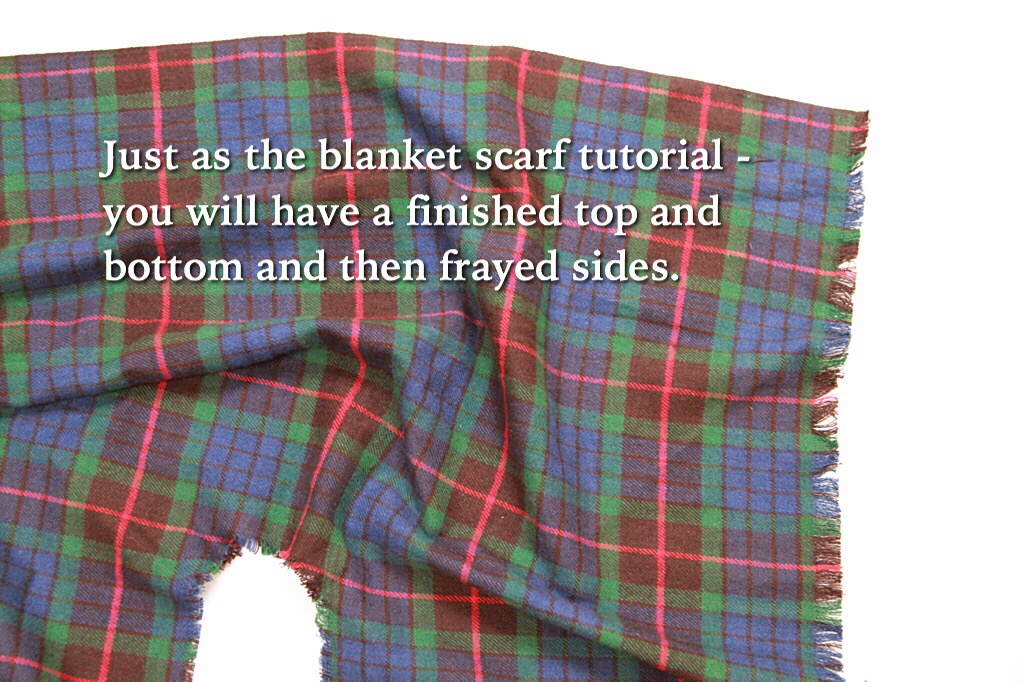
As you are getting ready to start make sure that the finished edges of the fabric will be the top and bottom of your piece. The sides that are already cut will be the sides that wrap around your body and that you will fray.
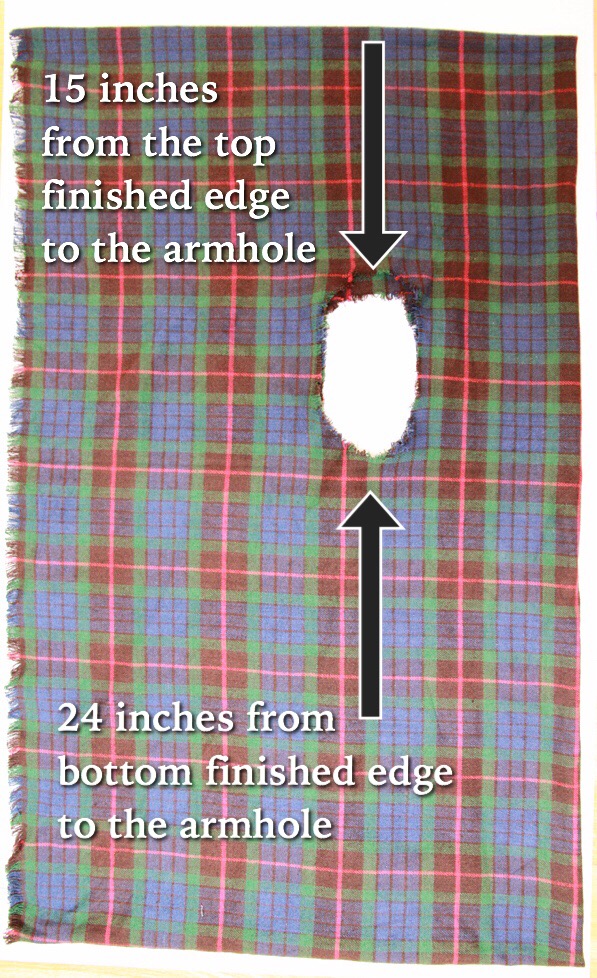 No matter what the side length of your pieces you will want the top of the material to the top of the armhole to measure 15 inches and the bottom of the material to the bottom of the armhole to measure about 24 inches. Depending on the size of your armholes it may be off some from mine. Remember my measurements are just a guide – this project does not have to be exact. Use a pen or some chalk to mark these measurements. Try to be aware and make your marks so that once you cut you can cut them out.
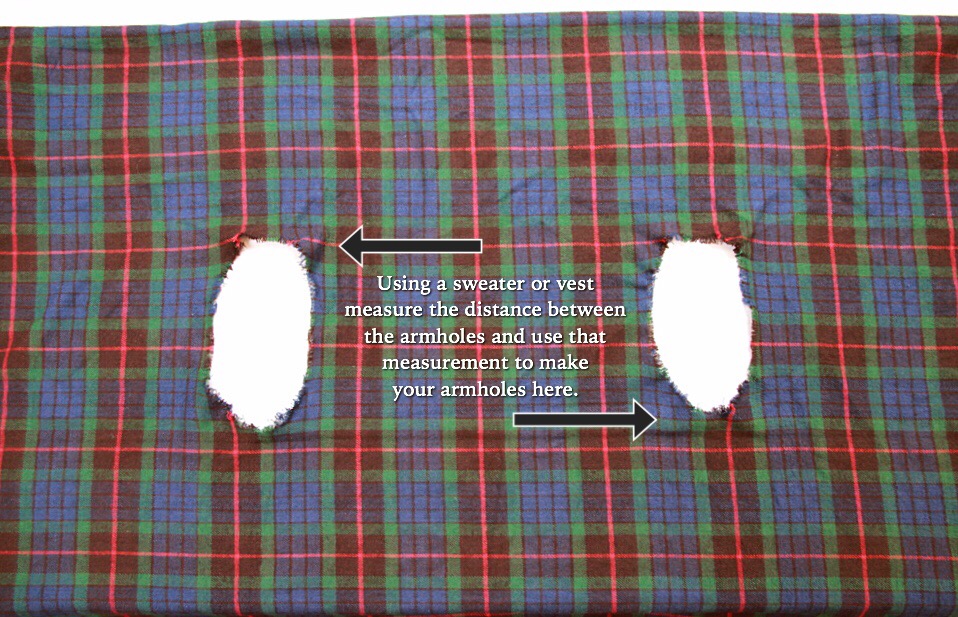
Now using a sweater or vest that you already have measure the distance between the armholes and use this measurement for your piece. Again mark with something like a pen. Try to mark so that you can carefully cut the marking out (making it so you do not have pen marks on your finished material). Also note that it is best to start cutting the hole smaller and try it on. If it is too small keep cutting it little by little. This way you can adjust if you need to. I wasn’t too concerned how perfect the holes were because you will fray them next.
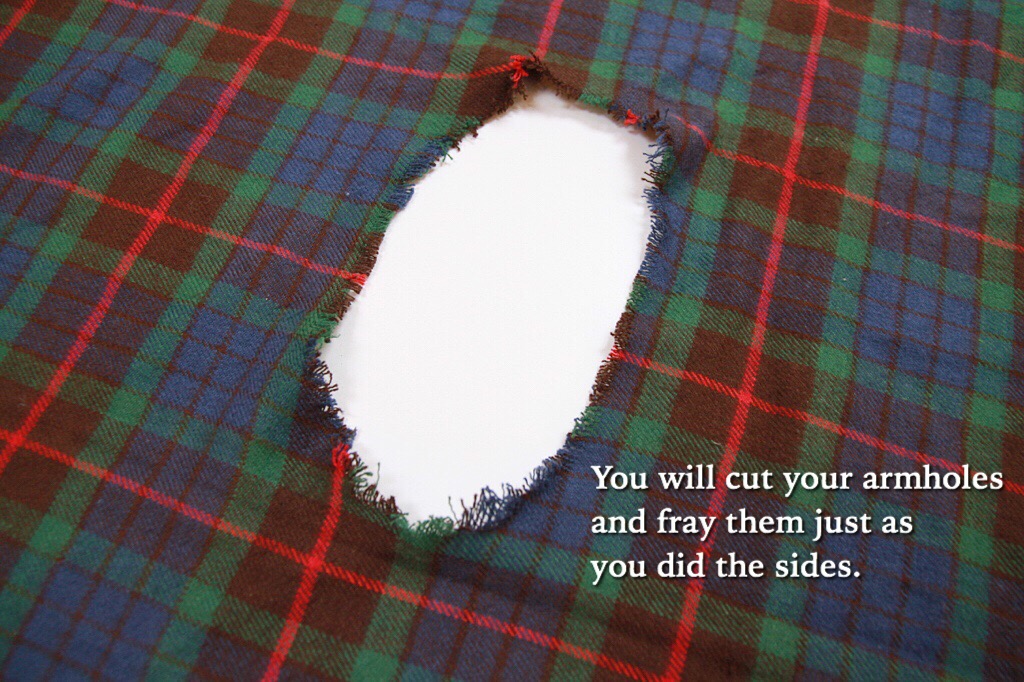
Now fray the sides and the arm holes. That is it! You are all done and can style this fun and versatile piece for the holidays!
Here are some ideas for styling this piece with some fun jewels from Silpada…
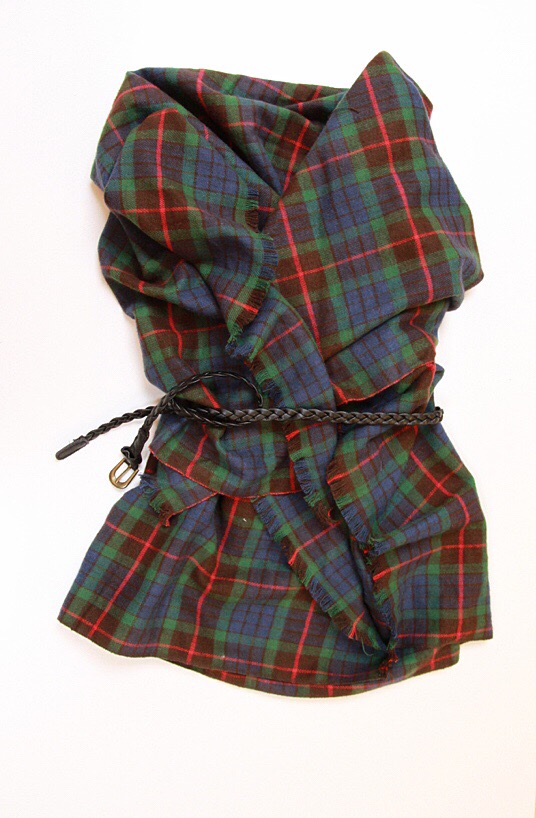

VEST – to wear it as a shorter vest you will want to wear the longer end of fabric on top. Leaving the shorter end on the bottom.


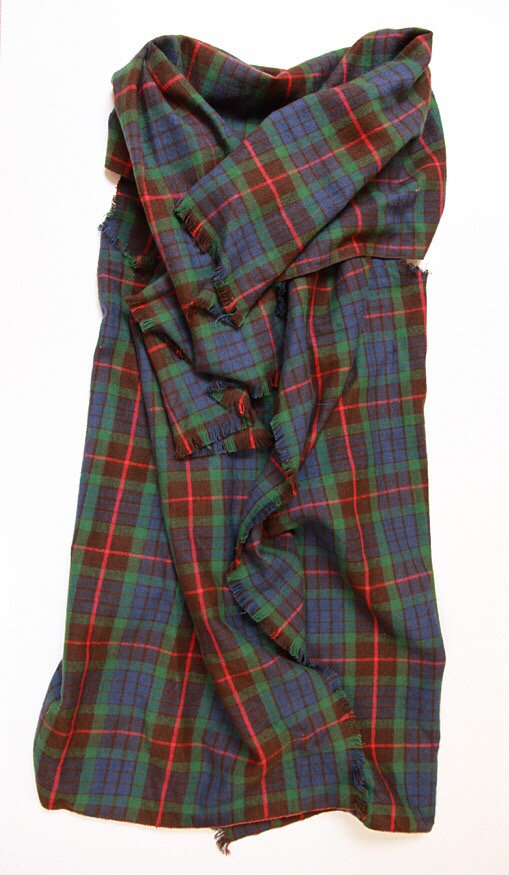
DRESS – to wear it as a dress you will want to flip it and wear the shorter end on the top and the longer end on the bottom. I used a skinny belt for both the vest and dress.
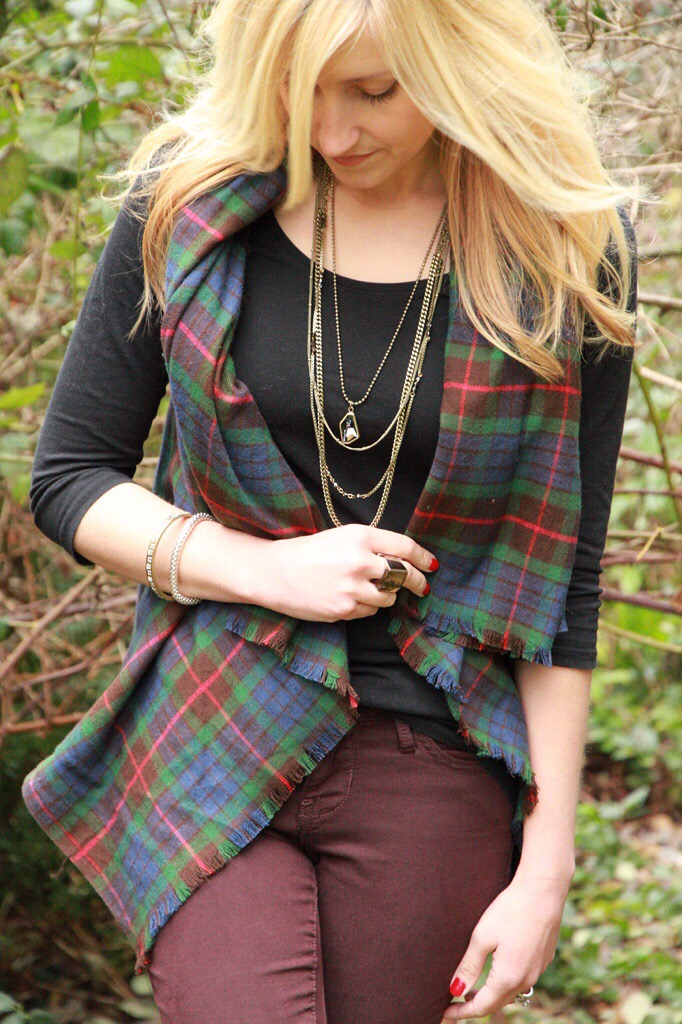
OPEN VEST – to wear it as an open vest you can wear either the long or short end on top or bottom and keep it open.
I hope you try this out for yourself and don’t forget that this would be a wonderful gift too! Thanks for stopping by!


Such a neat idea and tutorial- the result is so lovely! You are so creative! Rachel xo
So easy and cute! This could be done with so many fabrics! (Does that mean I have an excuse to go out and buy more fabric?)
Thank you Chloe! Yes it does – I can’t stop!
Love this scarf! Im a sucker for plaid anything.
Christina – thanks so much! Have a good weekend ~