How to Make a Blanket Stand
Hello friends, I am so glad to have you visiting here. This DIY has become one of my favorite decor pieces in our home and I love the functionality of it too. Today I am sharing how to make this DIY Blanket stand which is variation of the popular blanket ladder.
I have had a blanket ladder on my decor wish list for a very long time. I have not had the best luck finding one or affording one – so as usual, I decided to make one! After thinking it through some more, I thought it would be fun to make a version that was designed more as a rack. Really, it makes me think of those cooking challenge shows where they take a traditional dish and deconstruct it into something new while keeping the same flavors of the dish at heart. That is what this project became! A ladder turned inside out.

Here are the details on how you can make one of your own…
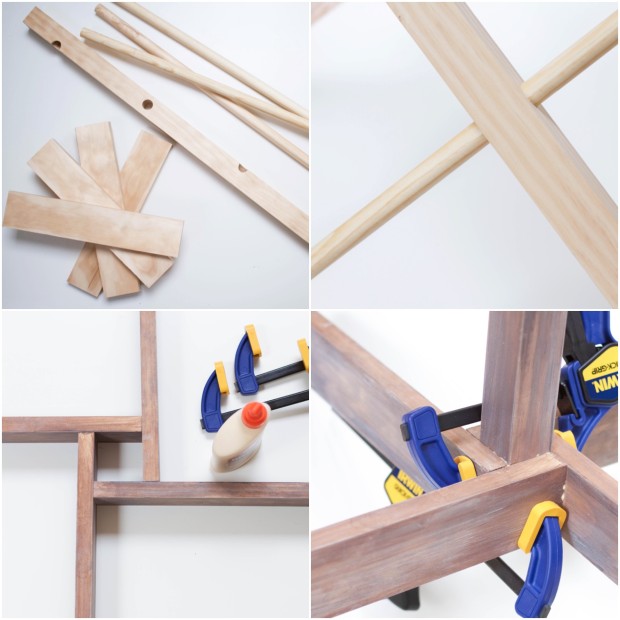
- You will need some basic power tools for this project (as always, use caution when working with tools such as these). A miter saw and a drill press (or a hand drill with a spade bit). You will also need a 4 1/2 foot long 2″x 2″, 4 pieces of 1″x 3″ measuring 12 inches long and 3 (3/4 inches in diameter) dowels measuring 28 inches long. I used pine wood for all of these pieces as I love how you can see the wood grain through the stain.
- Using your drill press (or a steady hand with a hand drill) and appropriate diameter spade bit, drill 3 holes down the center of the 2″x 2″. I made two of the holes on a diagonal (on rotating corners) while the center hole was made directly into the middle of one of the flat sides. I spaced these holes 11 inches apart from one another. Without a drill press you may find it more difficult to bore a straight hole all the way through the 2″ x 2″, so you may want to cut your dowels in half and wood glue them in shallower holes separately.
- Take your dowels and squeeze them through the holes. You may need to gently hammer these in.
- Now get ready to assemble the support base (following the pattern pictured above keeping in mind this is what is should like once you have clamped/glued the pieces to the center 2″ x 2″). For this portion of the project you will need – wood glue and clamps. Apply glue to two of the pieces that will be clamped (opposite of each other) and place them on – clamp them down and keep them firm as they dry. While they dry, add the other two pieces with your wood glue. Clamp these pieces together and let all four dry the appropriate drying time.
- Stain or paint your new blanket stand, I used chalk paint and wax to stain. As you can see in the pictures, I stained before gluing and if I could do it again, I would wait. I realized that I needed to sand the newly waxed pieces so that the glue would adhere correctly.
- That is it! It did take learning how to use some new power tools and playing around with what I envisioned for the size/design, but I had a lot of fun in the process. And of course, I recruited the help of my husband here and there; he is so sweet to indulge my ideas!

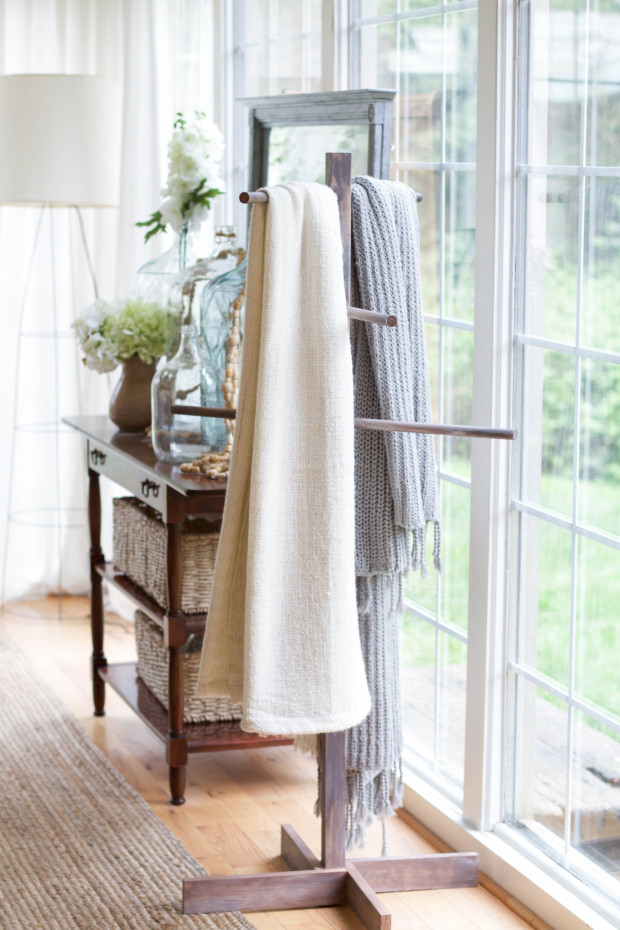
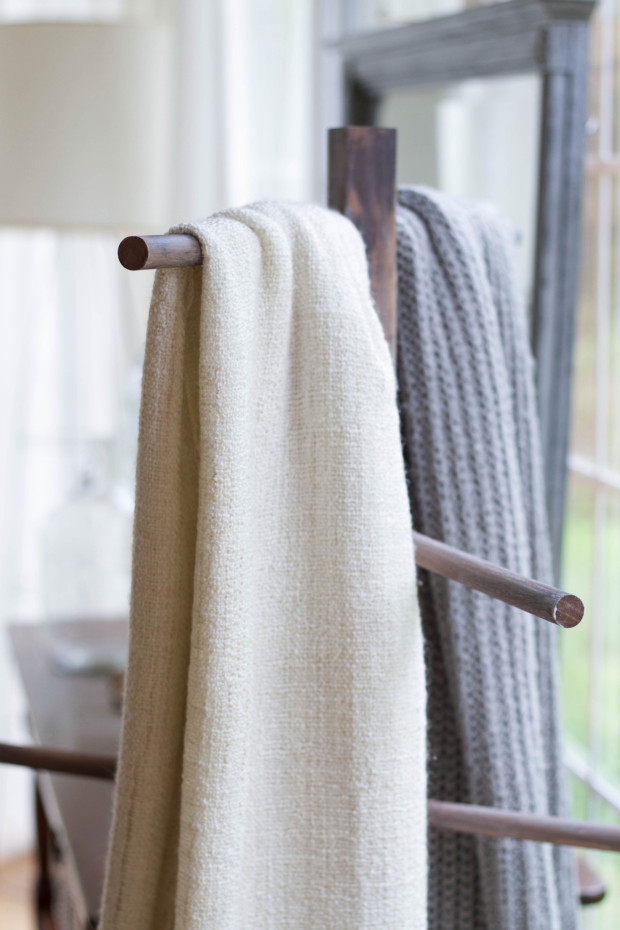
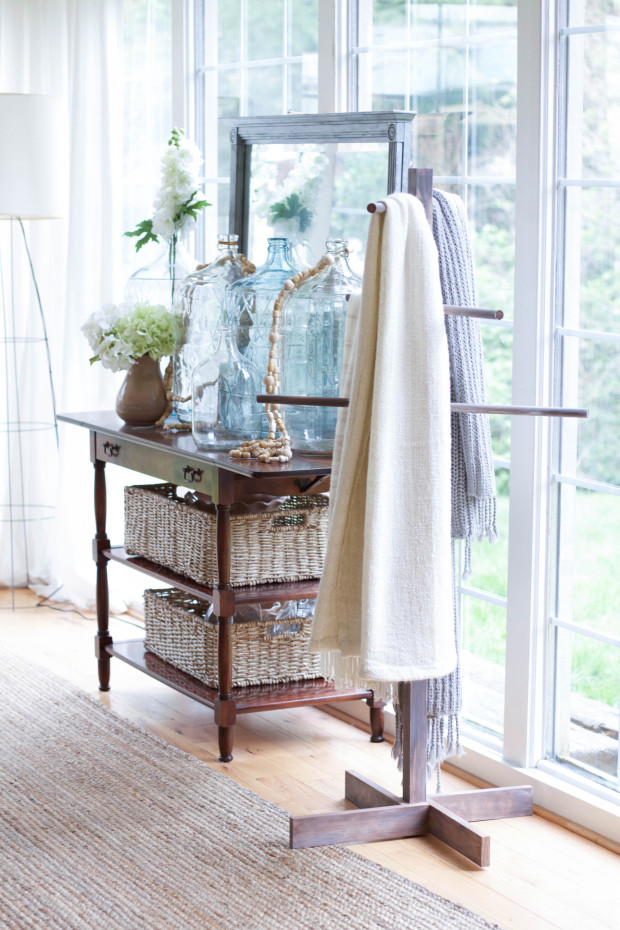
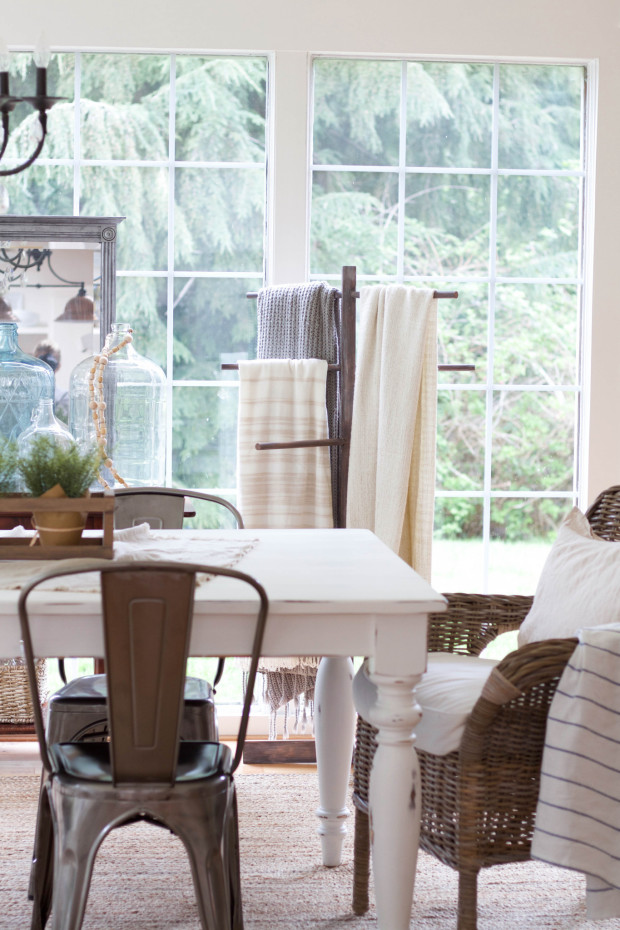
Before making this stand, we had a large basket holding all our throws. Now we can actually see what blanket we want to use and of course, I enjoy the texture it adds to the space. It is like a piece of decor all on its own!
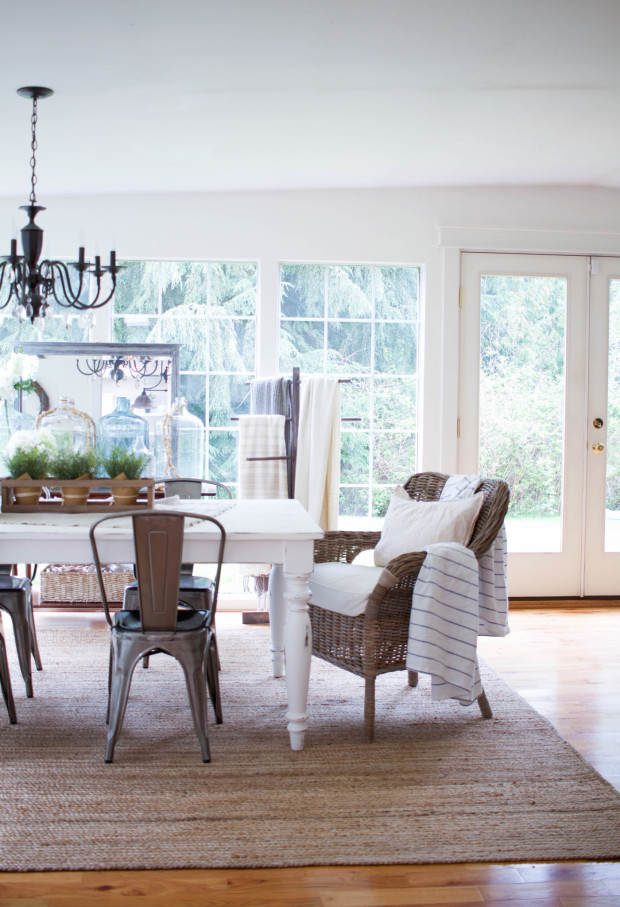
Our dining room and family room are adjoined so having blankets in this spot makes perfect sense for our space. Plus, who doesn’t love to snuggle up with a blanket during long dinner conversations!

You can change it up through the seasons by displaying warmer, thicker blankets in fall/winter and lightweight throws for spring and summer!
I forgot to mention one of the biggest bonuses…It is affordable! I was able to make this for less than 30 dollars and therefore it is budget decor at its best.

We have had it around for several months now and it has been just as I hoped. The kids grab a blanket when needed, it is easy to throw one up there as we go and I have changed it up as my decor changes too.
Thanks so much for joining me and can’t wait to see you next time, have a great rest of your week.
This “How To Make a Blanket Stand” post was also shared on Craftberry Bush April 19, 2016