Naked Mini Cakes DIY
I will show you how to make these impressive mini naked cakes!
Hello friends! Hope your week has been good so far… With a long weekend, it is hard to believe that the next weekend is already right around the corner. I’m not complaining though ;)! So I recently made my first naked cake a couple months ago which had me itching to try mini cake versions. I have had it in the works for a while and finally got to it this week. So without further ado, here is the smaller version of the ever popular Naked Cake!
Here is what I used to bake these sweet little treats up…

- Baked cupcakes (these were boxed gluten/dairy free for our family 😉
- Icing in a tipped or cut ziplock bag
- Serrated knife for cutting level cake tiers
- Butter spreading knife or a steel scraper/chopper
- Embellishments such as edible flowers, sprinkles, etc…
Here is how you will make the small cakes…
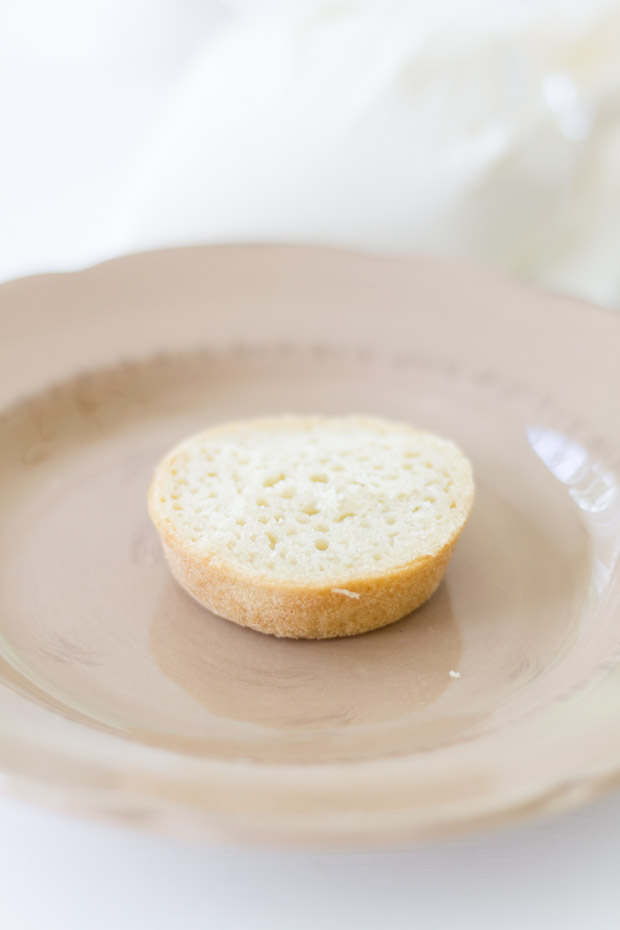
- Cut the top of your cupcake off to create a level tier. You will want to do this with three cupcakes making three tiers. They will not be exactly the same size or diameter and that is really ok. The icing helps even things out!
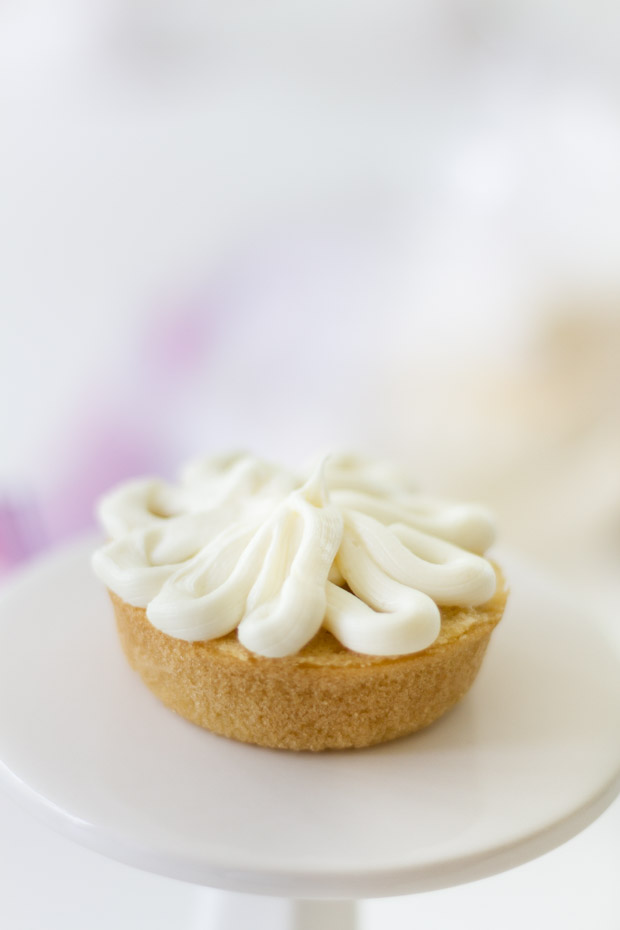
- Begin layering on frosting – to change things up, I showed this in the shape of a flower. Which may just get smoothed out or you can choose to leave it.
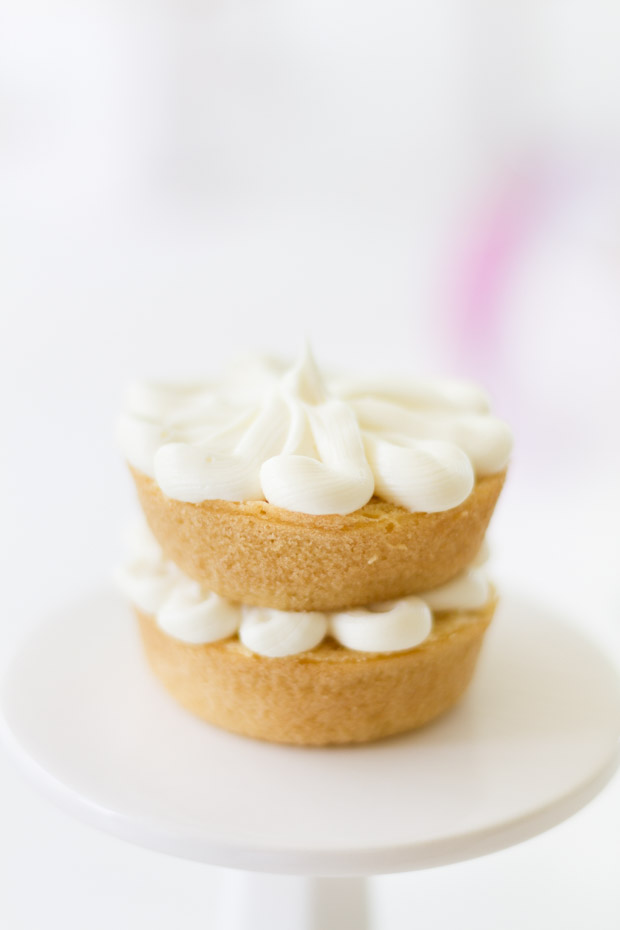
- Again do this to all three layers of the mini cake.
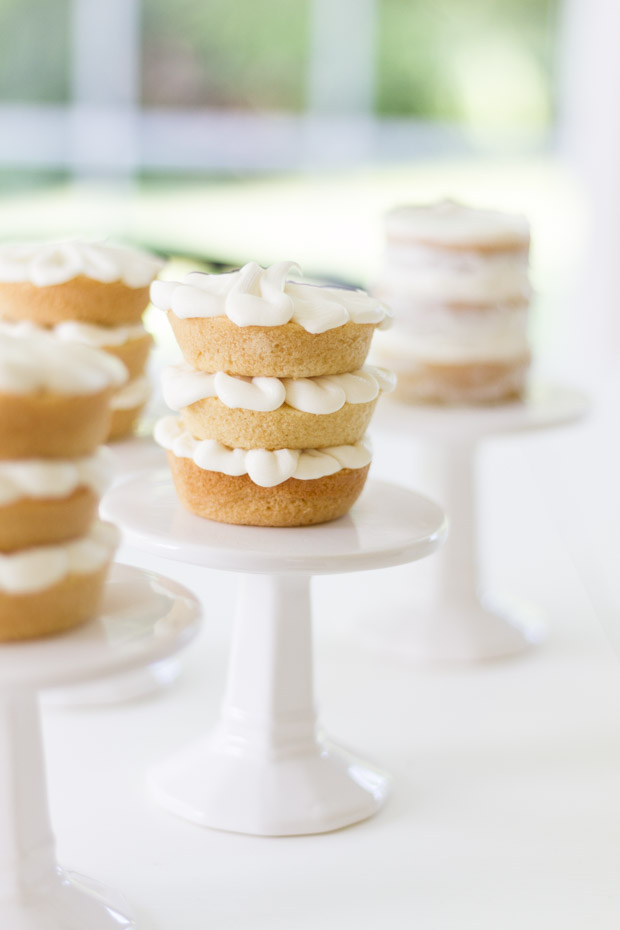
- Like I mentioned you could leave them like this – which would be less of a traditional naked cake, but they were still pretty.

- I chose to continue on and smooth out and scrape off the frosting. That is the best way I can describe how you ice these types of cakes. It is almost like you are leaving the littlest amount of icing you can. I also found for the smaller cakes a butter spreading knife was easier . With a bigger cake the chopper/scraper was ideal.

What I like most about these cakes (in my opinion) is that they are not meant to be perfect. I love their sweet but organic look and it makes this cake so much easier to do than it seems!

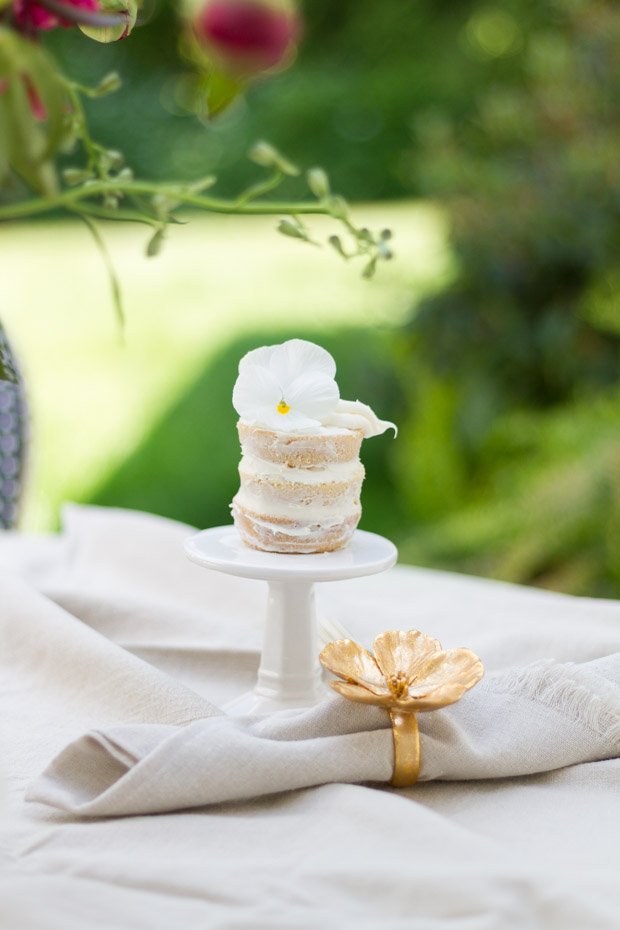
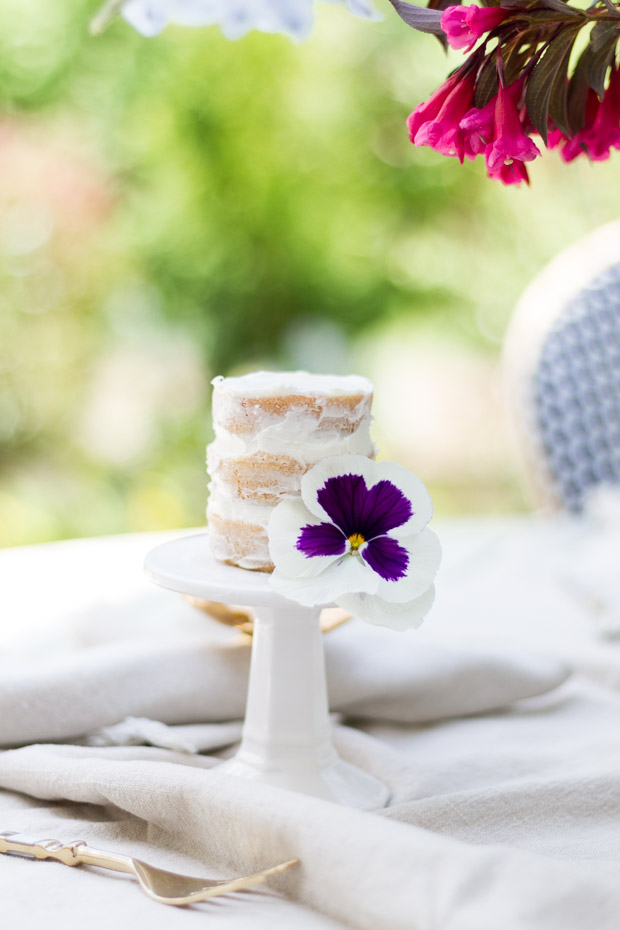
You can top these pretty cakes with so many different things. I chose flowers but anything goes (I would recommend food safe items of course ;)!
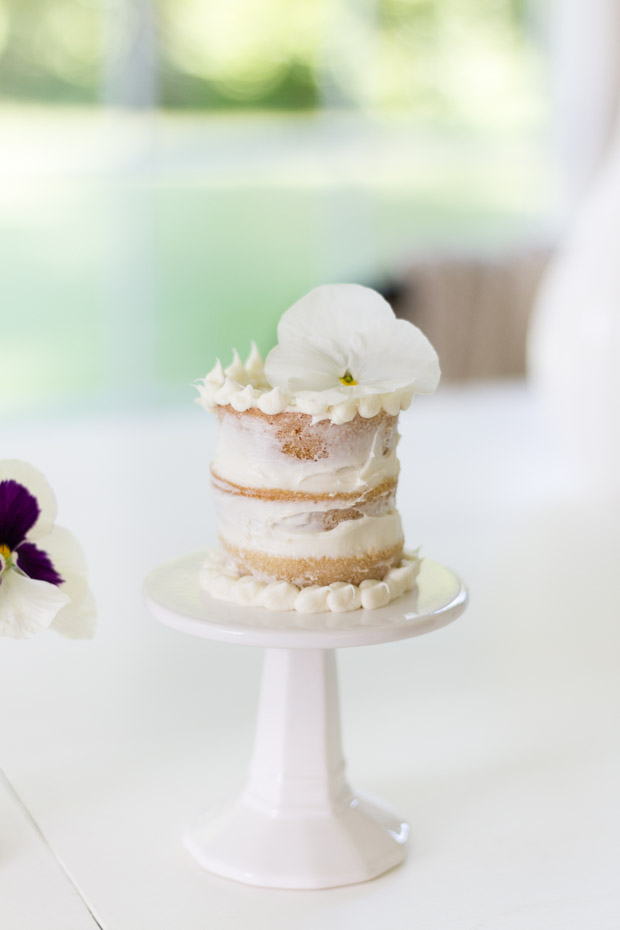
Beaded icing or just plain with nothing is beautiful too!

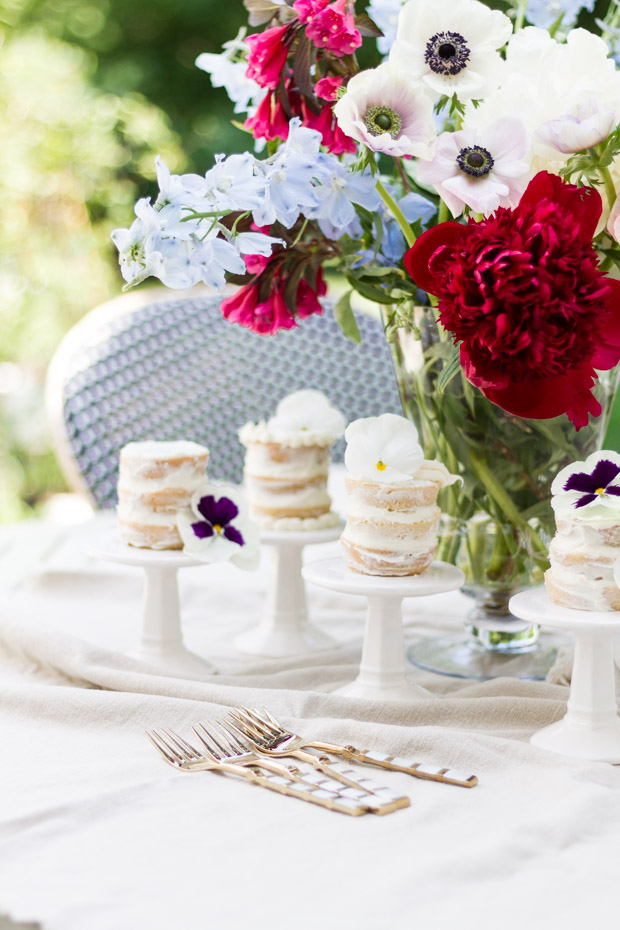
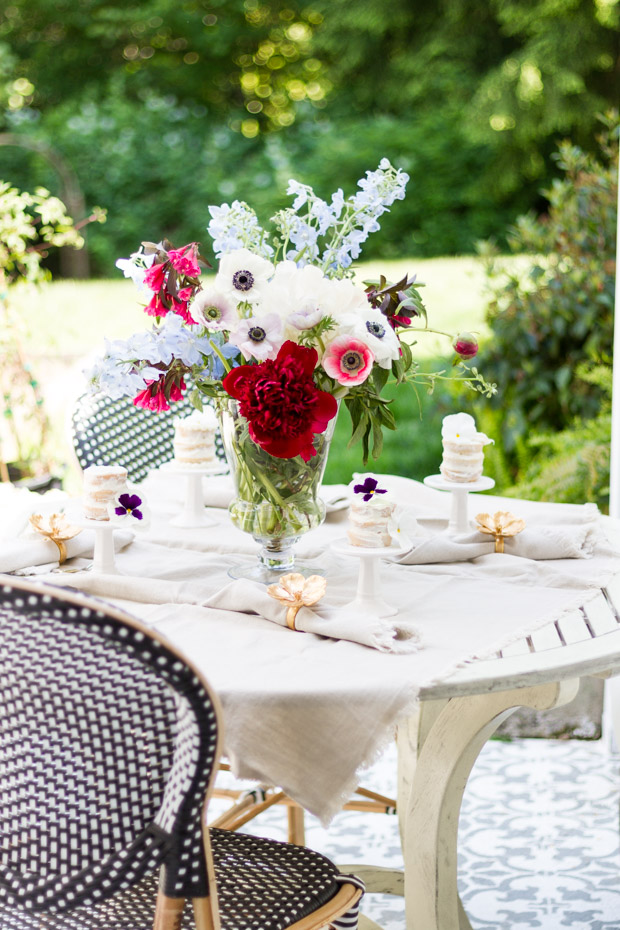
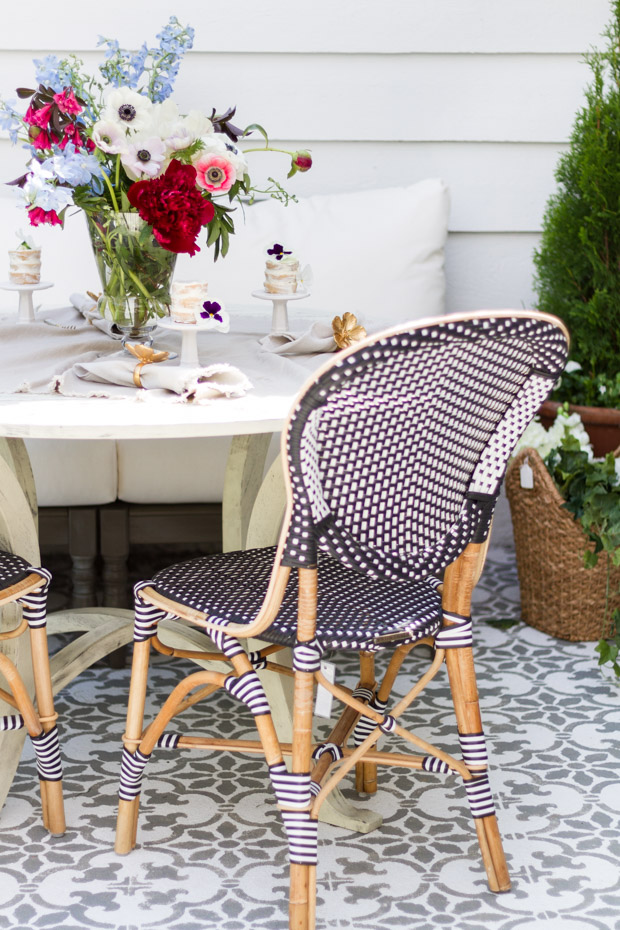
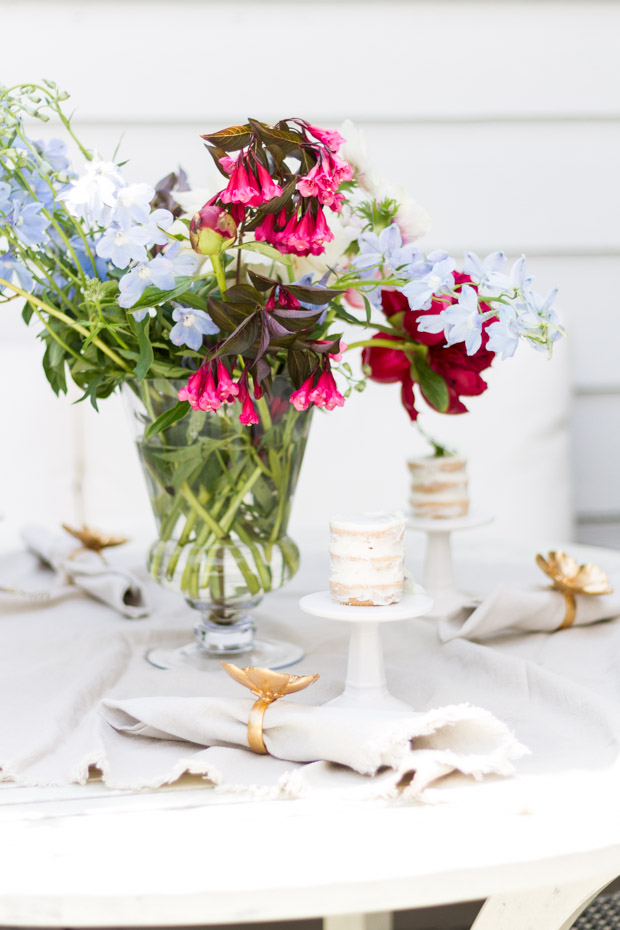
Anyhow here they are simply set at our patio table and ready to enjoy.
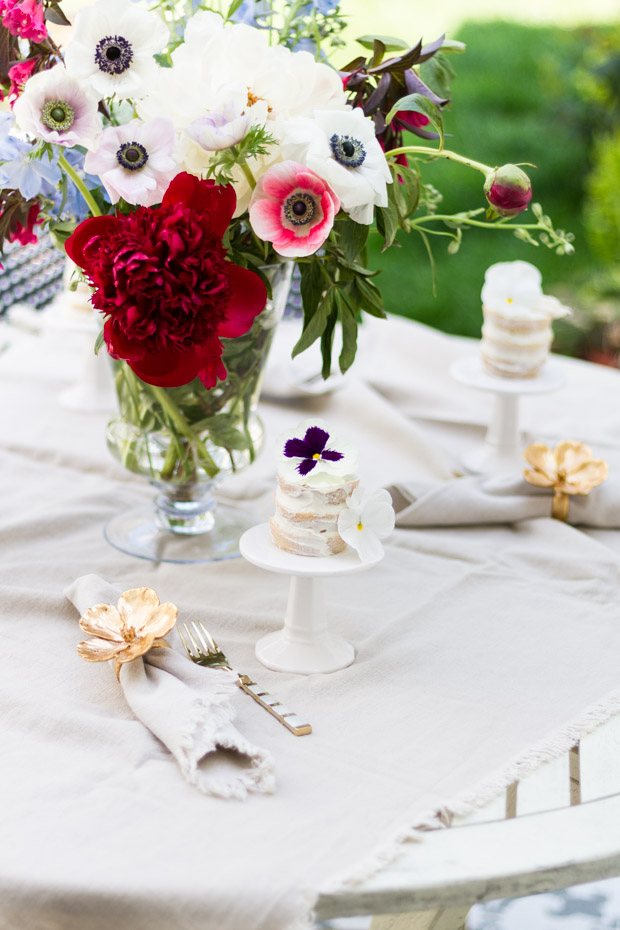
It didn’t take a ton of work for a pretty dessert either.

Hope you enjoy as much as we did…
These cakes were gone that evening after dinner!
Thanks for stopping by you all and see you later for The Inspiration Gallery!
These are so sweet and I like the addition of the edible flower:)
Leslie thank you! I am glad you stopped by!
These are beautiful little bites. I want to try these for myself. Love the addition of the pansy.
Sarah I really appreciate that and thanks so much for stopping by!
These look simple enough, even for me! I am a total non-baker. Thanks for sharing!
Breanna thank you and I am so glad you think so!
Where can I gindgthe mini cake stands?
Hi Anita, I found these at the dollar spot in Target, but I have seen them out and about at places like HomeGoods, Marshalls etc.. too.
What a perfect size dessert and so elegant looking! Thank you for sharing the directions and your presentation!
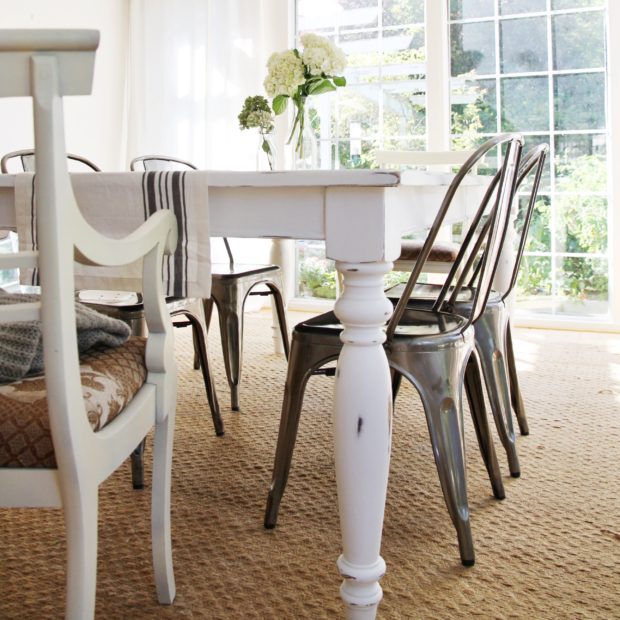
And I LOVE your French bistro chairs! Do they have to be stored inside during rain?
Karlene thank you very much! Our patio is covered and this is the first year that we have had them, but I would think they could be out for mild weather as they are outdoor chairs. Maybe snow and harsher weather would call for covering up – but we have really enjoyed them so far!
Those look fun! Can I ask for sourcing of your napkin rings and beautiful forks?
Hi Vicky! Thank you! The rings are from MacKenzie-Childs and the forks are from Grandin Road – I appreciate you stopping by!