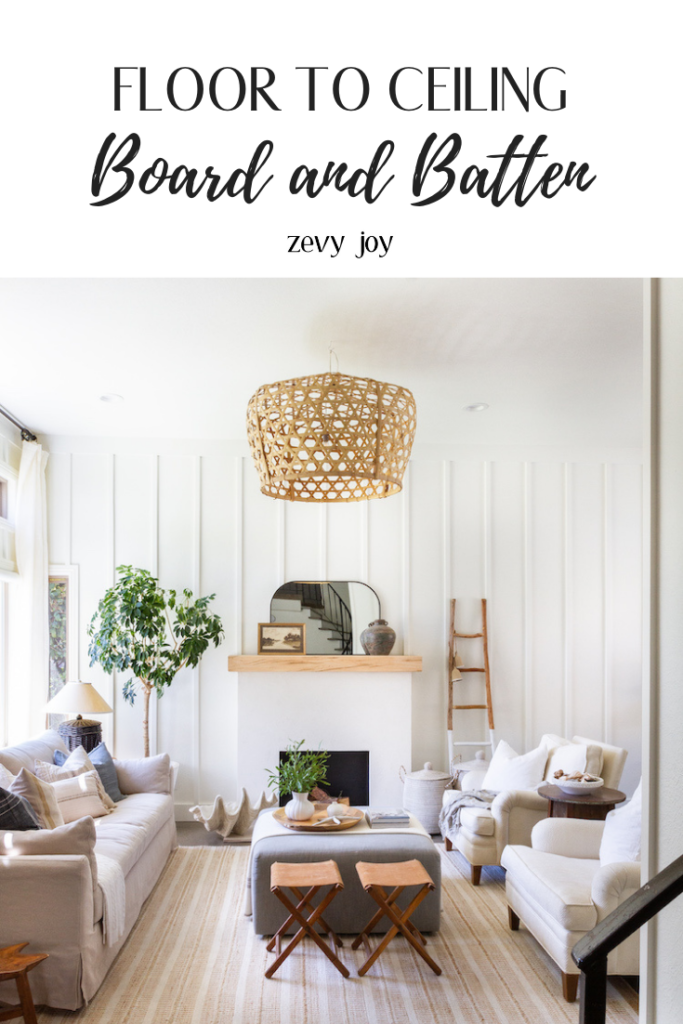
An Update to our Living Room: Floor to Ceiling Board and Batten
*This post is sponsored by Novo Building Products
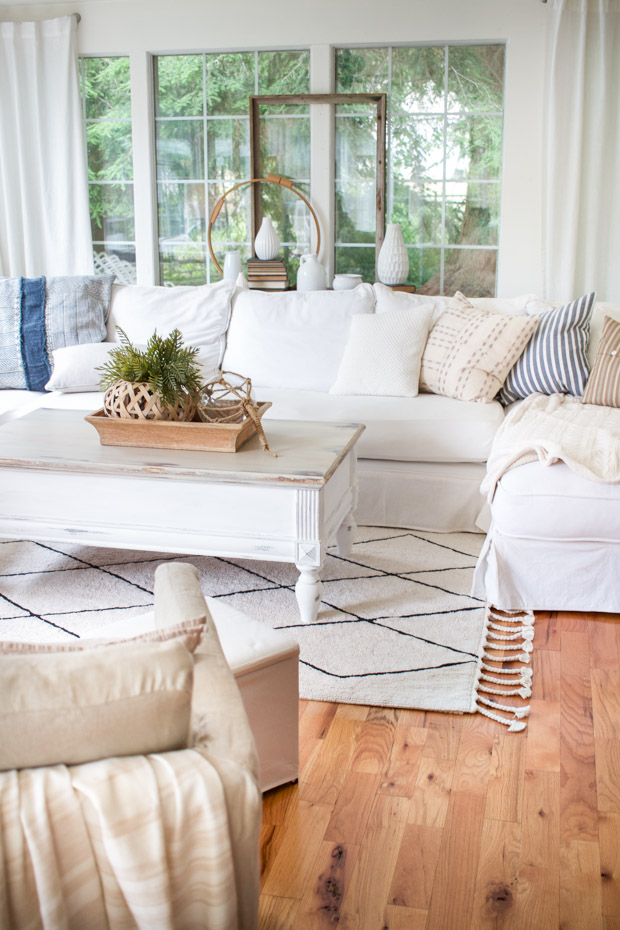
A Look At Our Updated Living Room!
How We Used Floor To Ceiling Board And Batten In Our Living Room!
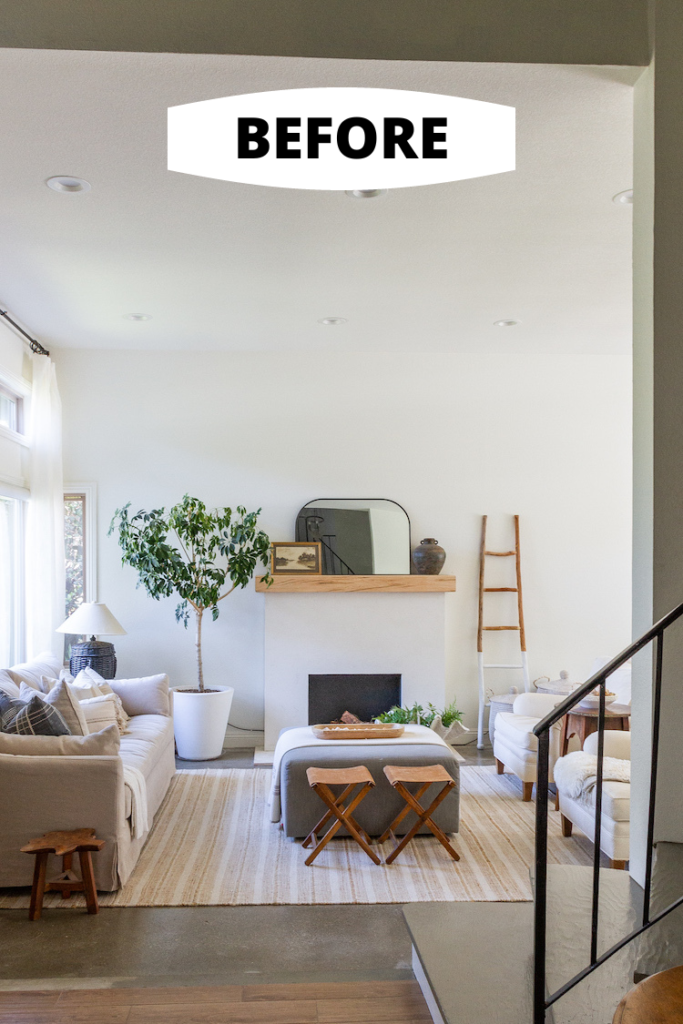
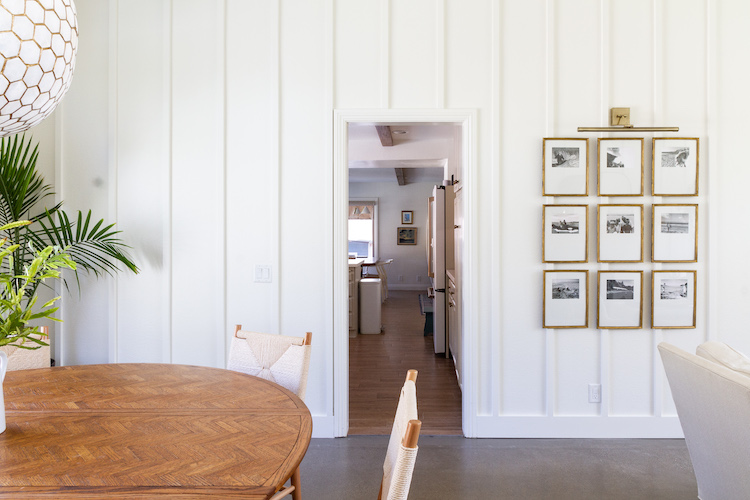
Hello friends… I am so thrilled to share the most recent update we have made to our living room and it is all thanks to our sponsor, Novo Building Products! Ever since we moved in I have had design dreams of installing floor to ceiling board and batten here.

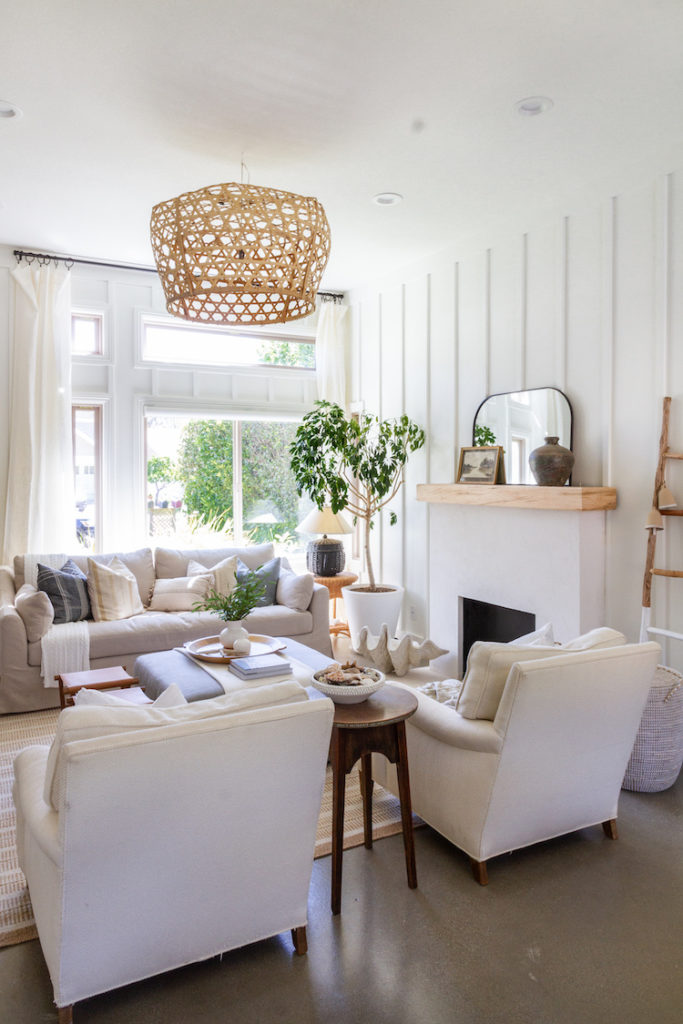
As you can see, this room is long and TALL! The ceilings are high and the room has always felt empty/ a bit unfinished.
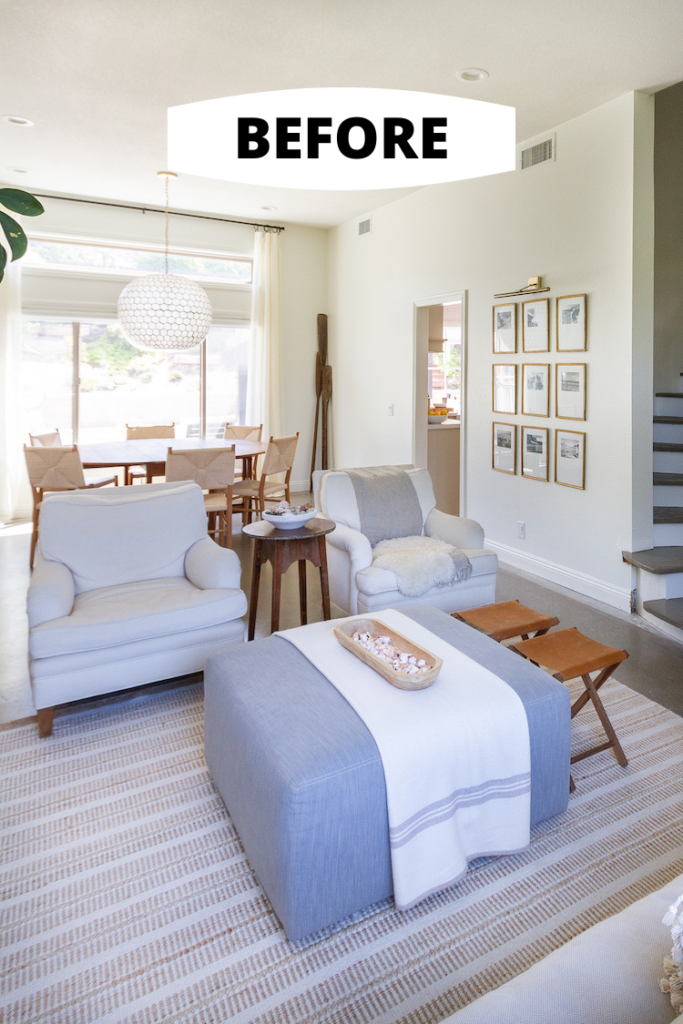
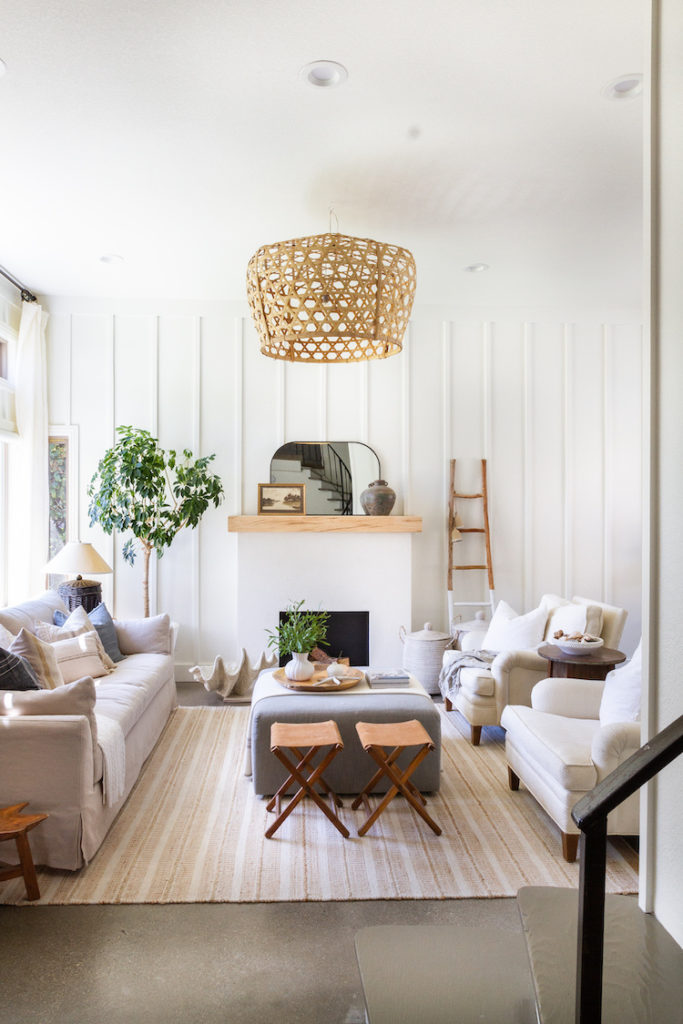
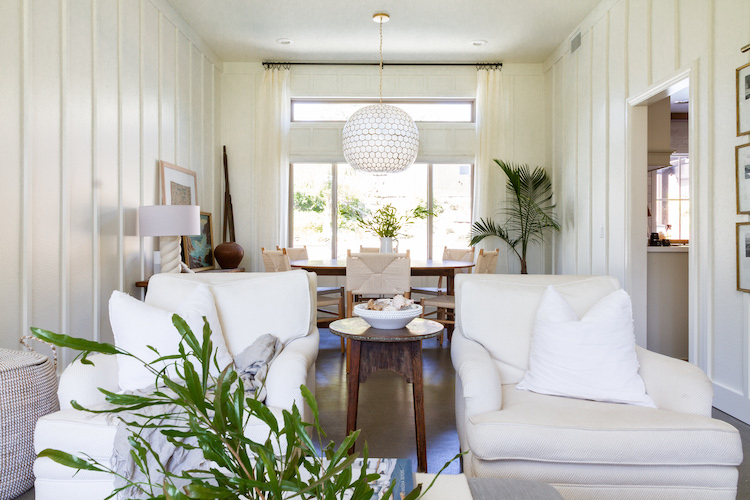
In addition, I was certain that the design of board and batten would bring that coastal look that I have been working hard to achieve as well. Here is a look at the afters and I couldn’t be happier with how it turned out!

We used Novo Building Products amazing boards. We chose 1 in. x 6 in. x 16 ft. square edge primed pine boards for the baseboards/molding and then their 1 in.x 2 in. x 8 ft.square edge primed pine boards for the battens. These materials are high quality and easy to work with!
Because of the large nature of this room, we went with these 1 in.x 2 in. x 8 ft.square edge primed pine boards. I really wanted there to be definition on the walls and I did not want the battens to disappear visually.
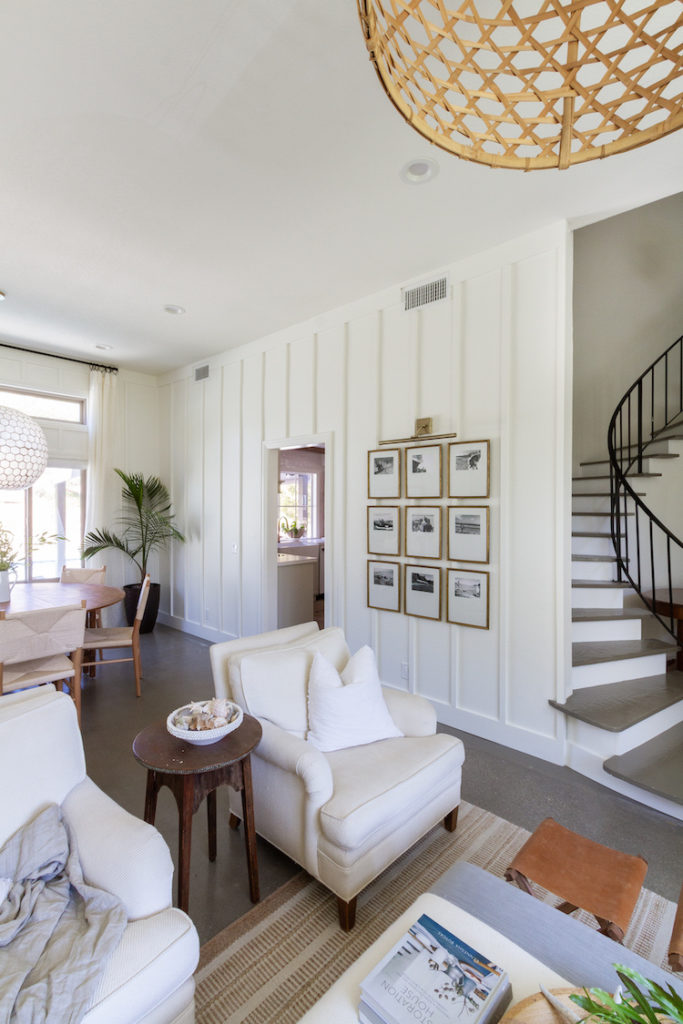
This size batten did the trick and came out just as I hoped!
Here is a look at the installation process…
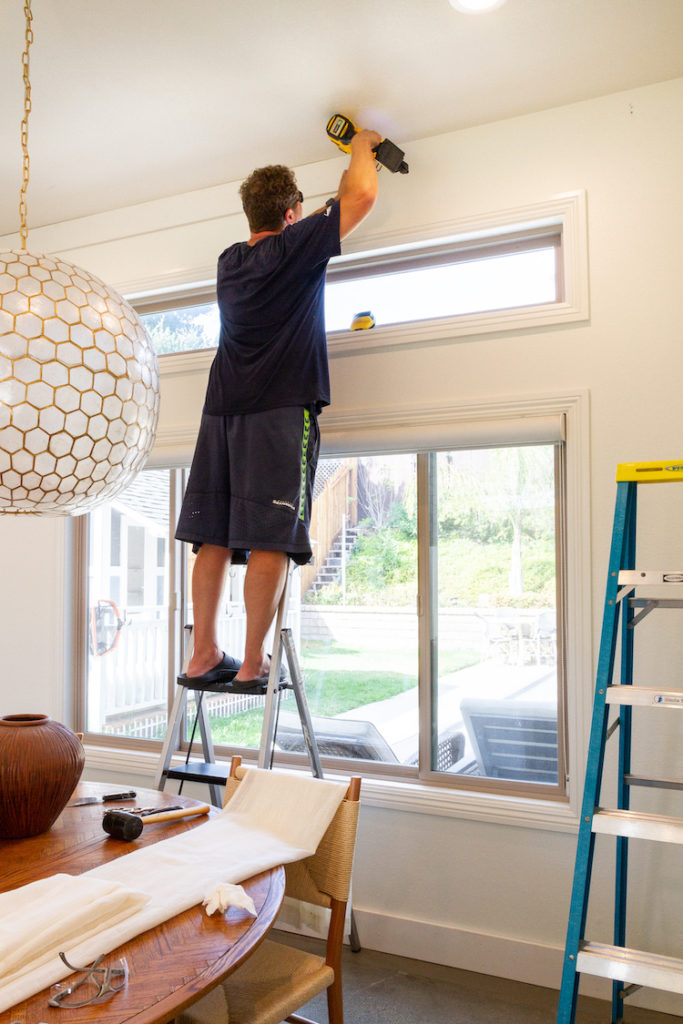
We started out by installing the 1 in. x 6 in. x 16 ft. square edge primed pine boards on both the top near the ceiling and at the bottom of the wall near the floor. We used 45 degree angle cuts in the corners and adjoining seams.
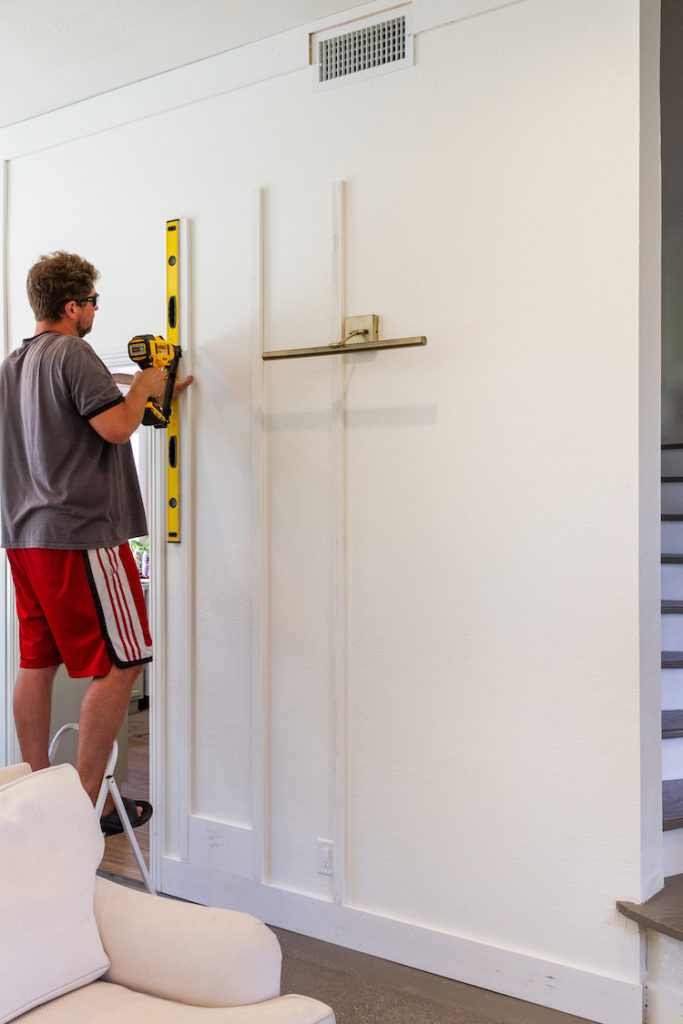
Next we laid out the boards to decide how far apart each batten would sit. We used spacers to help us with the consistency of spaces in-between. We also glued each 1 in.x 2 in. x 8 ft.square edge primed pine board with construction adhesive (to help keep them secure in case there were no studs) and then nailed them to the wall with finishing nails. As I mentioned before, the ceilings are high so we had to add extra batten pieces to reach the new molding height (we later hid the seams with wood filler and paint).
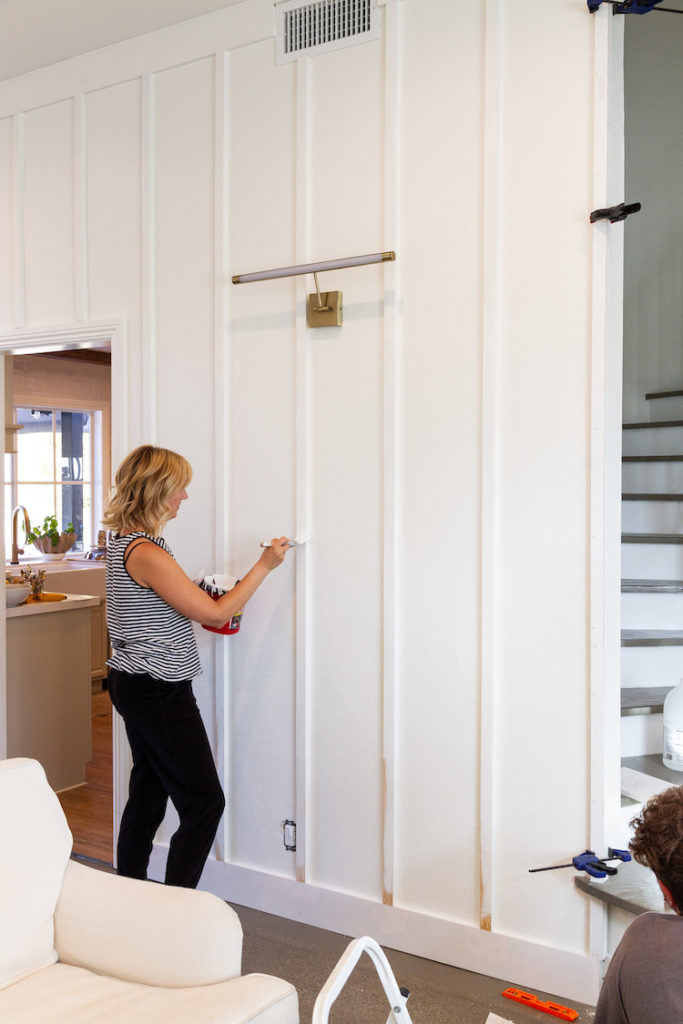
Lastly, we followed it all up by caulking each and every seam. Paint was the final step and makes everything come together so beautifully!

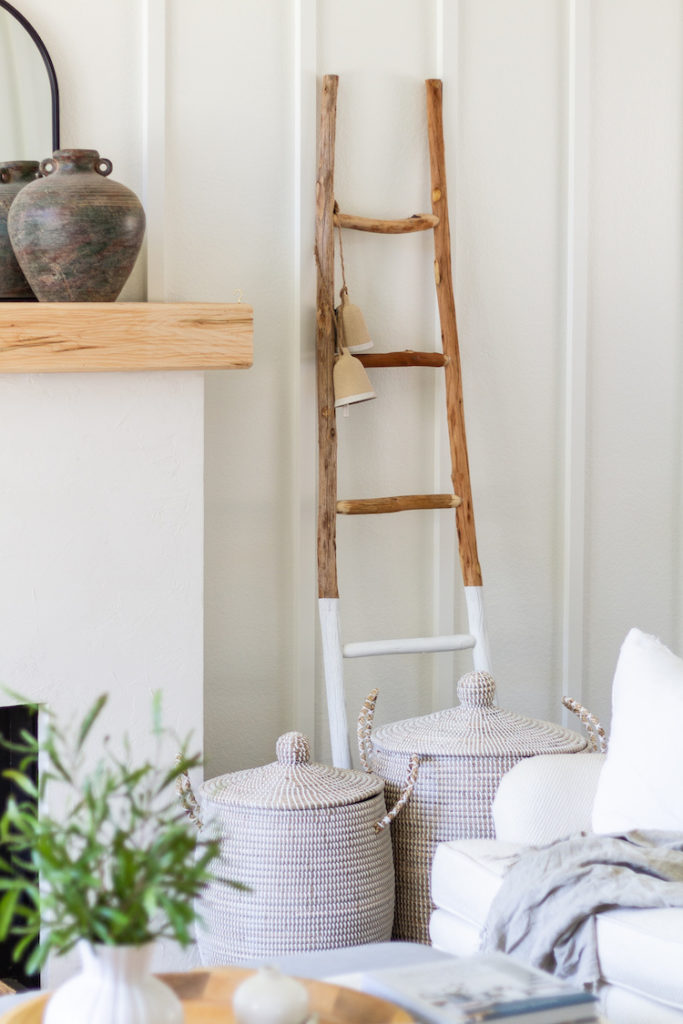
I can’t believe the transformation of this room!
I am a firm believer that you don’t have to move walls or tear things down… But instead, you can love the bones of your home and add character with finish work like this!
I smile every time I walk in here and all the love/work we put into this space is worth it every single time!

I highly recommend Novo Building Products and you can find the same materials we used over at Lowes.

And in the next couple months we will be adding one final layer to the design of this room…Stay tuned, I can’t wait to share once we get it going!
Thanks so much for visiting with me today. And a big thank you to our sponsor, Novo Building Products!


It looks gorgeous and really pulls the whole look together. Congrats!
Your room looks amazing! I’d love to do this in my family room but I’m not sure if it’d work with my 9’ ceilings. Please let me know how high your ceilings are. Thanks
Love it. Are your walls textured?
I love the depth, dimension, and interest the battens add to your walls. It’s amazing what a simple change like this can do for a room–thank you for the inspiration! That means I need to get busy and do this in my living room, too!
Beautiful! could you source your basket pendant light?
Love seeing them before and after! Really a beautiful dramatic change I love it
Lovely and serene! Can you tell me how much space is between the boards?
Can you tell
Me the space between your boards?
Love the room, could you tell me the spacing and paint color.