How to Take a Basic Kitchen and Give it Designer Details
After years of working on my kitchen it is finally coming together!
Friends, I am so excited to share our kitchen with you today… It has been a few months of work little by little and today I get to show you what we have been up to! When I first started thinking about this next phase of updating our kitchen, I kept thinking about how to take our basic hardworking kitchen and give it some fun designer details. In doing so, I wanted to share those tips with you as well, hoping it may encourage some of you with similar kitchens!
This post was made possible with products from Cabinet Door Mart, Q Design, Rugs USA and Wayfair.
Please note: We have lived in our kitchen for ten years and it has seen phases of projects, two in fact. We are just now (ten years later) getting to phase three and will have a phase four coming soon (eek!). While I would have loved for it to be said in done in one phase, multiple phases are good too. We have loved our little kitchen through each phase, been happy with what we had and been grateful for each and every upgrade (no matter how long it took to enjoy it)!
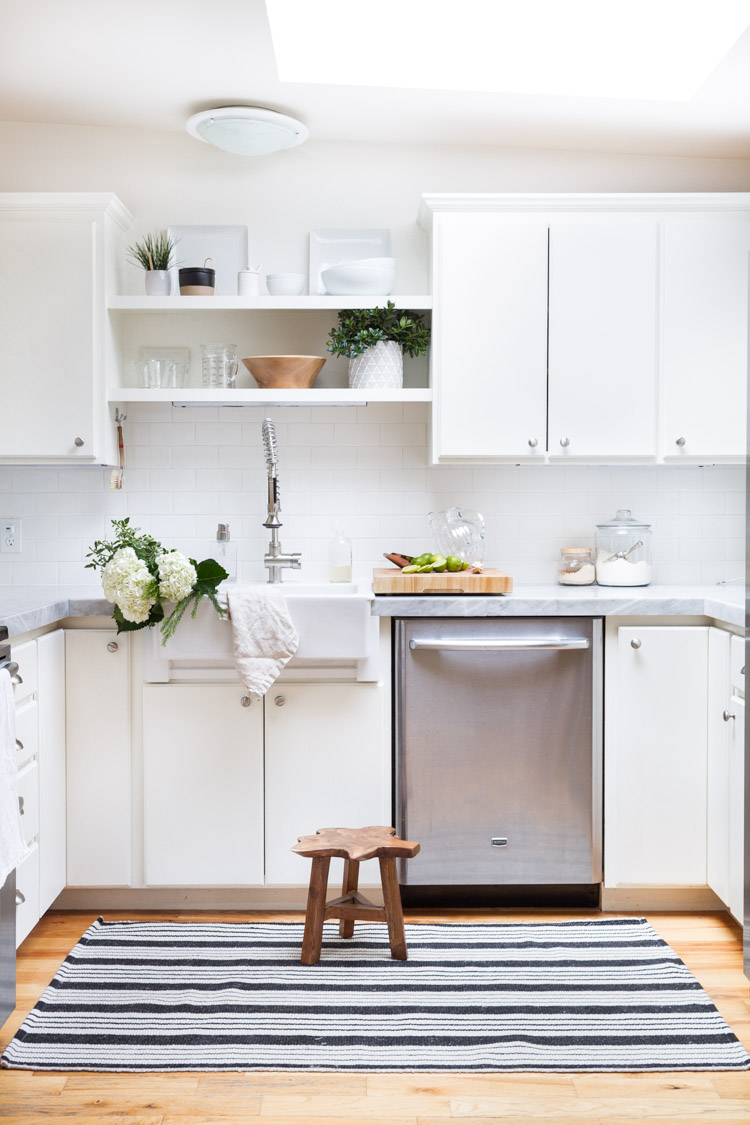
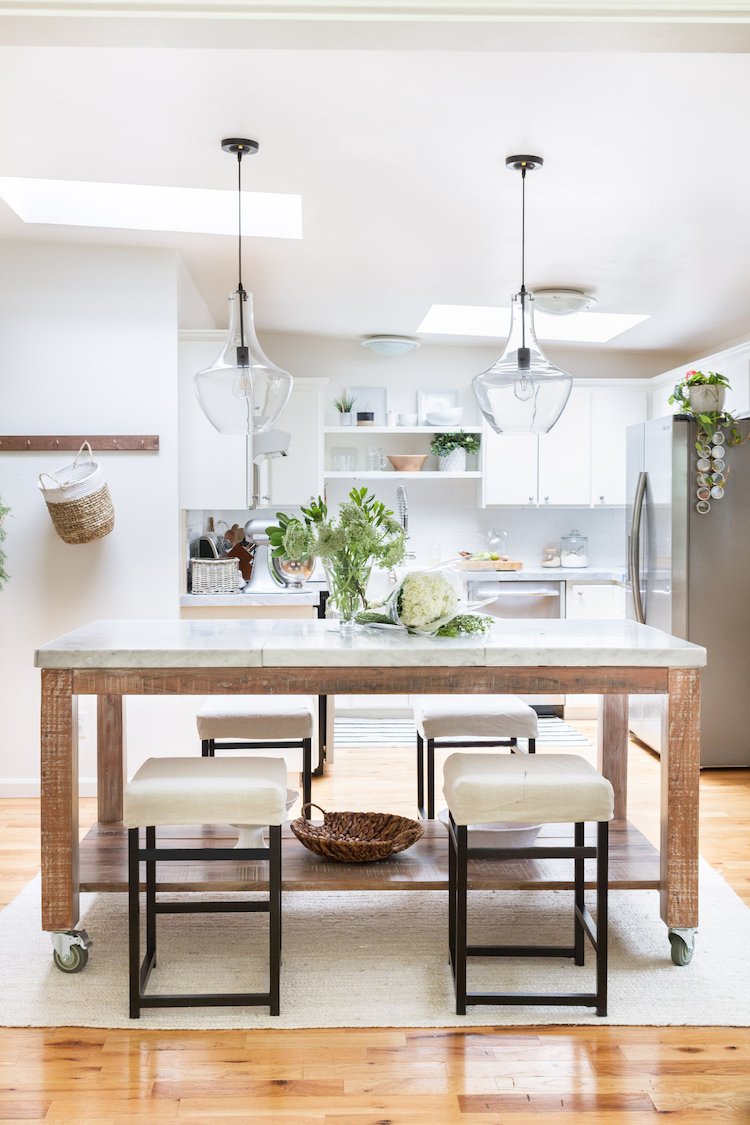
Customize An Island For Your Space…
Adding an island always makes a kitchen special whether it be through the details of its’ shape, countertop or color.
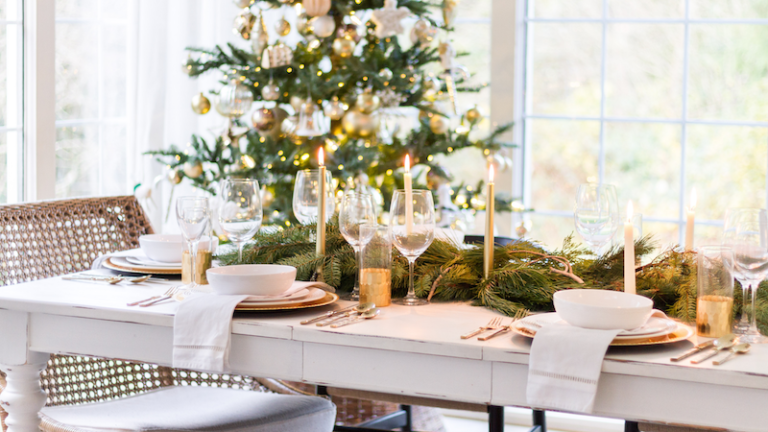
You may remember this table we added to the kitchen at Christmas time. I loved the wood and had my eye on a more expensive version (which wasn’t it our budget). So we took this gorgeous piece and customized it for our space. We added castors to raise the table height and used our existing countertops so it could continue to function as a working surface.
Above you can see it here after a couple of those changes…

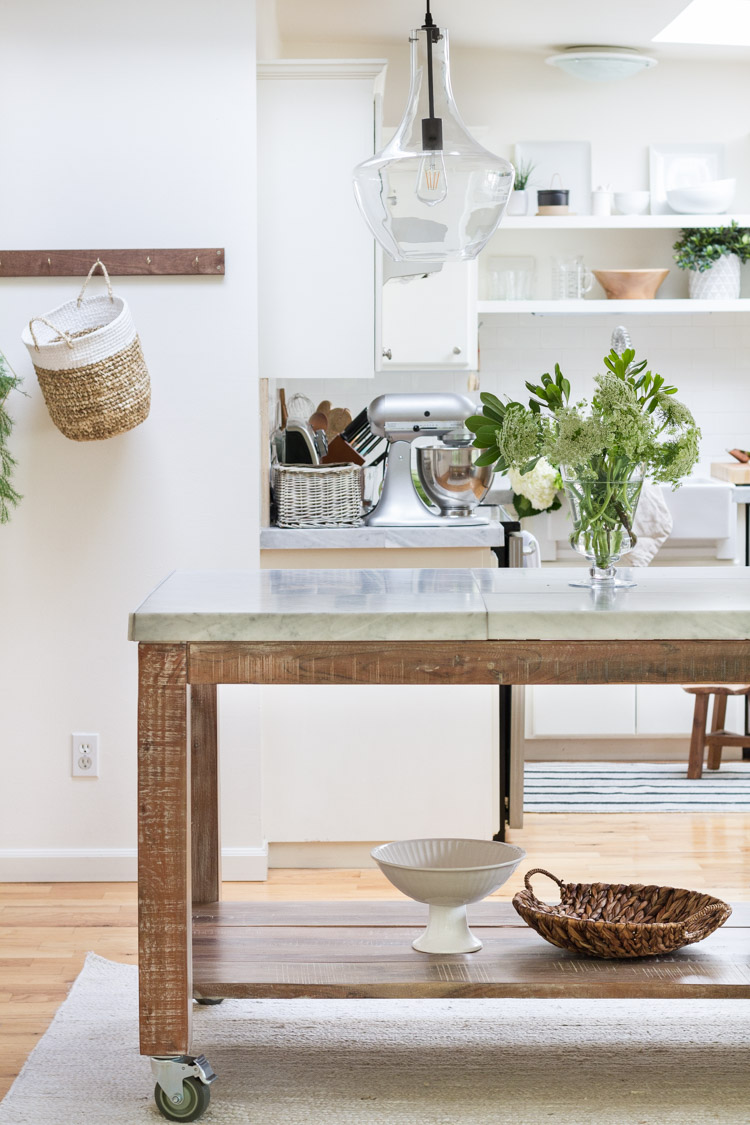
With some major trial and error, we were finally able to add a bottom shelf (which is what I had envisioned from the start). Initially we tried to build it ourselves and stain it to match (which ended up being too difficult of a flop). And then because of my hubby’s genius idea, we took the original table top and used that for the shelving planks. So even when it seems a project may not work, a little brainstorming and perseverance goes a long way!
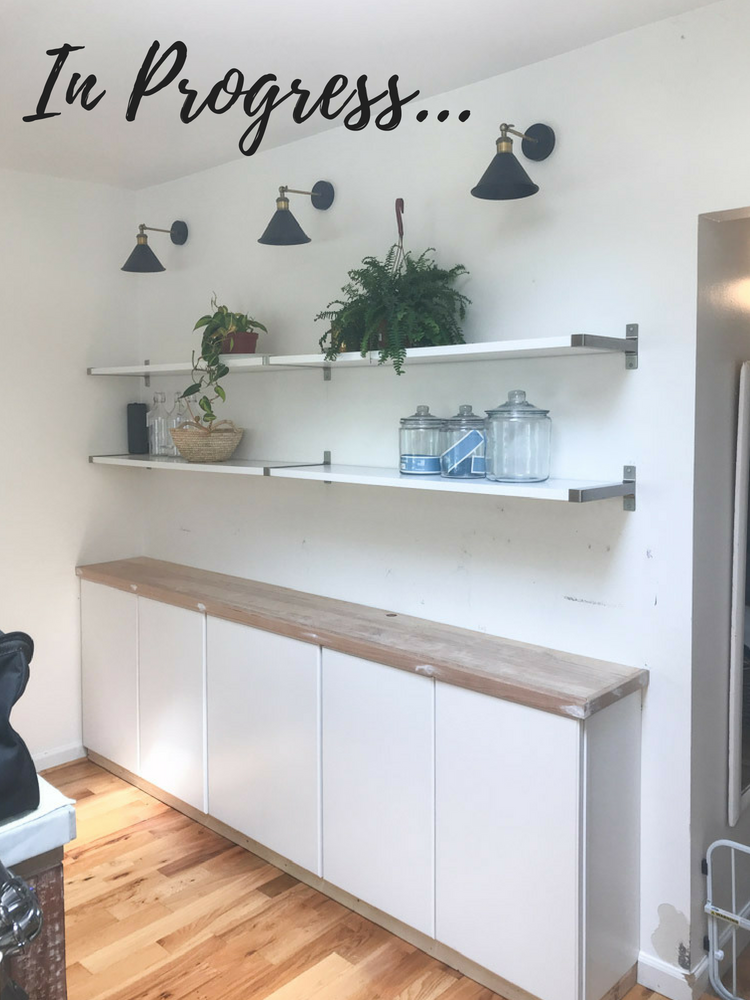
Next Use Additional Cabinetry/Doors or Shelving…
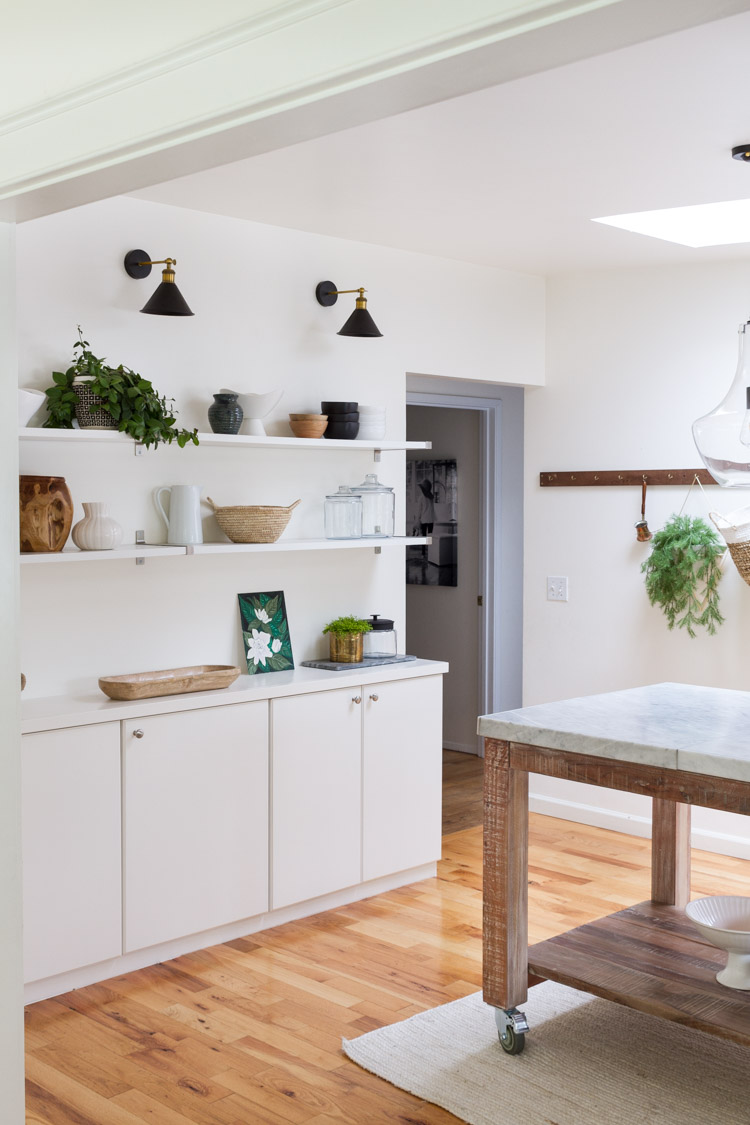
Built ins, cabinetry or open shelving makes a space look cohesive and put together.
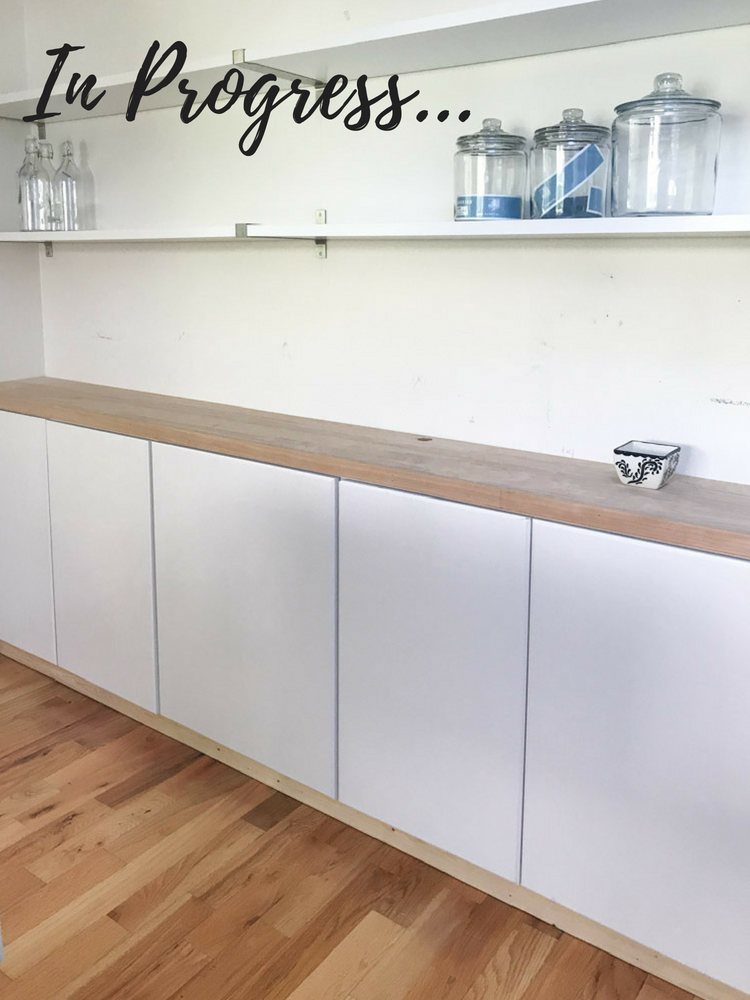
When we first moved in, we added some slim upper cabinets below our kitchen window to provide additional storage (using base cabinets would have been too wide for our space, so this was a good compromise). We didn’t have a budget for more, so we kept the other opposite wall blank with a China Hutch. But to really make the kitchen feel complete, we added some more upper cabinetry to the other side a couple months ago.
What was most exciting, was that we got to work with Cabinet Door Mart and received doors that matched our existing doors throughout the main part of our kitchen. The doors we bought below were mismatched and stock at the time ten years ago.
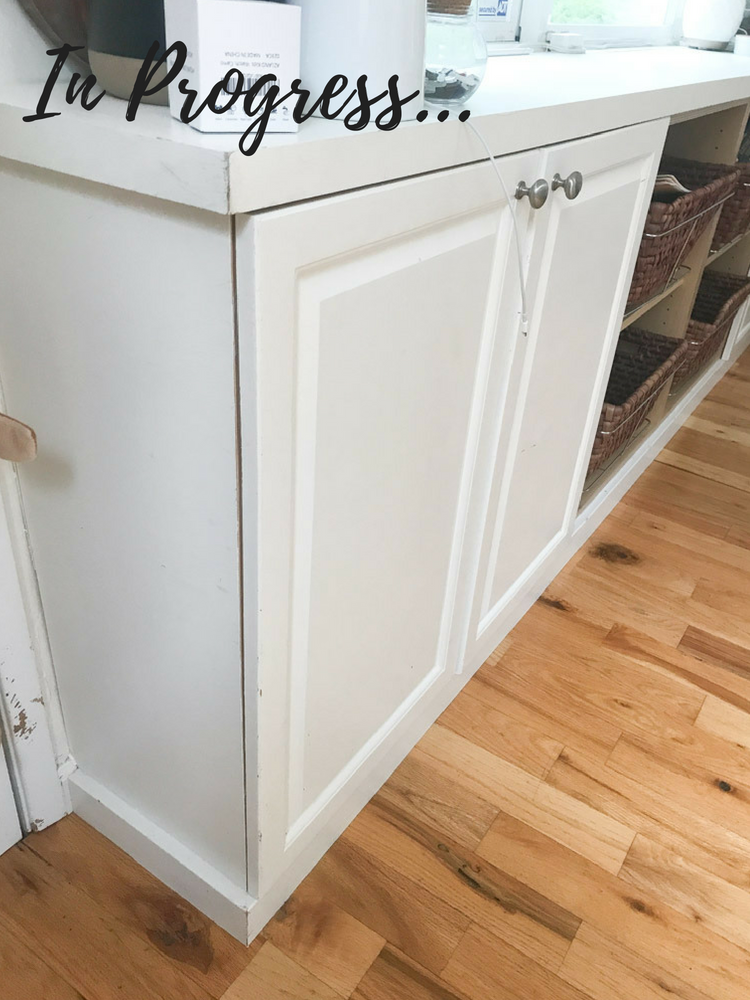
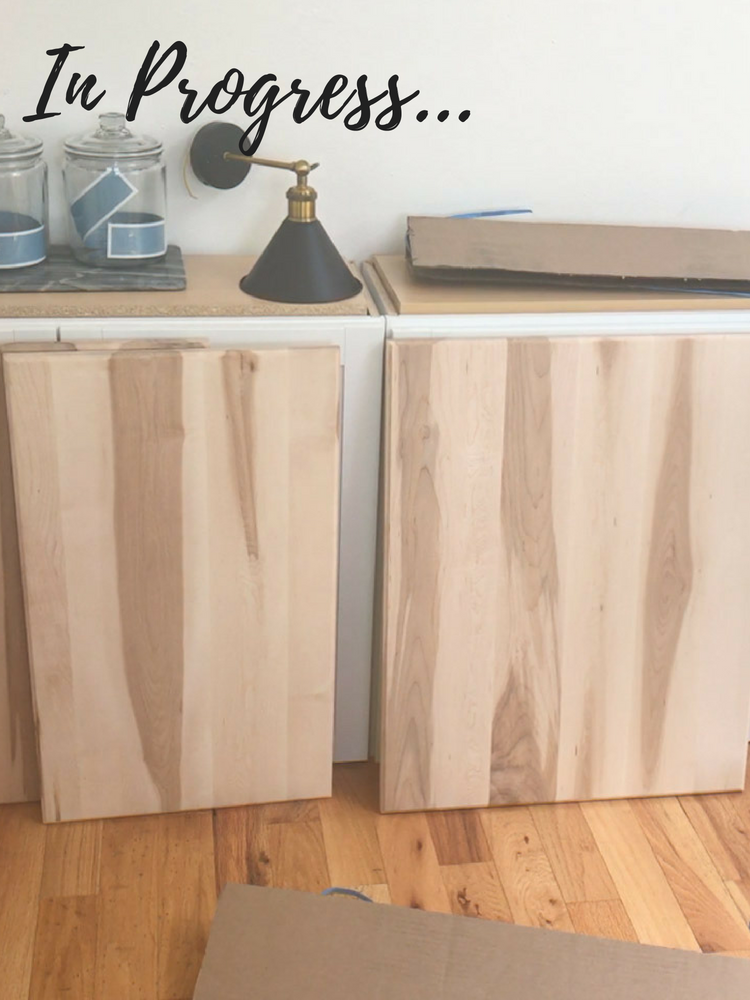
Here you can see these high quality doors from Cabinet Door Mart. They are incredible pieces where we could specify the size, profile style and wood type. We chose the Valencia Cabinet Door style with Maple Paint Grade material.
Cabinet Door Mart is a family business that focusses on their customer service by processing orders quickly and answering questions that may come up! We really enjoyed working with them!
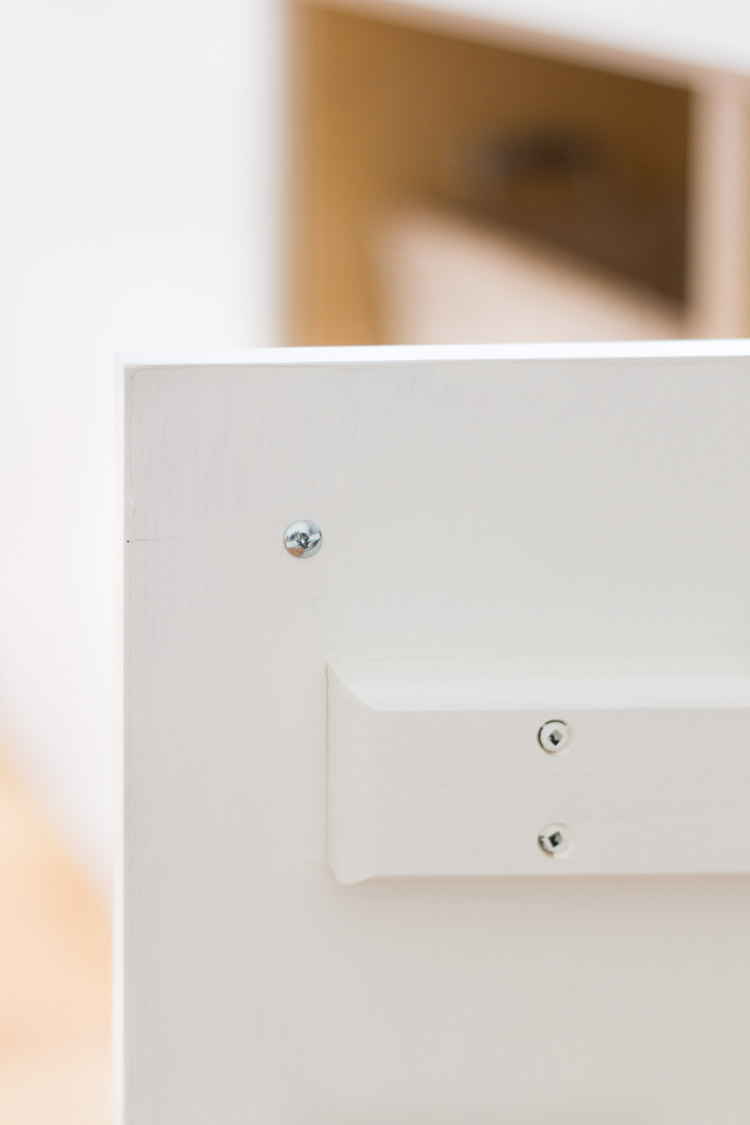
Here is just an example of how amazing these doors are as they have built in supports to prevent the doors from warping.
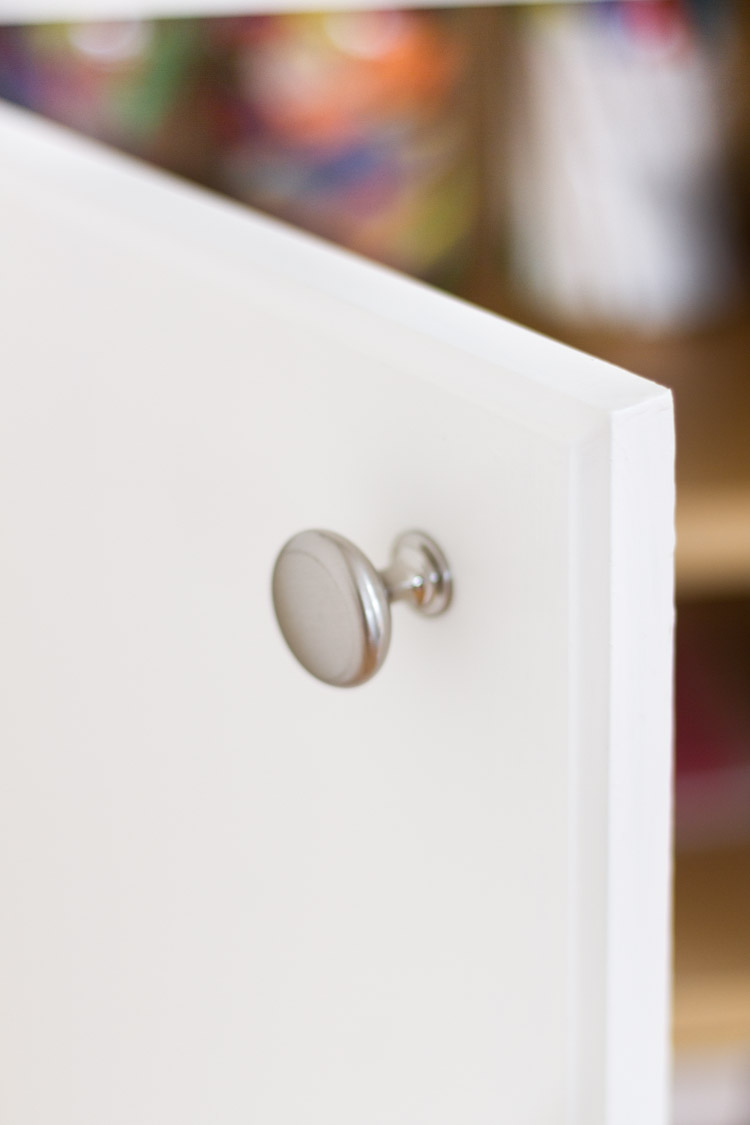
After we finished painting, the doors were hung and we threw up some more open shelving. Again, another great way to kick your kitchen up a notch!
Here below you can see how Cabinet Door Mart made it possible for all our doors to match up!


Use Drapes or Shades…
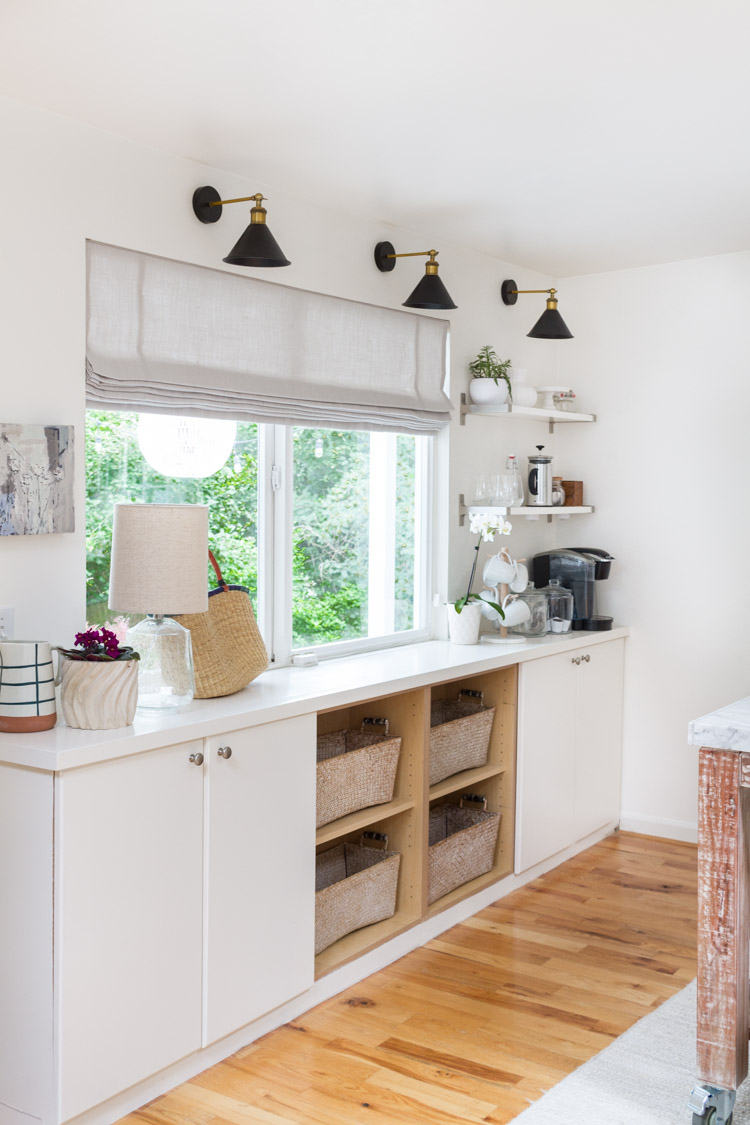
Investing in shades or custom drapery is such a lovely way to enhance your kitchen space. We had the privilege of working with Q Design.
Here are the blinds we lived with many years and while they were functional, getting roman shades was such a treat!
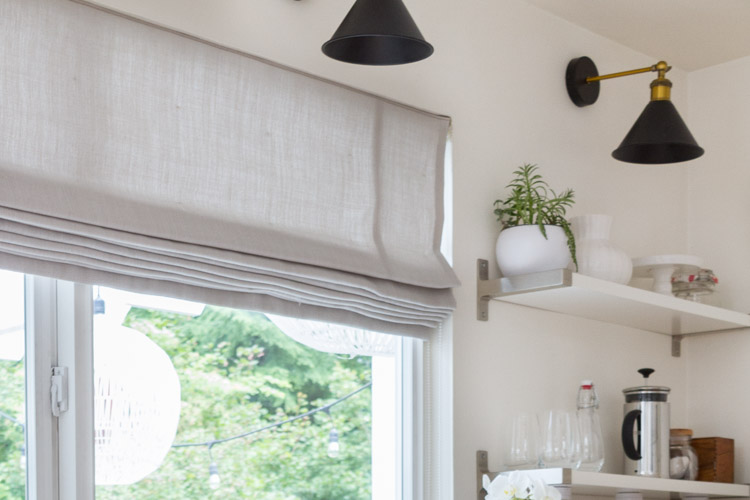
Q Design made it easy to order as they even have stylists that can help you with design help for free! They make ordering drapes simple. There are easy to fill out measurement forms providing a perfect custom fit. The end products are gorgeous and fully lined with cotton or blackout lining at no extra charge as well. Even better, drapes are sold at Canadian pricing (which means great savings for US customers too)! Shipping is FREE for Canada and Continental US on most products. Their website makes it simple to price out what you need and their products are wide range, including: drapery, shades, bench seats, toss pillows and decorative hardware. What I love most is the sweet team that makes up this company. Their items are all Canadian made by their amazing team of ten! If you join their email list here you can receive 5 free samples.

Just look at those pretty folds of linen… makes me smile! We chose Fog from the House Linen Collection as our fabric of choice.
Change Out Pendants…

Switching out pendants gives your kitchen a whole new look! I went with these Edison Love glass shaped fixtures from Wayfair as they brought a little more weight to the space, but didn’t close it off, as you can see through the glass and around the area.
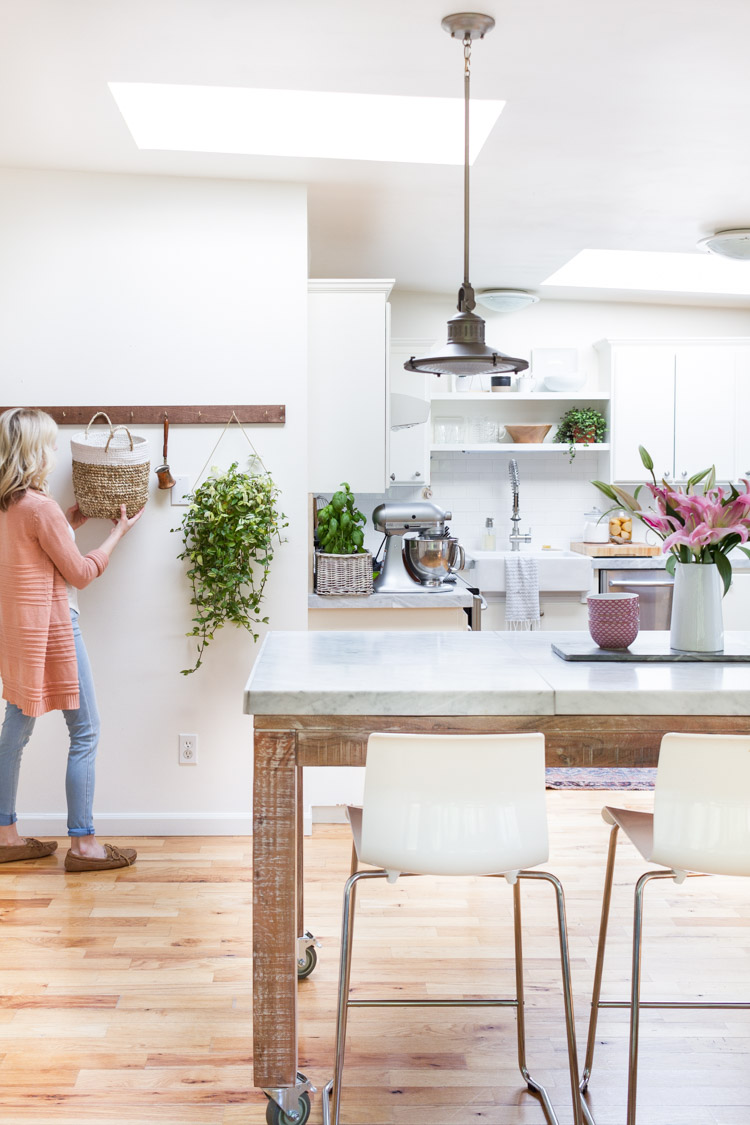
Don’t Forget Texture…
This holds true in every space of your home and your kitchen should not be left out ;). I incorporated this Maui Jute Braided rug from Rugs USA. I like that it brings some texture to the space and breaks up all the wood tones.
I also made some linen slips (more texture) to our new Wayfair Ectasia barstools, that way I can throw them in the wash with the many spills we get around here.
Install Additional Lighting…
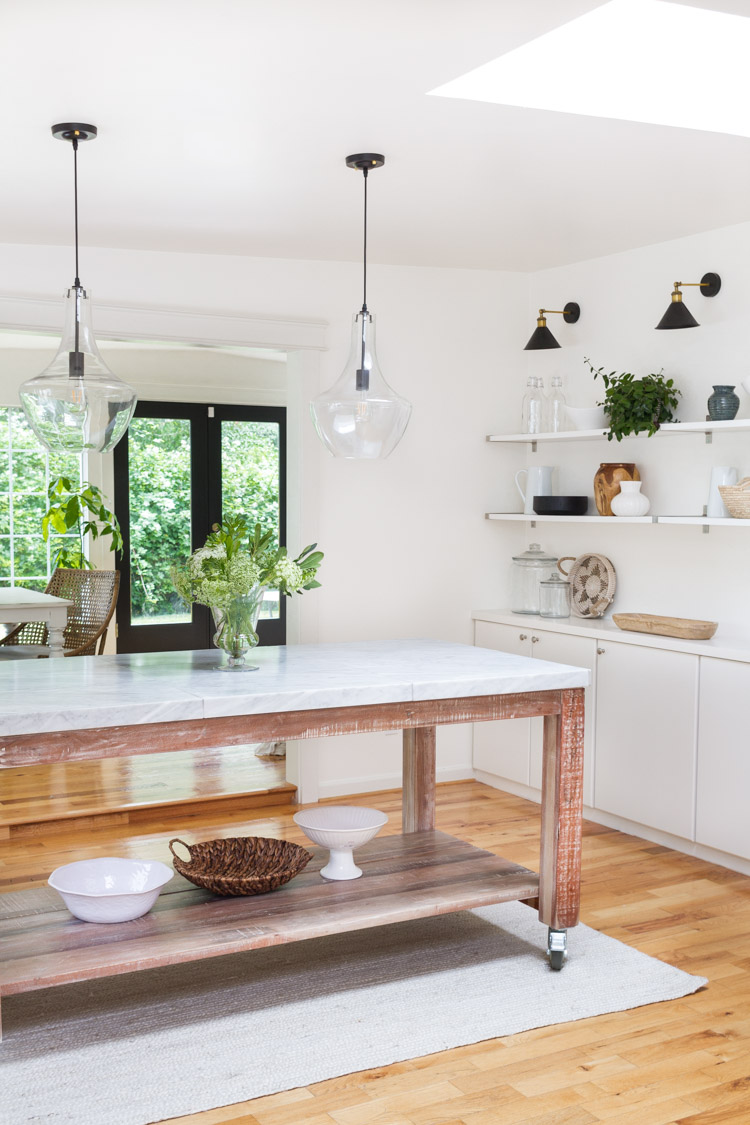
Putting more lighting throughout your kitchen not only is functional, but adds interest throughout! We found these oil rubbed bronze pendants and I used my talented friend, Brooke’s magic light trick. You can find her and more of her smart ideas at Nesting with Grace!
Using this light trick enabled us to avoid wiring, while still having ambient lighting!
Paint Doors…
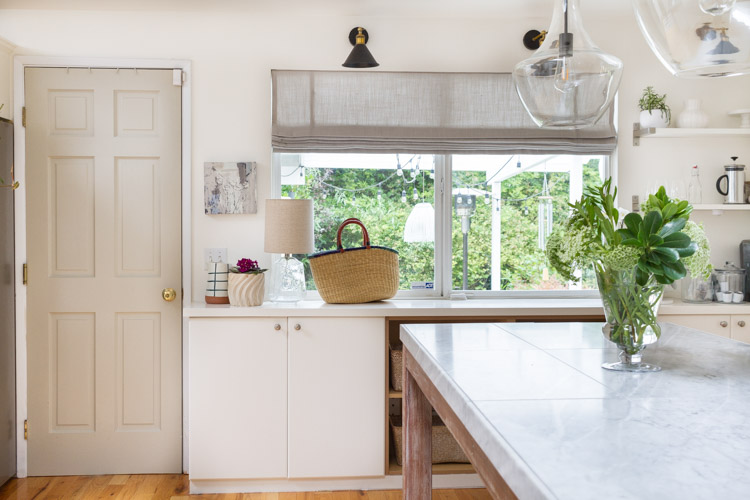
Paining a door or two is such a fun and inexpensive way to personalize your space.
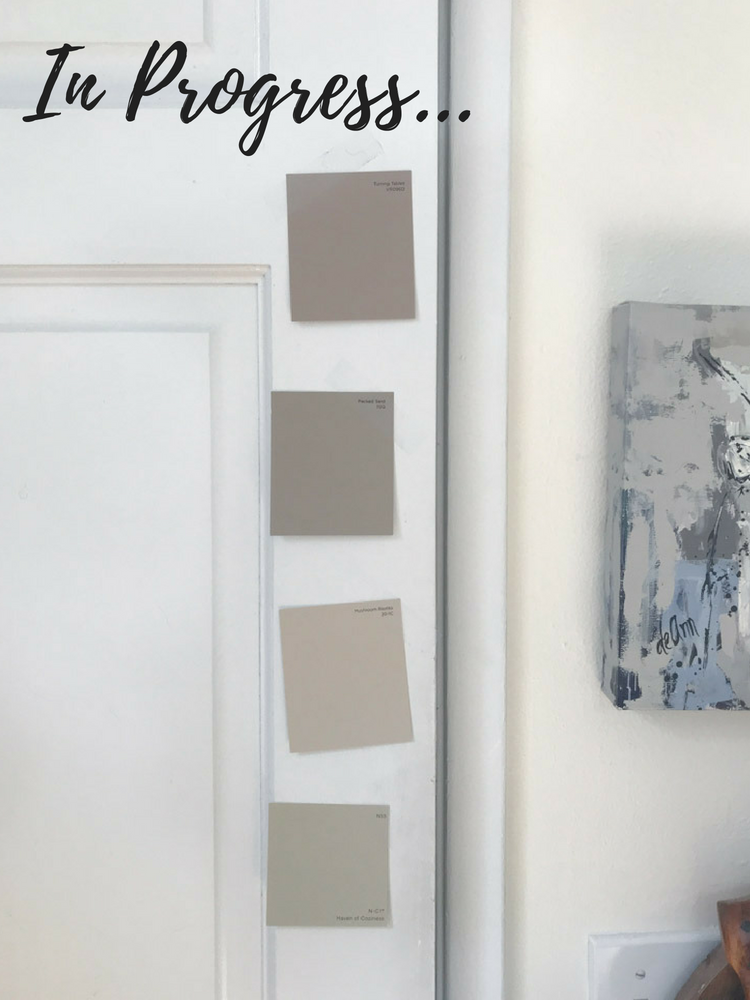
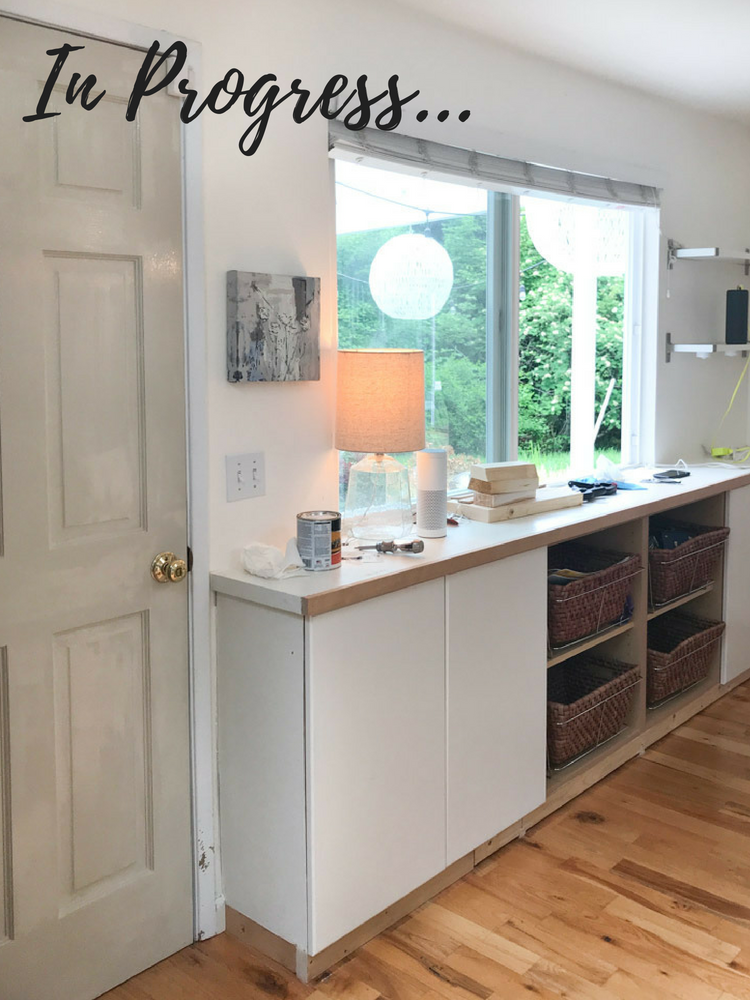
This door leads out to our laundry room/patio and was the perfect opportunity to spruce it up a bit.
We chose the color, Haven of Coziness by Clark and Kensington at Ace Hardware.
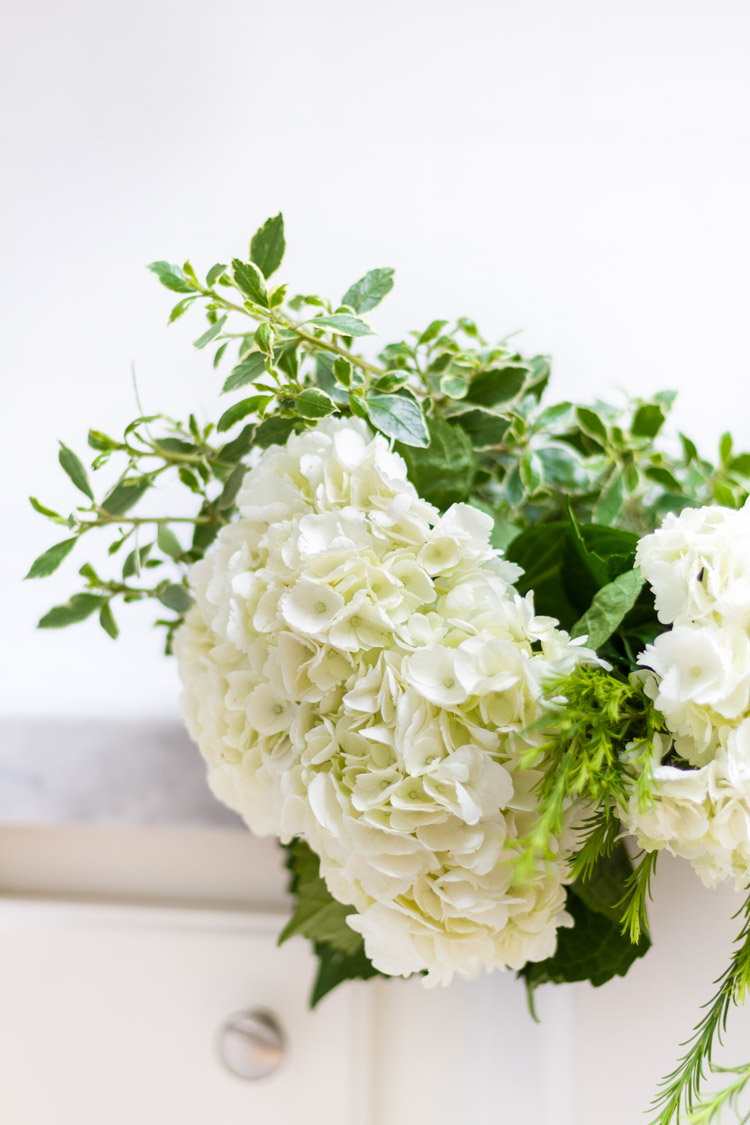
And Accessorize…!
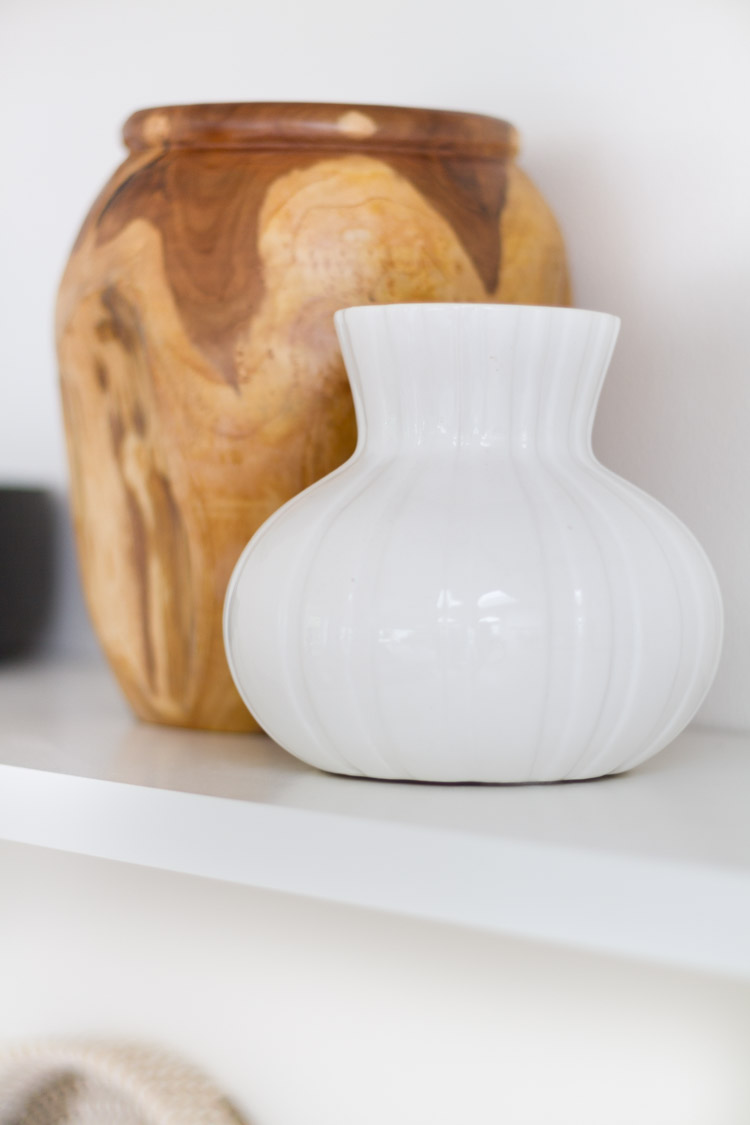
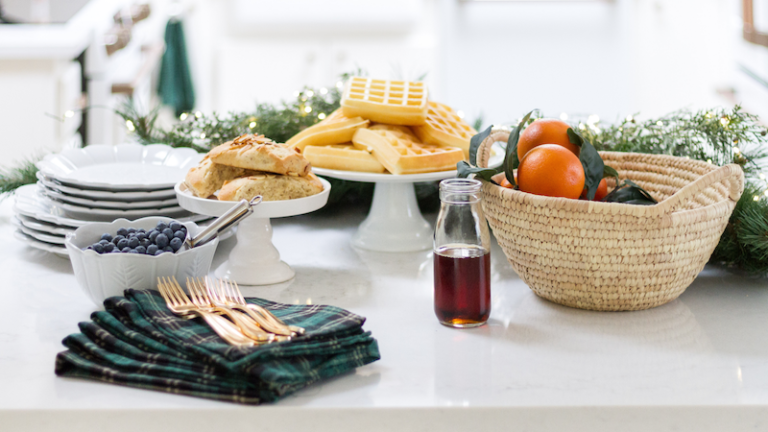
Last but not least, enjoy accessorizing! This allows you to infuse your favorite pieces including collectables, art, flowers and kitchen tools!
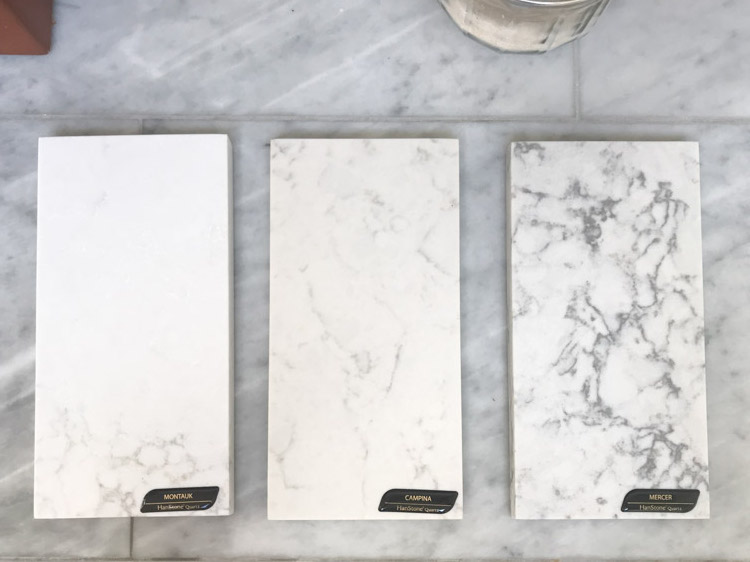
And stay tuned, as there is yet another phase in the works! I am giddy over the fact that we are looking through samples and making a choice on Quartz countertops. Hanstone Quartz is partnering with us for phase 3 of the kitchen and I am thrilled to share the process when it begins! Here you can see what we are choosing from and tune into my IG stories this week as I would love to hear your opinion too!
Our current counter tops are a DIY we did from a few years back. They have served us well and we are ready to update with solid surfaces.
One thing I hope you take away from this post or that may be an encouragement, is that phases are good! Like I said at the start, we have lived in this kitchen for ten years and it has seen two phases of work since then. It has taken us a decade to get to phase three and are continuing on with phase four throughout this year. That is a great way to do things wether you are on a budget, have time constraints, etc… It allows you to enjoy the process and are you grateful at the end of each phase because you have waited so long to enjoy it!
A big thank you to Cabinet Door Mart, Q Design, Rugs USA and Wayfair for providing your products to make this project possible!


Your kitchen looks amazing, I love how you use the upper cabinets to create such fabulous storage walls and the counter space is wonderful too.
Marty I really appreciate all of that, thank you so much!
This kitchen is a dream, the best place to be, the lighting is perfect and the details fall in love. Thanks for showing XO
I am so glad you think so! Thank you for stopping by!
Your kitchen looks beautiful. I really like the island. Do you know what size castors you used? I’m actually thinking of doing the same thing to a table I already have.