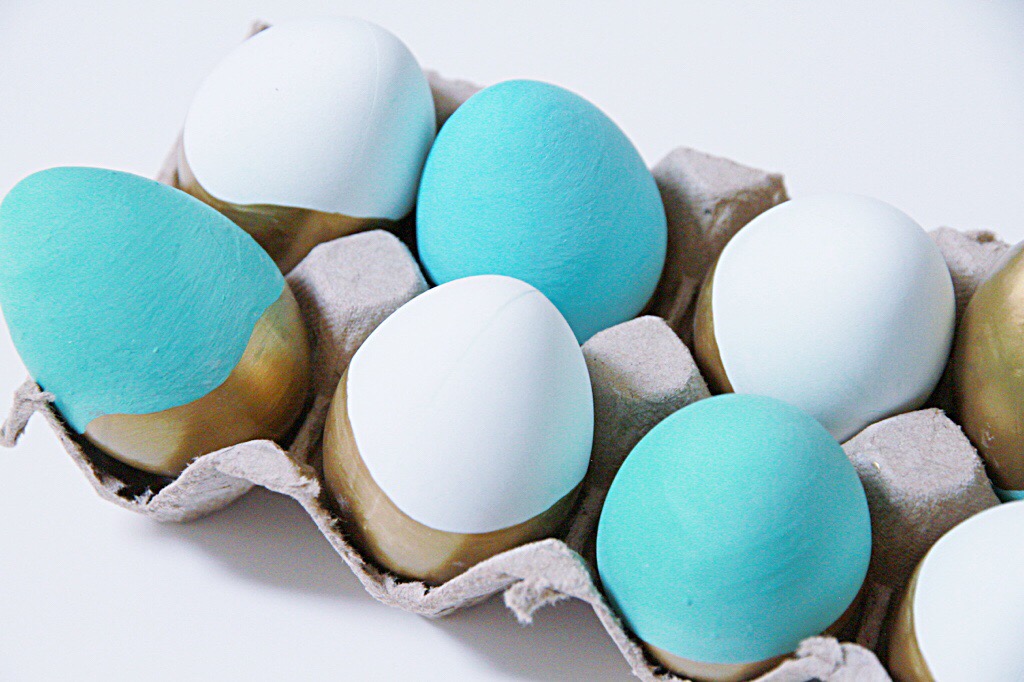
Painted Easter Eggs
I will show you how to make these pretty painted Easter eggs with my simple tutorial!

I recently put a gift basket together for a Spring Gift Exchange hosted by Becky from The Other Side of Neutral. It was so much fun putting this gift together and I am planning to share how I did this basket in the near future! But today I wanted to show these painted Easter eggs and how simple they were! This is the adult version for egg decorating and not kid friendly.
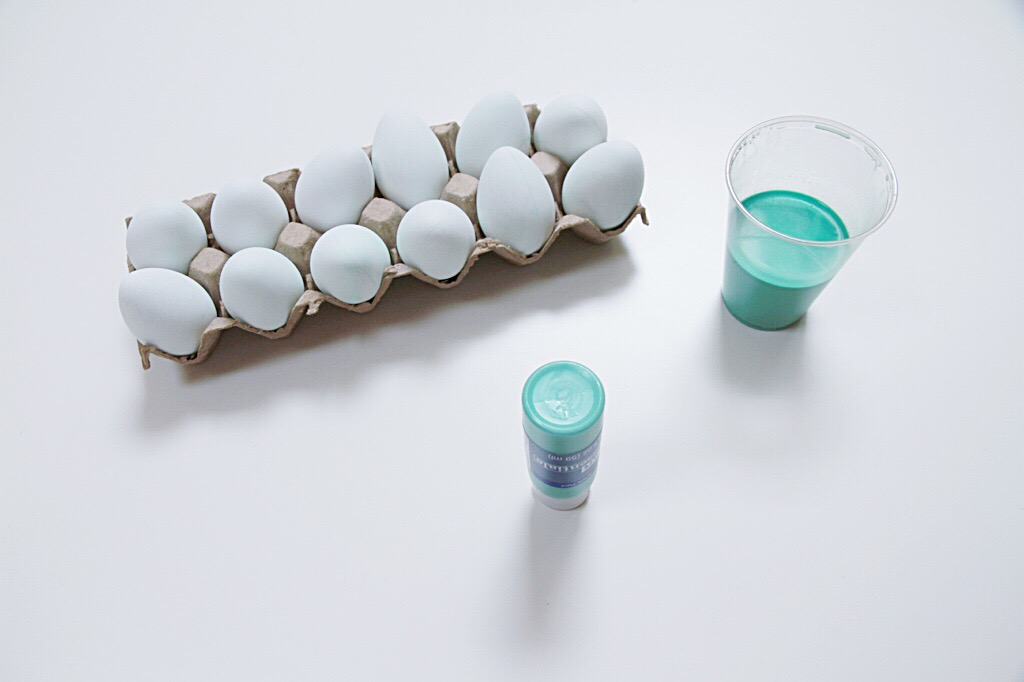
Here is what you will need…
– I found these life like eggs (I can not find them online but bought them in-store) from Michaels and they were only 2.99! Supposedly you can even dye them as you would regular eggs but with water.
– a glass of cold water
– acrylic paint (whatever colors you want)
– paint pens (optional)
– Sharpie pen (optional)

Here is what you will do – with some possible variations…
– you can start by dying the eggs by dipping each egg into a cup of water mixed with about a tablespoon of acrylic paint (I used a plastic cup for this). This will give the eggs a very subtle tint. You can also skip this step if you just want to paint on the eggs.
– then you can either cover the eggs in paint or half of the egg like shown above or draw on designs using your pens.
There are really so many fun options out there when it comes to decorating these Easter eggs and this was just a simple way to embellish them. I hope you try this out and please let me know how it goes! Thanks for stopping by!


Beautiful as usual, Ms Talent :-). I found the life-like eggs at Target as well, for any who want to price check!
Thanks for your lovely post.
Great suggestion! Thanks so much Lainie! xo
Well aren’t these darling!? Love the blue and gold combo! Have a great weekend Annie, xo -Chloe
Thanks again Chloe! xo