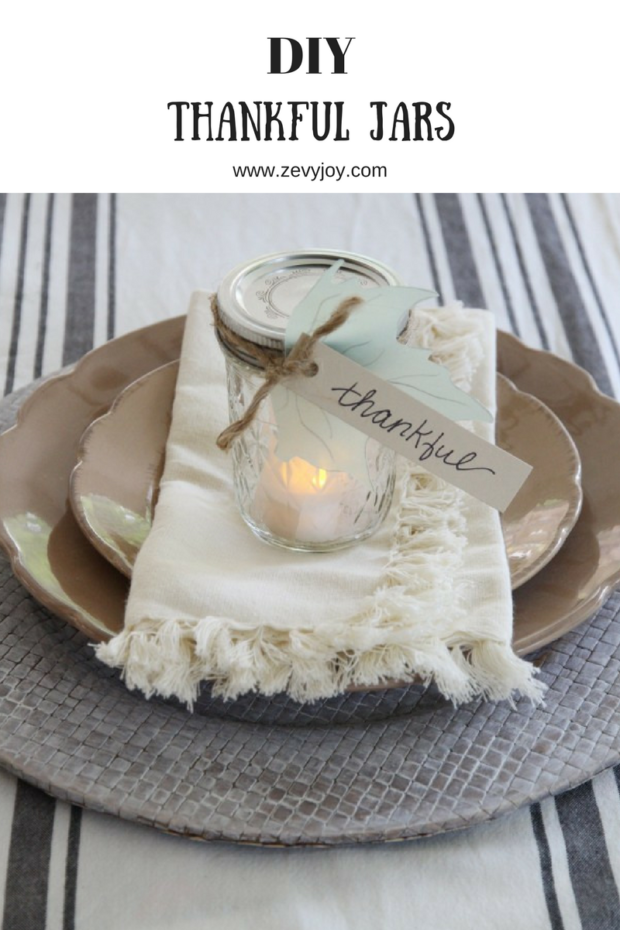
Thankful Jars
I absolutely enjoy setting the table for company and of course setting it during the holidays is my favorite. I have seen some creative ways to incorporate Thanksgiving into decor, even more, I love the when you can combine decor while having your friends and family participate in the process too.
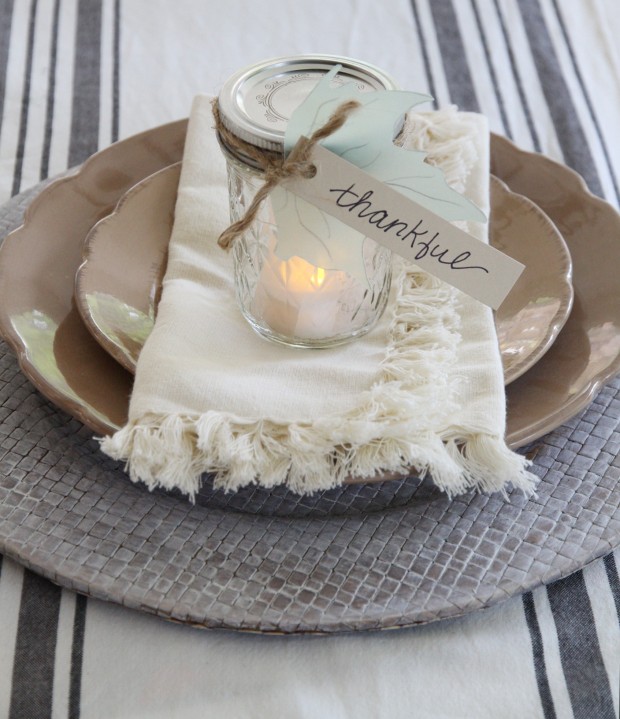
There are thankful trees, placemats, etc… The most traditional way to share your thankful thoughts is to go around the table and share. I wanted to put a creative spin on this by using a place setting that would also serve as a way to share. That is how I came up with these thankful jars. They are so easy to make and look pretty set at each individual’s seat.
Here is what you will need….
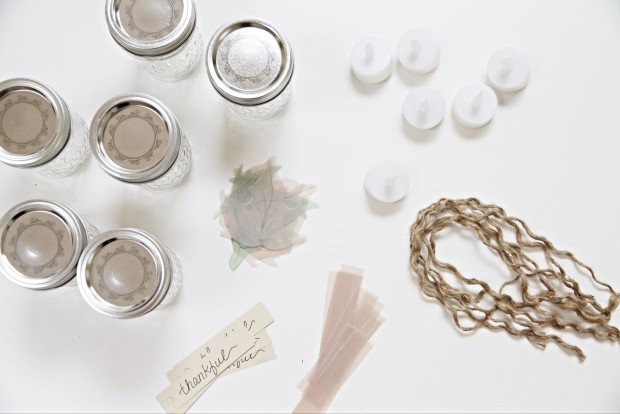
- Mason Jars with lids (enough for each indiviual at the table)
- battery tealights (one for each mason jar)
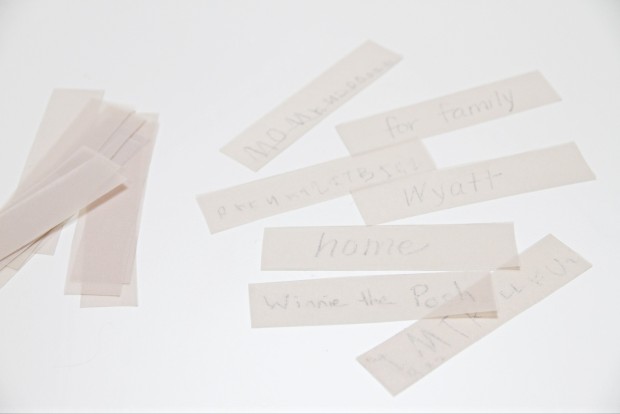
- Transluscent scrapbook paper cut into 1 x 2 inch rectangles (as shown) I made enough to fill 4 or 5 to each jar. This will be used for family and friends to write down what they are thankful for. I also had people use pencil when writing so that it wouldn’t be distracting inside the jar.
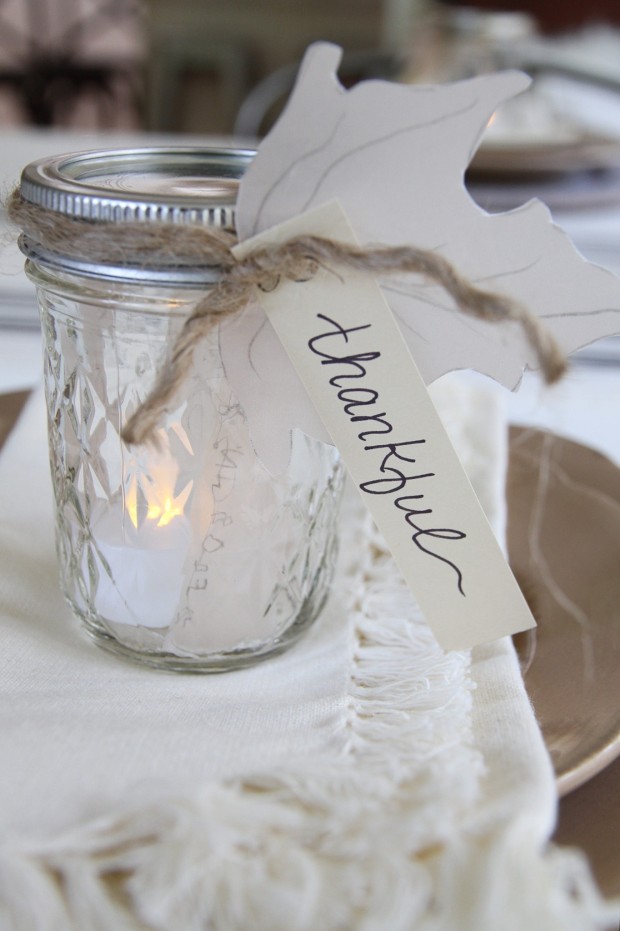
- Transluscent leaf shape cut out (1 for each jar). This can be any shape (I mad a simple leaf).
- Twine (1 strand per jar)
- Thick stock paper cut into 1 x 2 inch rectangles with “Thankful” written on the front (again, 1 per jar)
Here is how easy it is to put them together…
After each person has filled out the things they are thankful for on thier little tags, you can collect them. It would be easy enough to do this days beforehand so that you can assembe the jars prior to needing them.
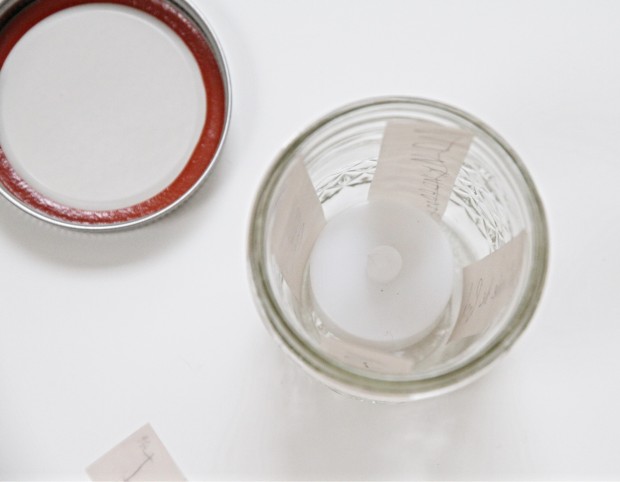
Put your tealight at the bottom of the jar. Note- these need to be battery operated as there will be paper inside the jar and a lid closed. Caution not to leave them on too long – only as long as necessary before switching them off.
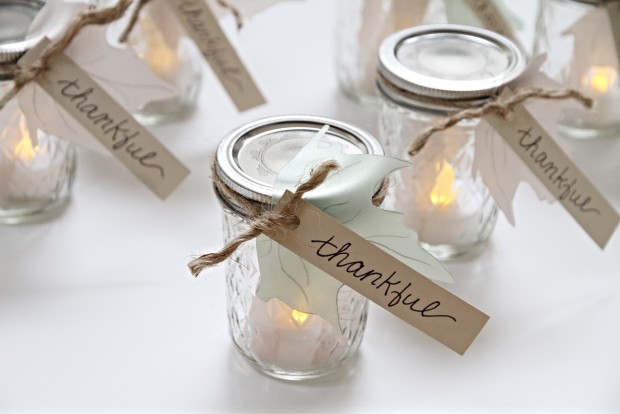
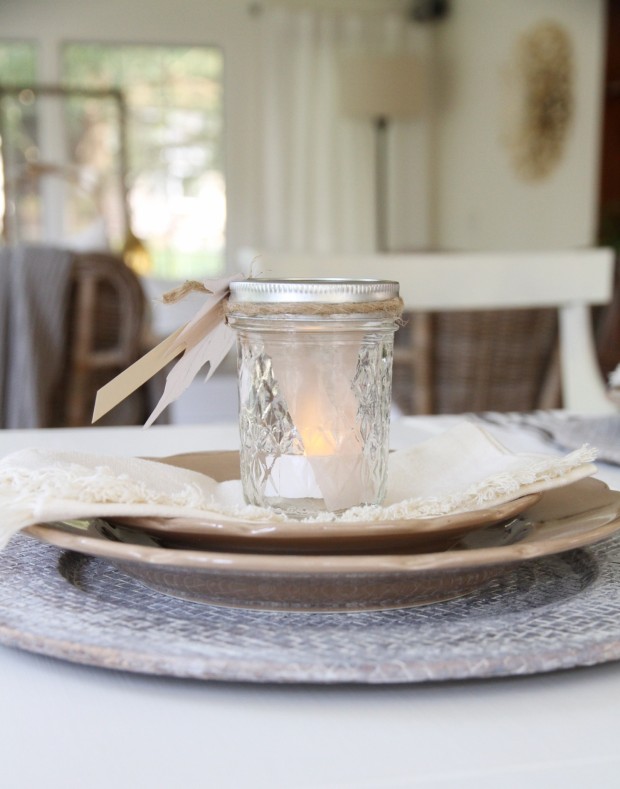
Add the witten thankful tags and screw on the lid. Tie on the twine with decorative leaf and tag.
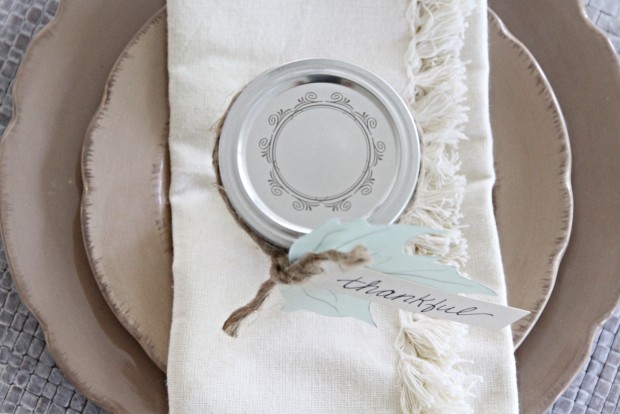
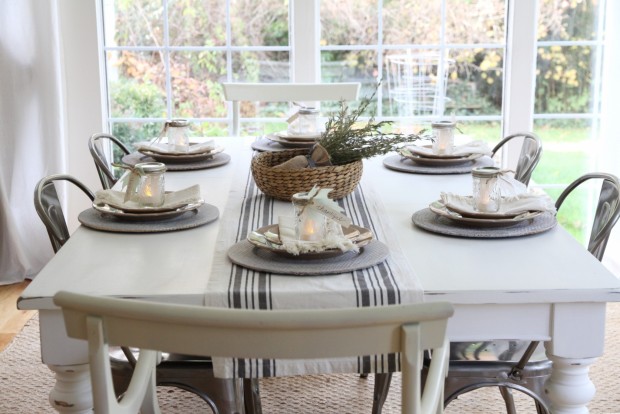
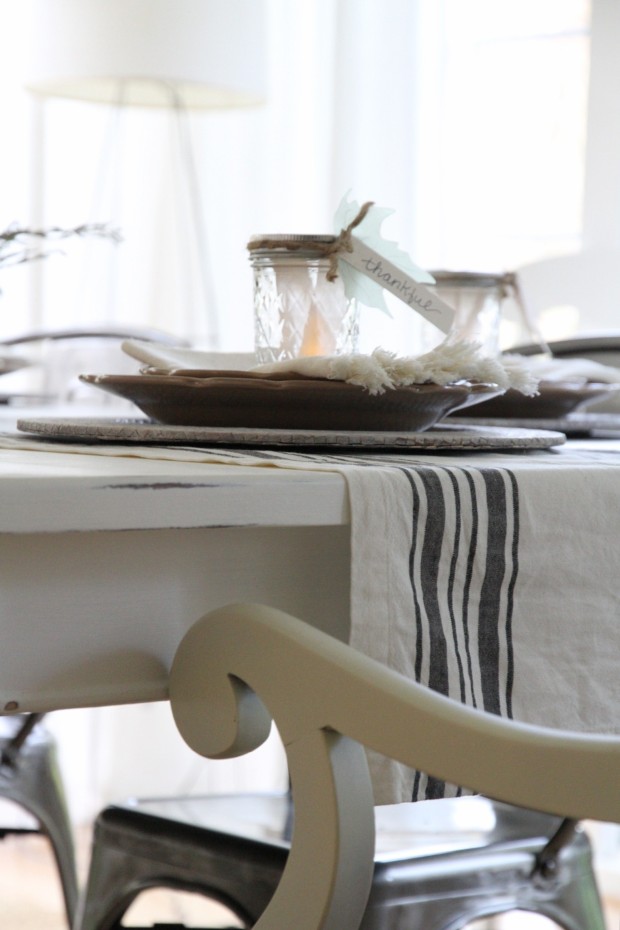
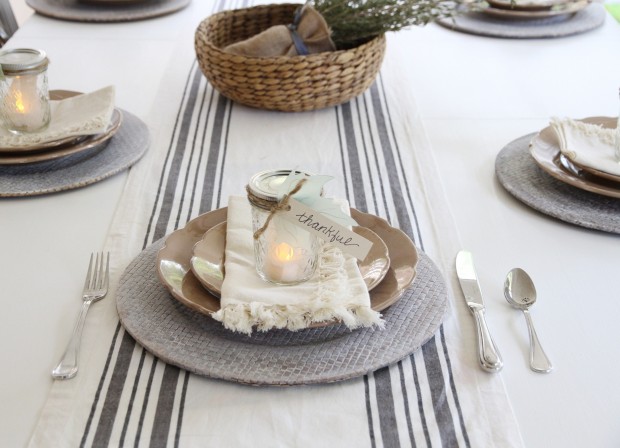
I simply placed a jar (with the tealight turned on) on each plate and napkin. This table took all of 10 minutes to set.
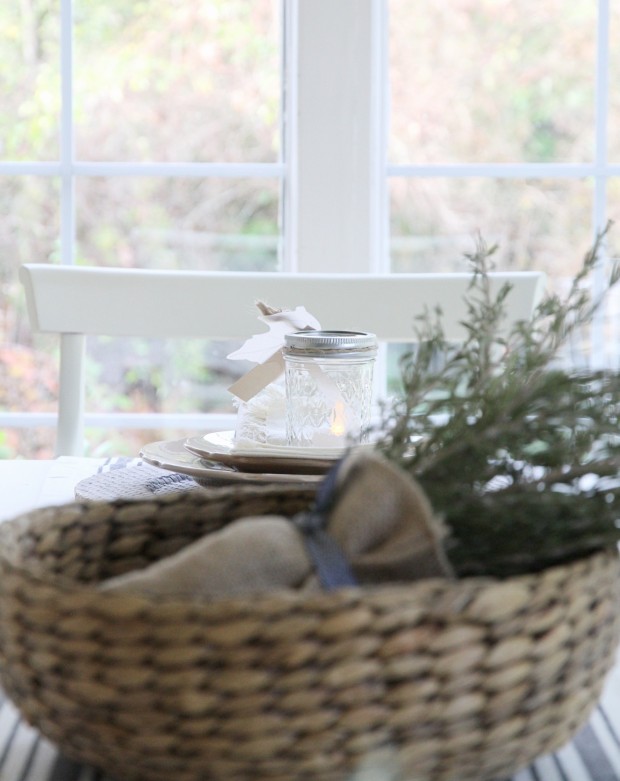
I used a basic basket with dried rosemary stems (which I have had for months) and white-washed chargers.
These thankful jars fit right in to the easy decor and will be a lovely touch decoratively but also conversationally at the table.
I can’t wait to share what is inside with eachother. Since I put them together, I enjoyed peeking at the little thankful thoughts, things like Winnie the Pooh, Wyatt (our dog), my family etc…
These, like most projects can be adapted to different preferences and even holidays.
I hope you enjoyed this tutorial and share if you try it out. Enjoy your weekend and thanks so much for stopping by!
hi! Love this so much! I was wondering where the table runner is from!? Thanks! such beautiful decor!
Hi Caroline, thank you! It is from World Market =).
Love this! I want to come to a Thankful Dinner!!
Thank you and of course we will have to have one soon! xo
Cute and simple. Love it.
I am glad to hear you think so – thanks again and have a wonderful weekend!
These are beautiful Annie…..such a simple DIY with a great impact!!!
I love how you make simple things looks so lovely…thank you.
That means so much, thank you Alicia! You are constantly inspiring me!
Annie! This is such a sweet idea. And your table looks absolutely gorgeous (as usual). Thank you so much for sharing at Create • Share • Inspire and we hope to see you back this week!
xo
Absolutely and thanks so much Alicia for the sweet words!
I love your table. The jar idea is cute and inspired me to use my mercury votives at each place setting. Our family and guests are always asked to share their thankfulness on this special day. Happy Thanksgiving, Linda
Linda, that sounds so lovely and thank you for sharing with me. I appreciate you stopping by!