The Repurpose Design Series Project – Reveal Number Two!
I am thrilled to share my second Repurpose Design Series project! I have tried to find and transform things that we could truly use in our home and would enjoy. Due to the size of our room, I knew we would benefit from a long and short dresser. I had been searching for months and a couple times almost gave into getting something that really wasn’t what I wanted. During my weekly thrift store visit I found this piece and it was just what I was looking for! It was 15.99 and felt like finding treasure. The structure was sturdy and it had beautiful details. It just goes to show that waiting, shopping around and being patient does really pay off.
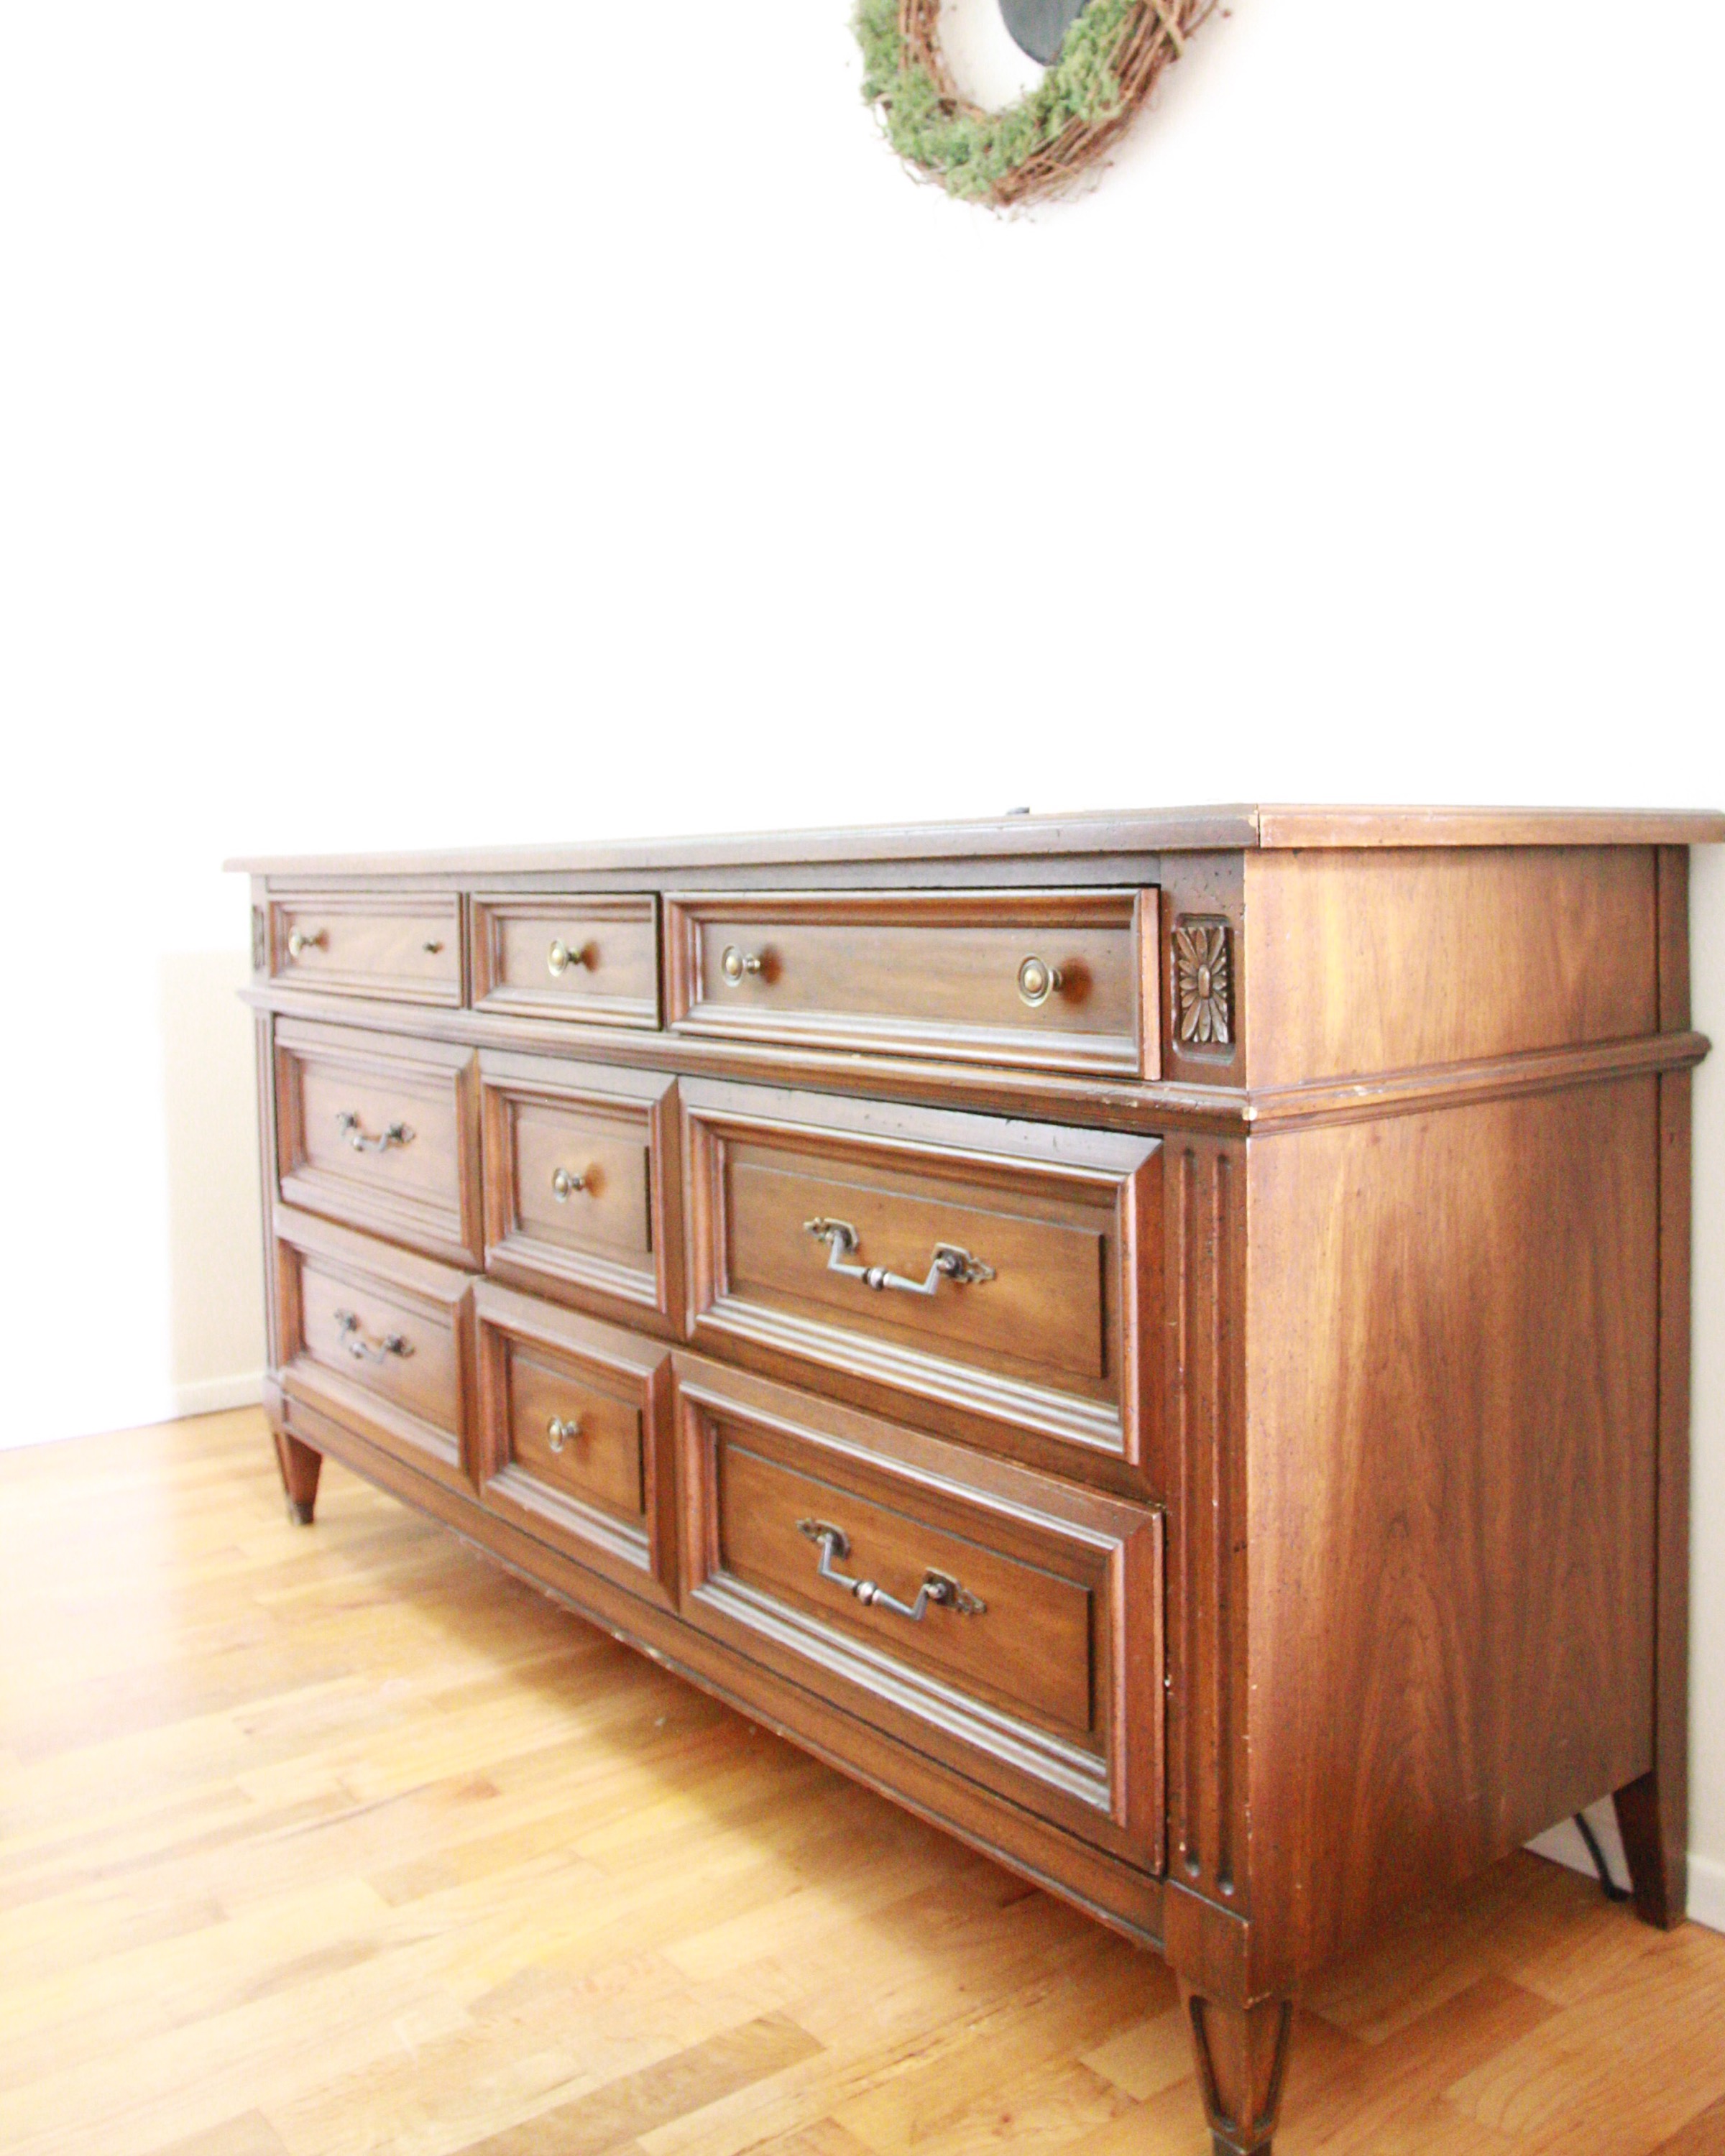
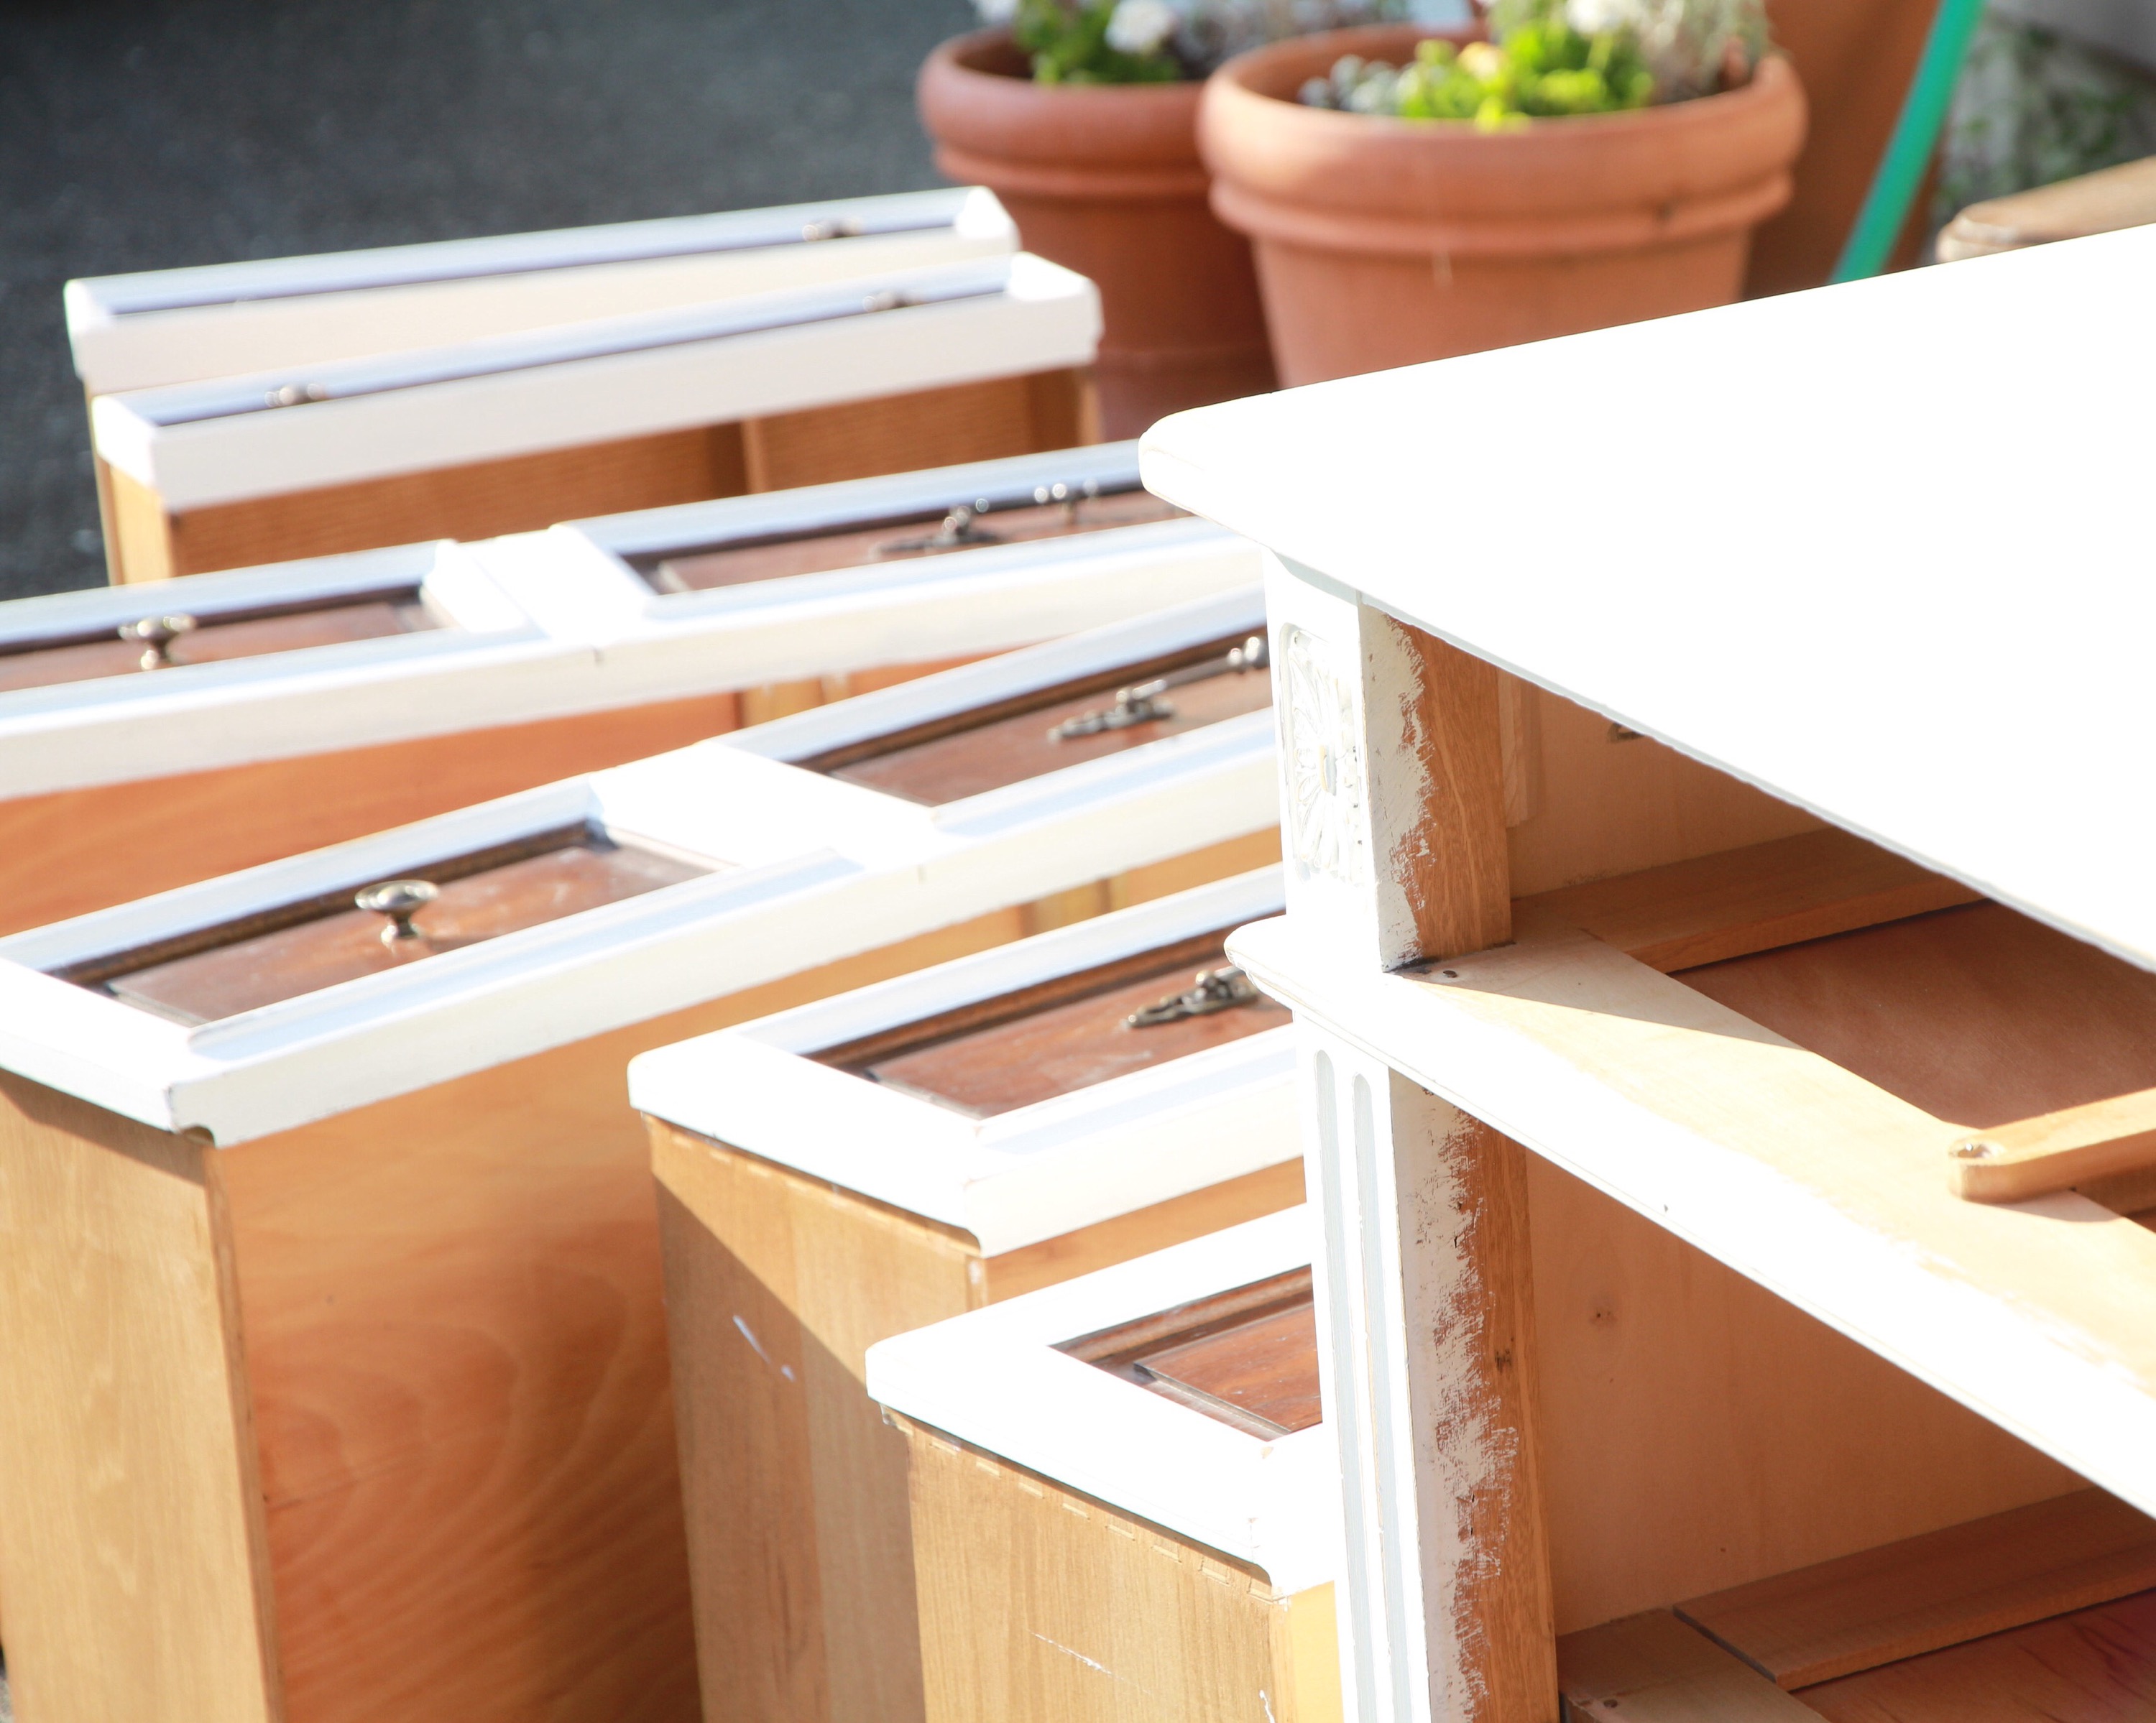
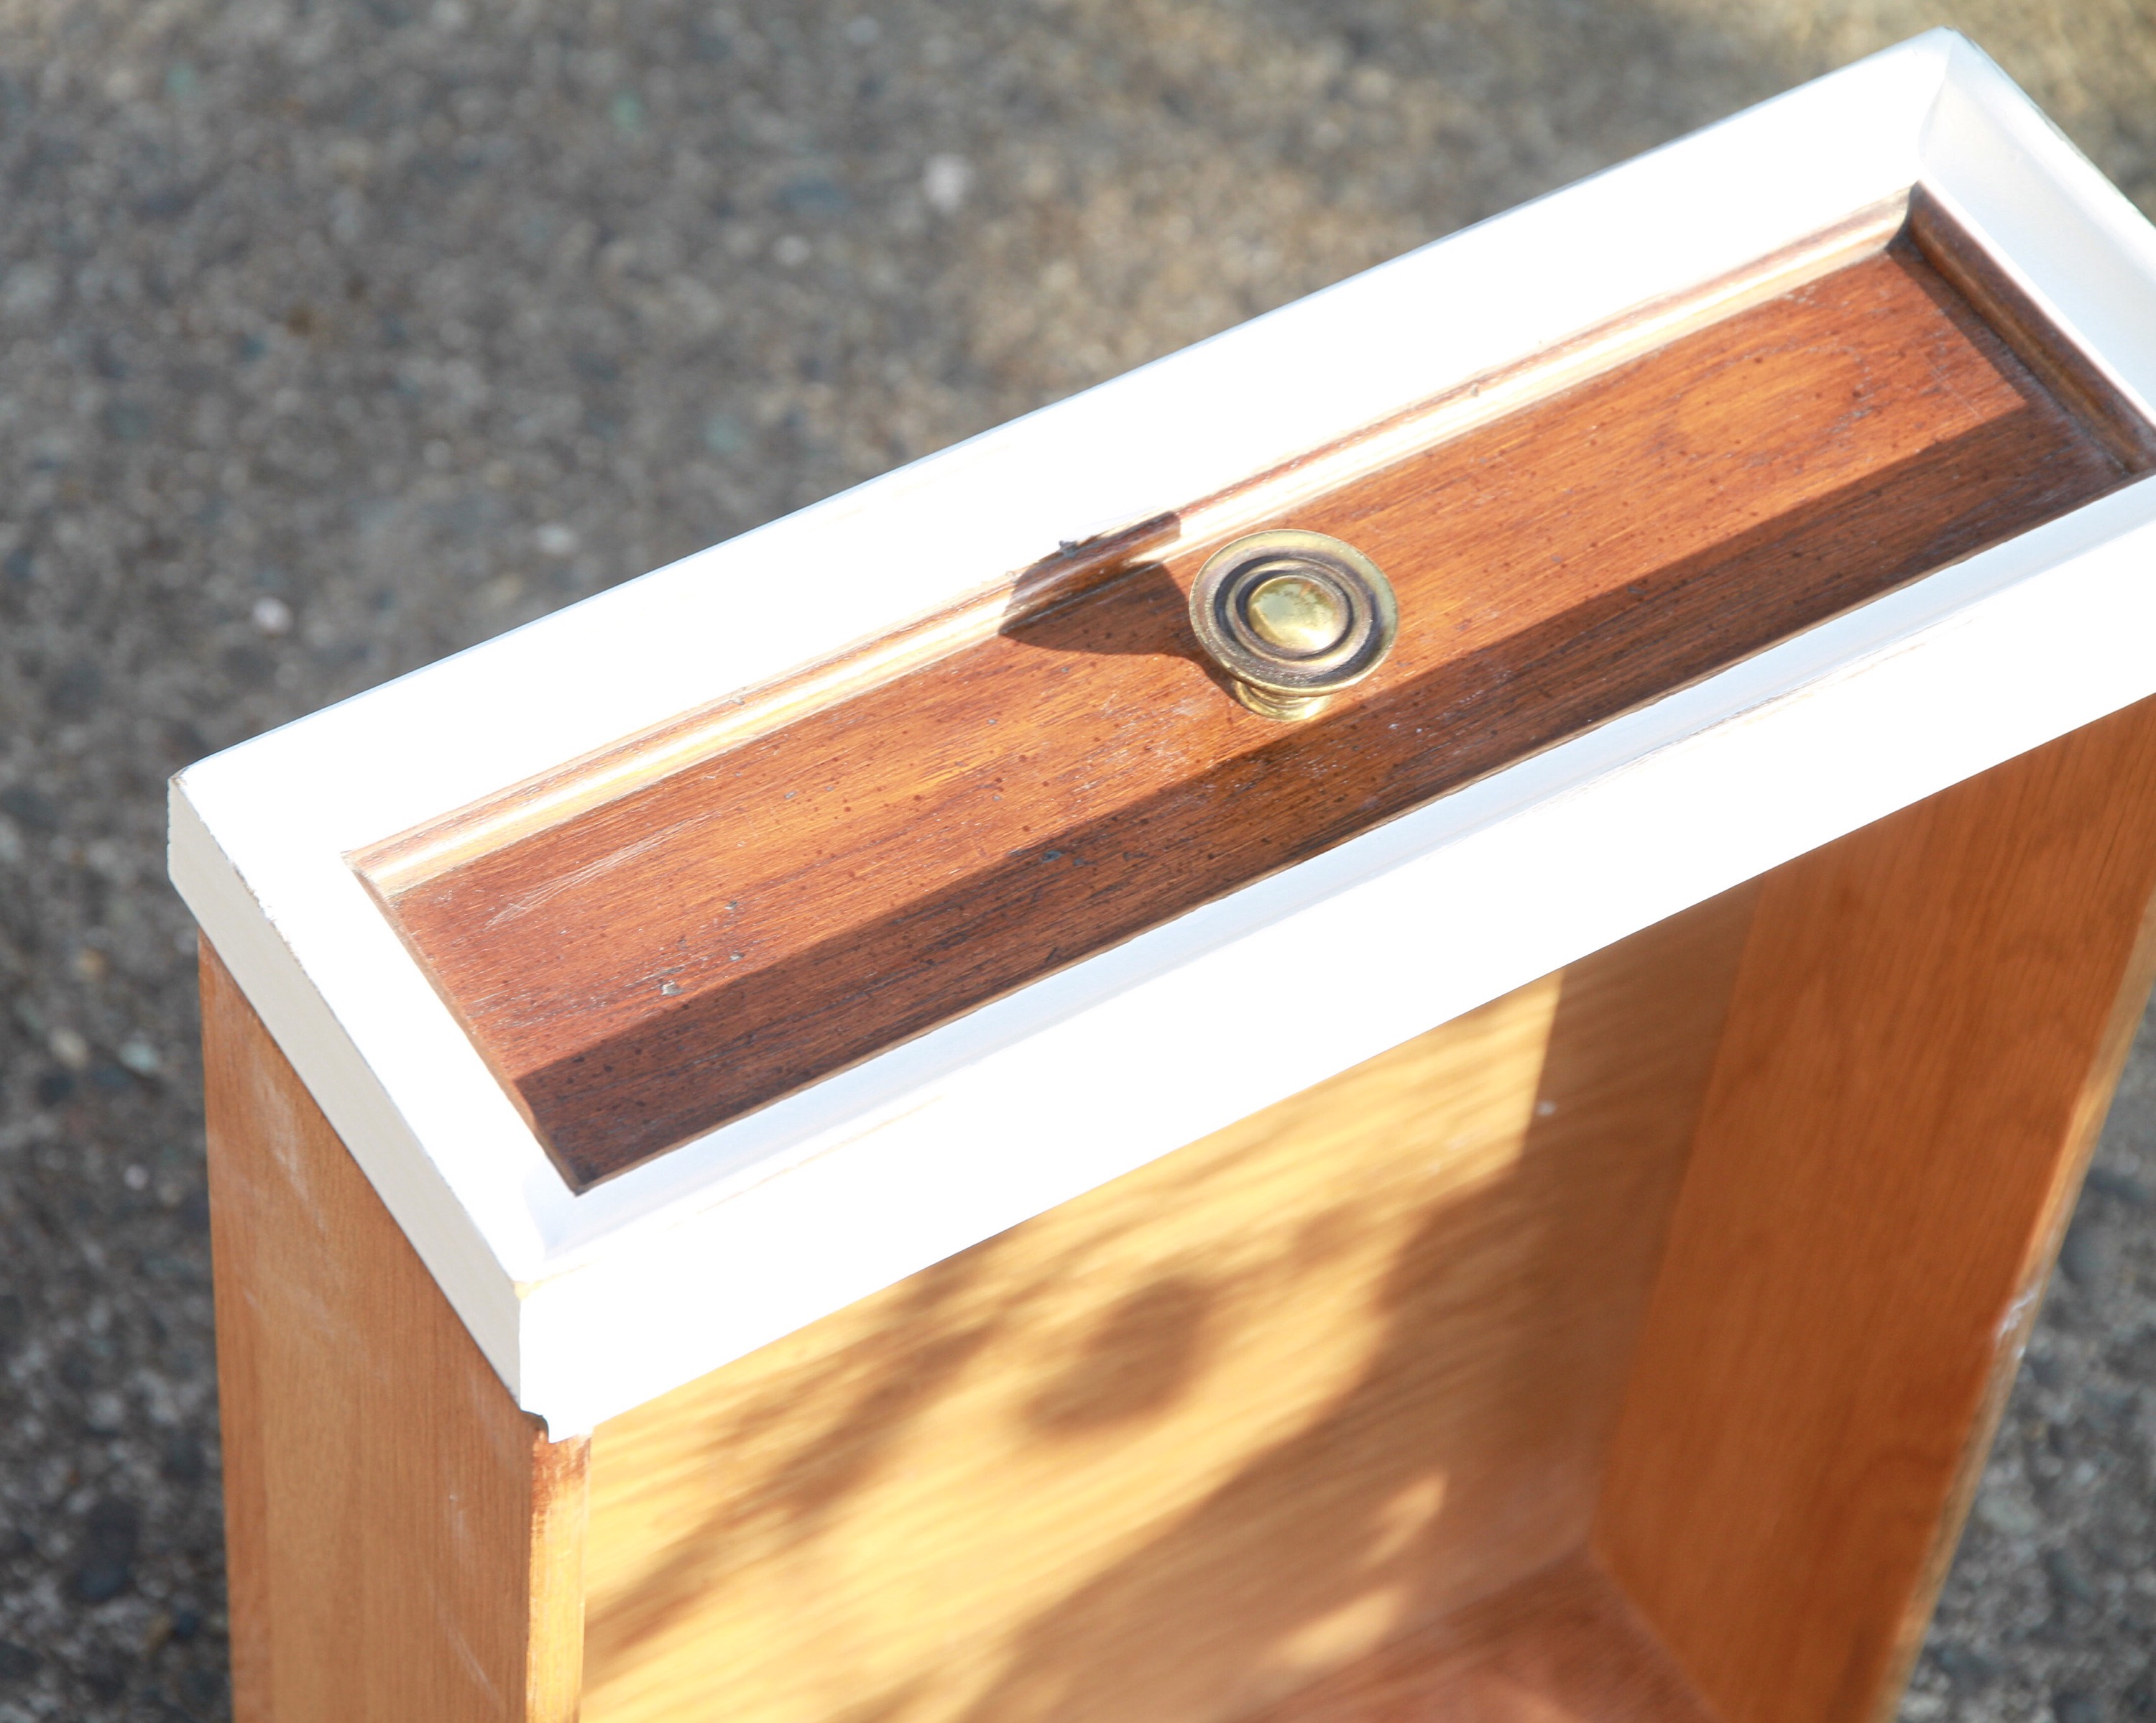
This special piece went from this…
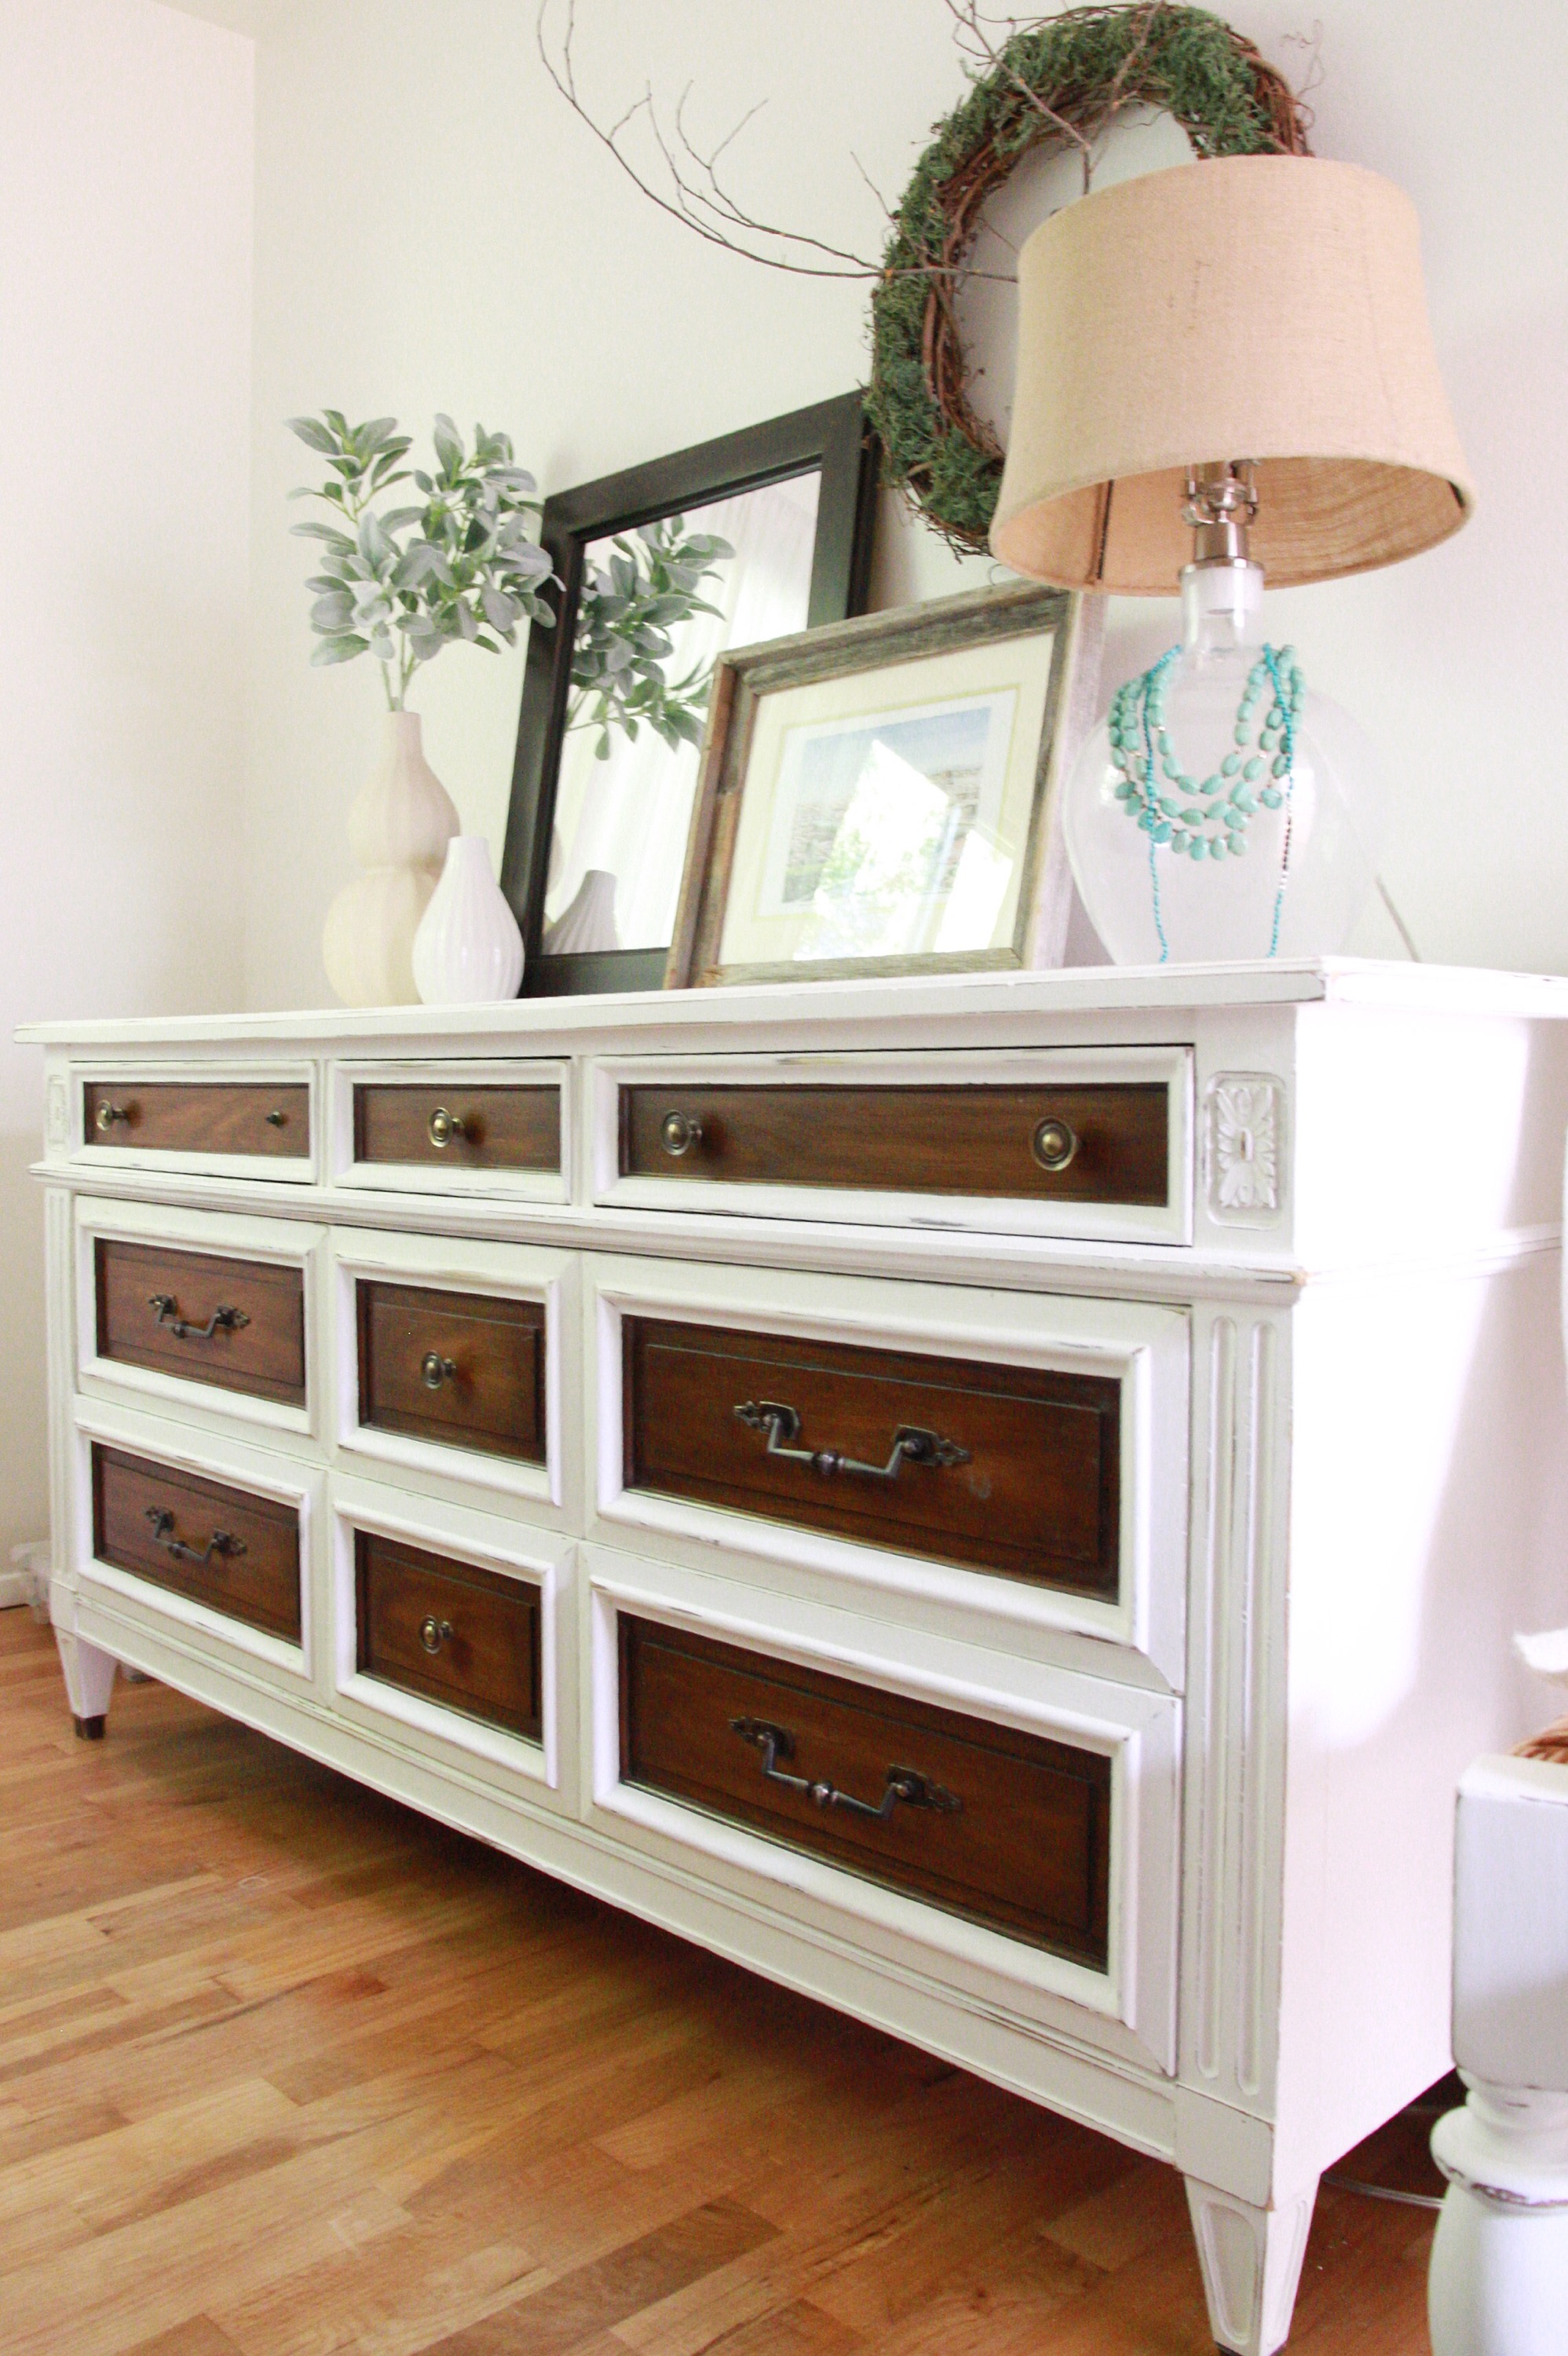
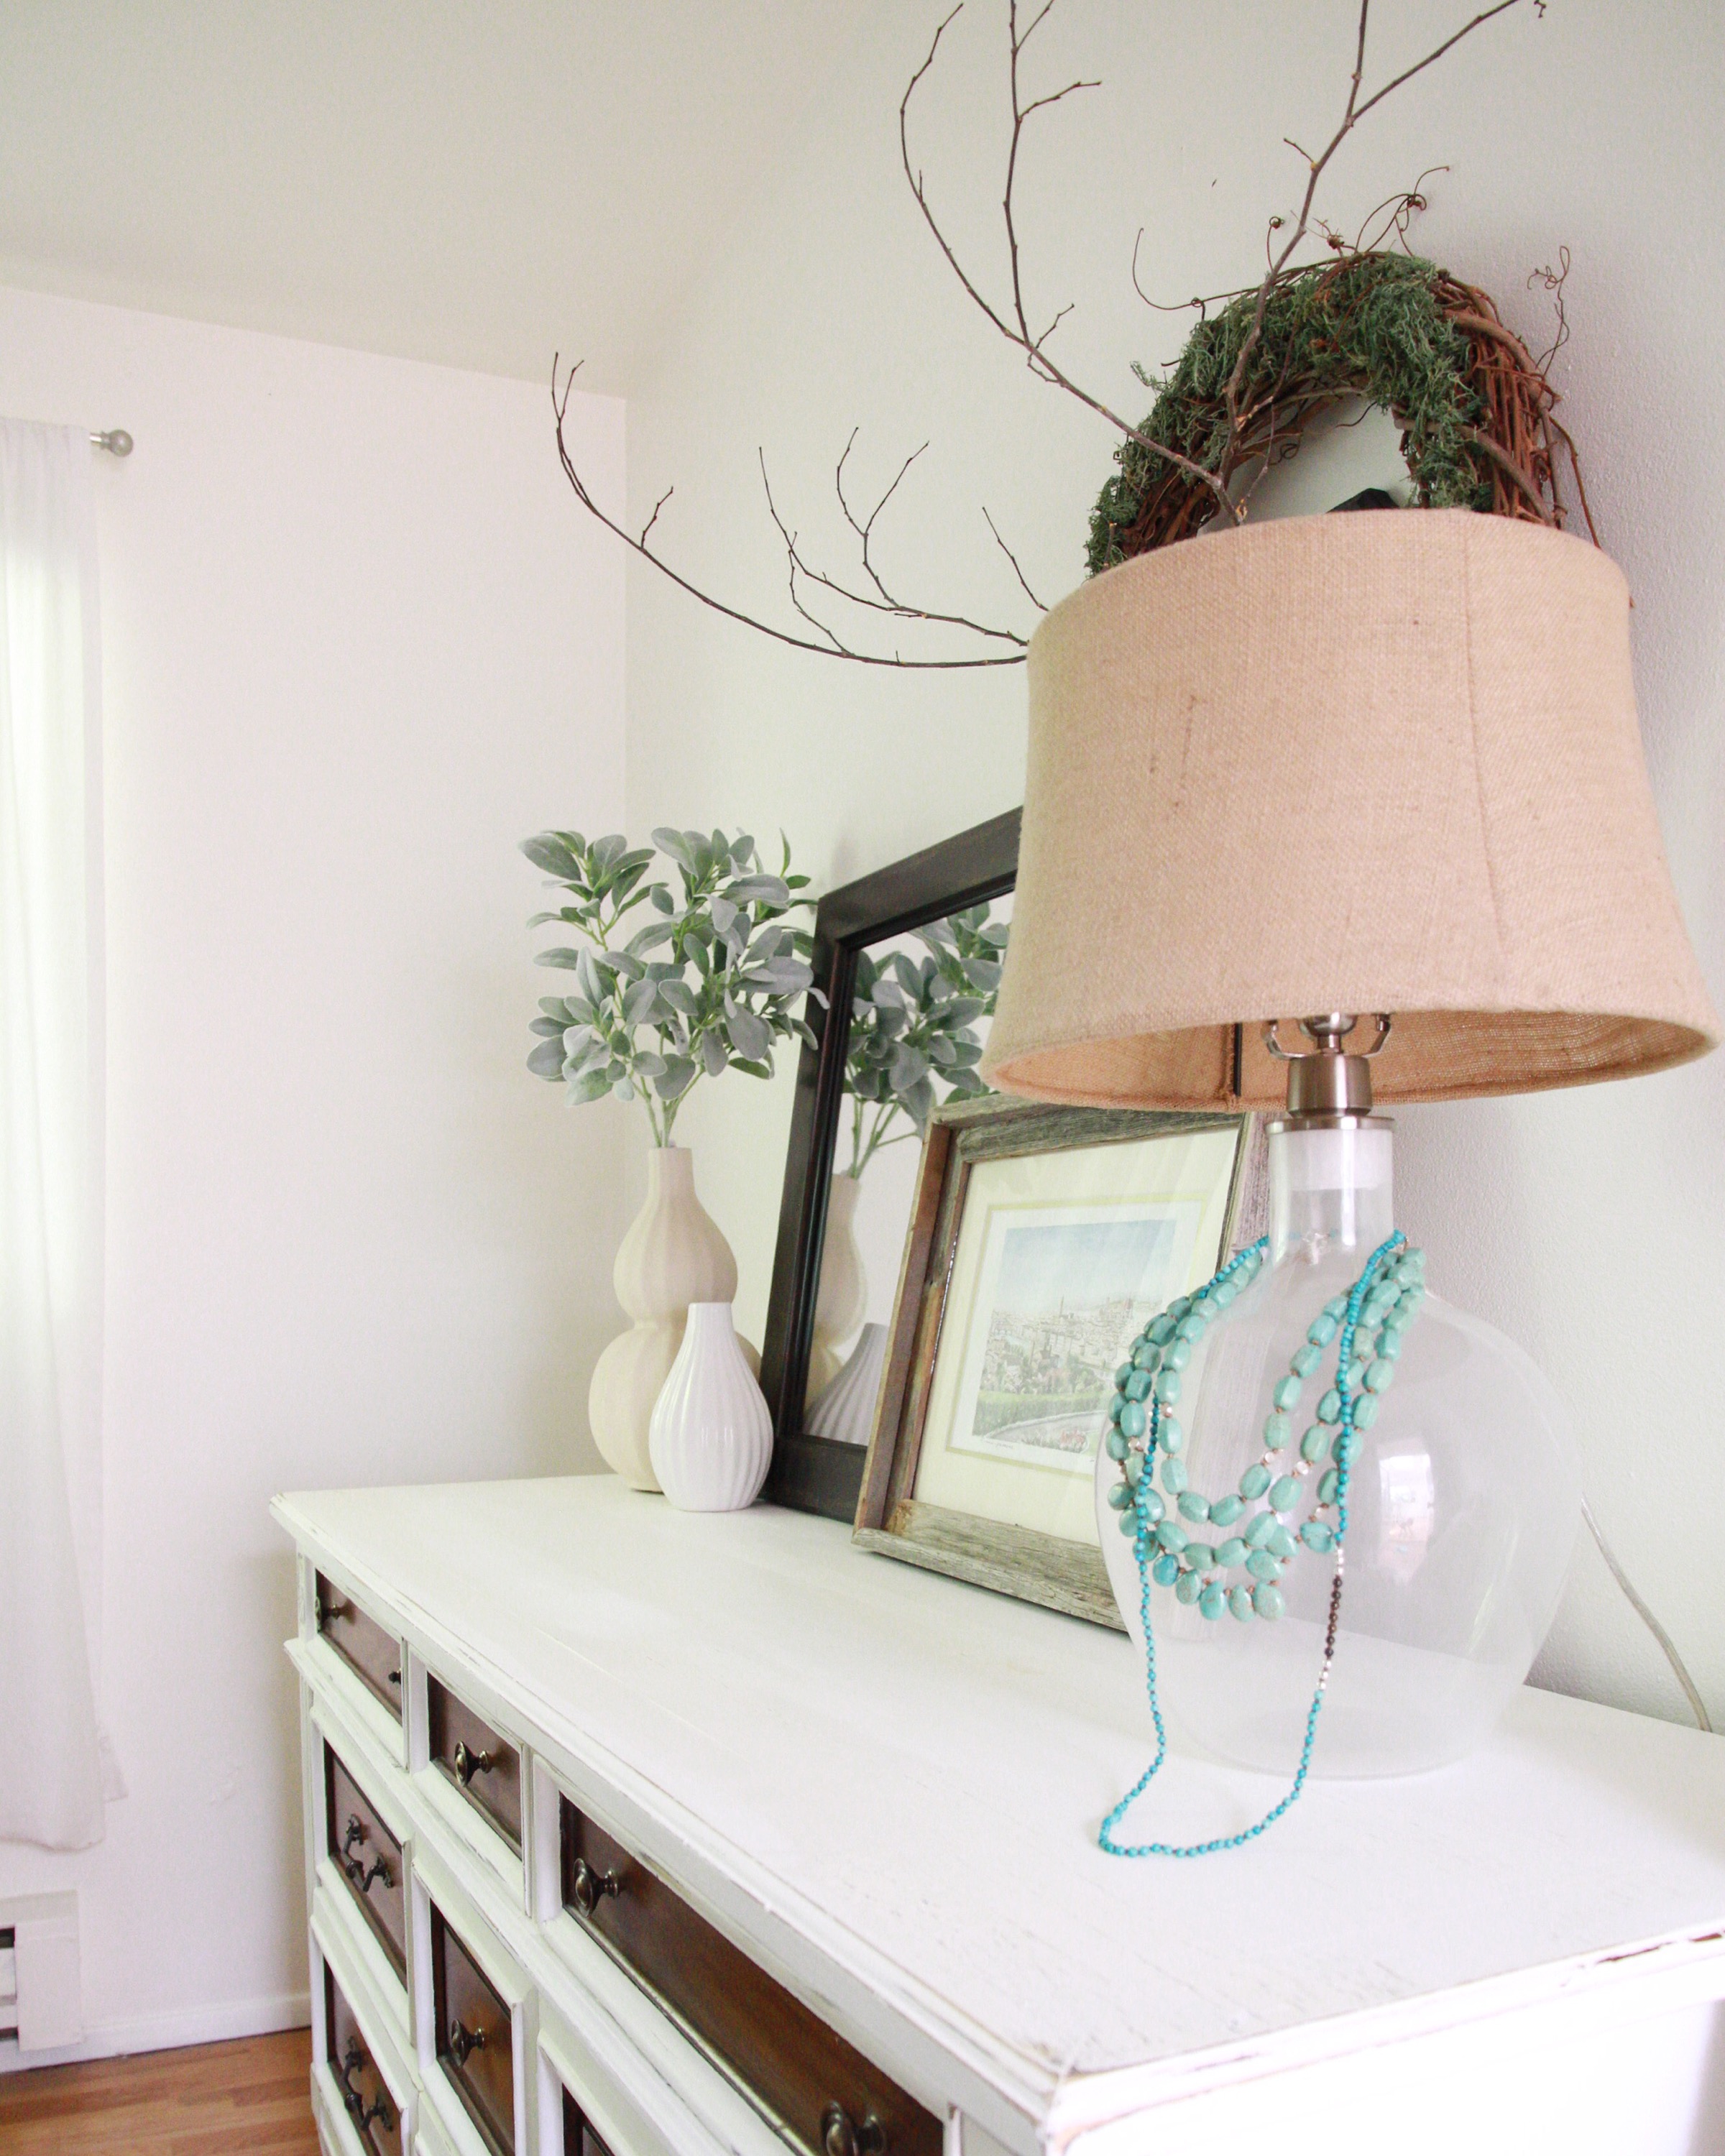
To this!
This project was pretty simple but did go in a different direction than I was thinking and I will explain more about this at the end.
Here is what you will need for the primary stages of painting…
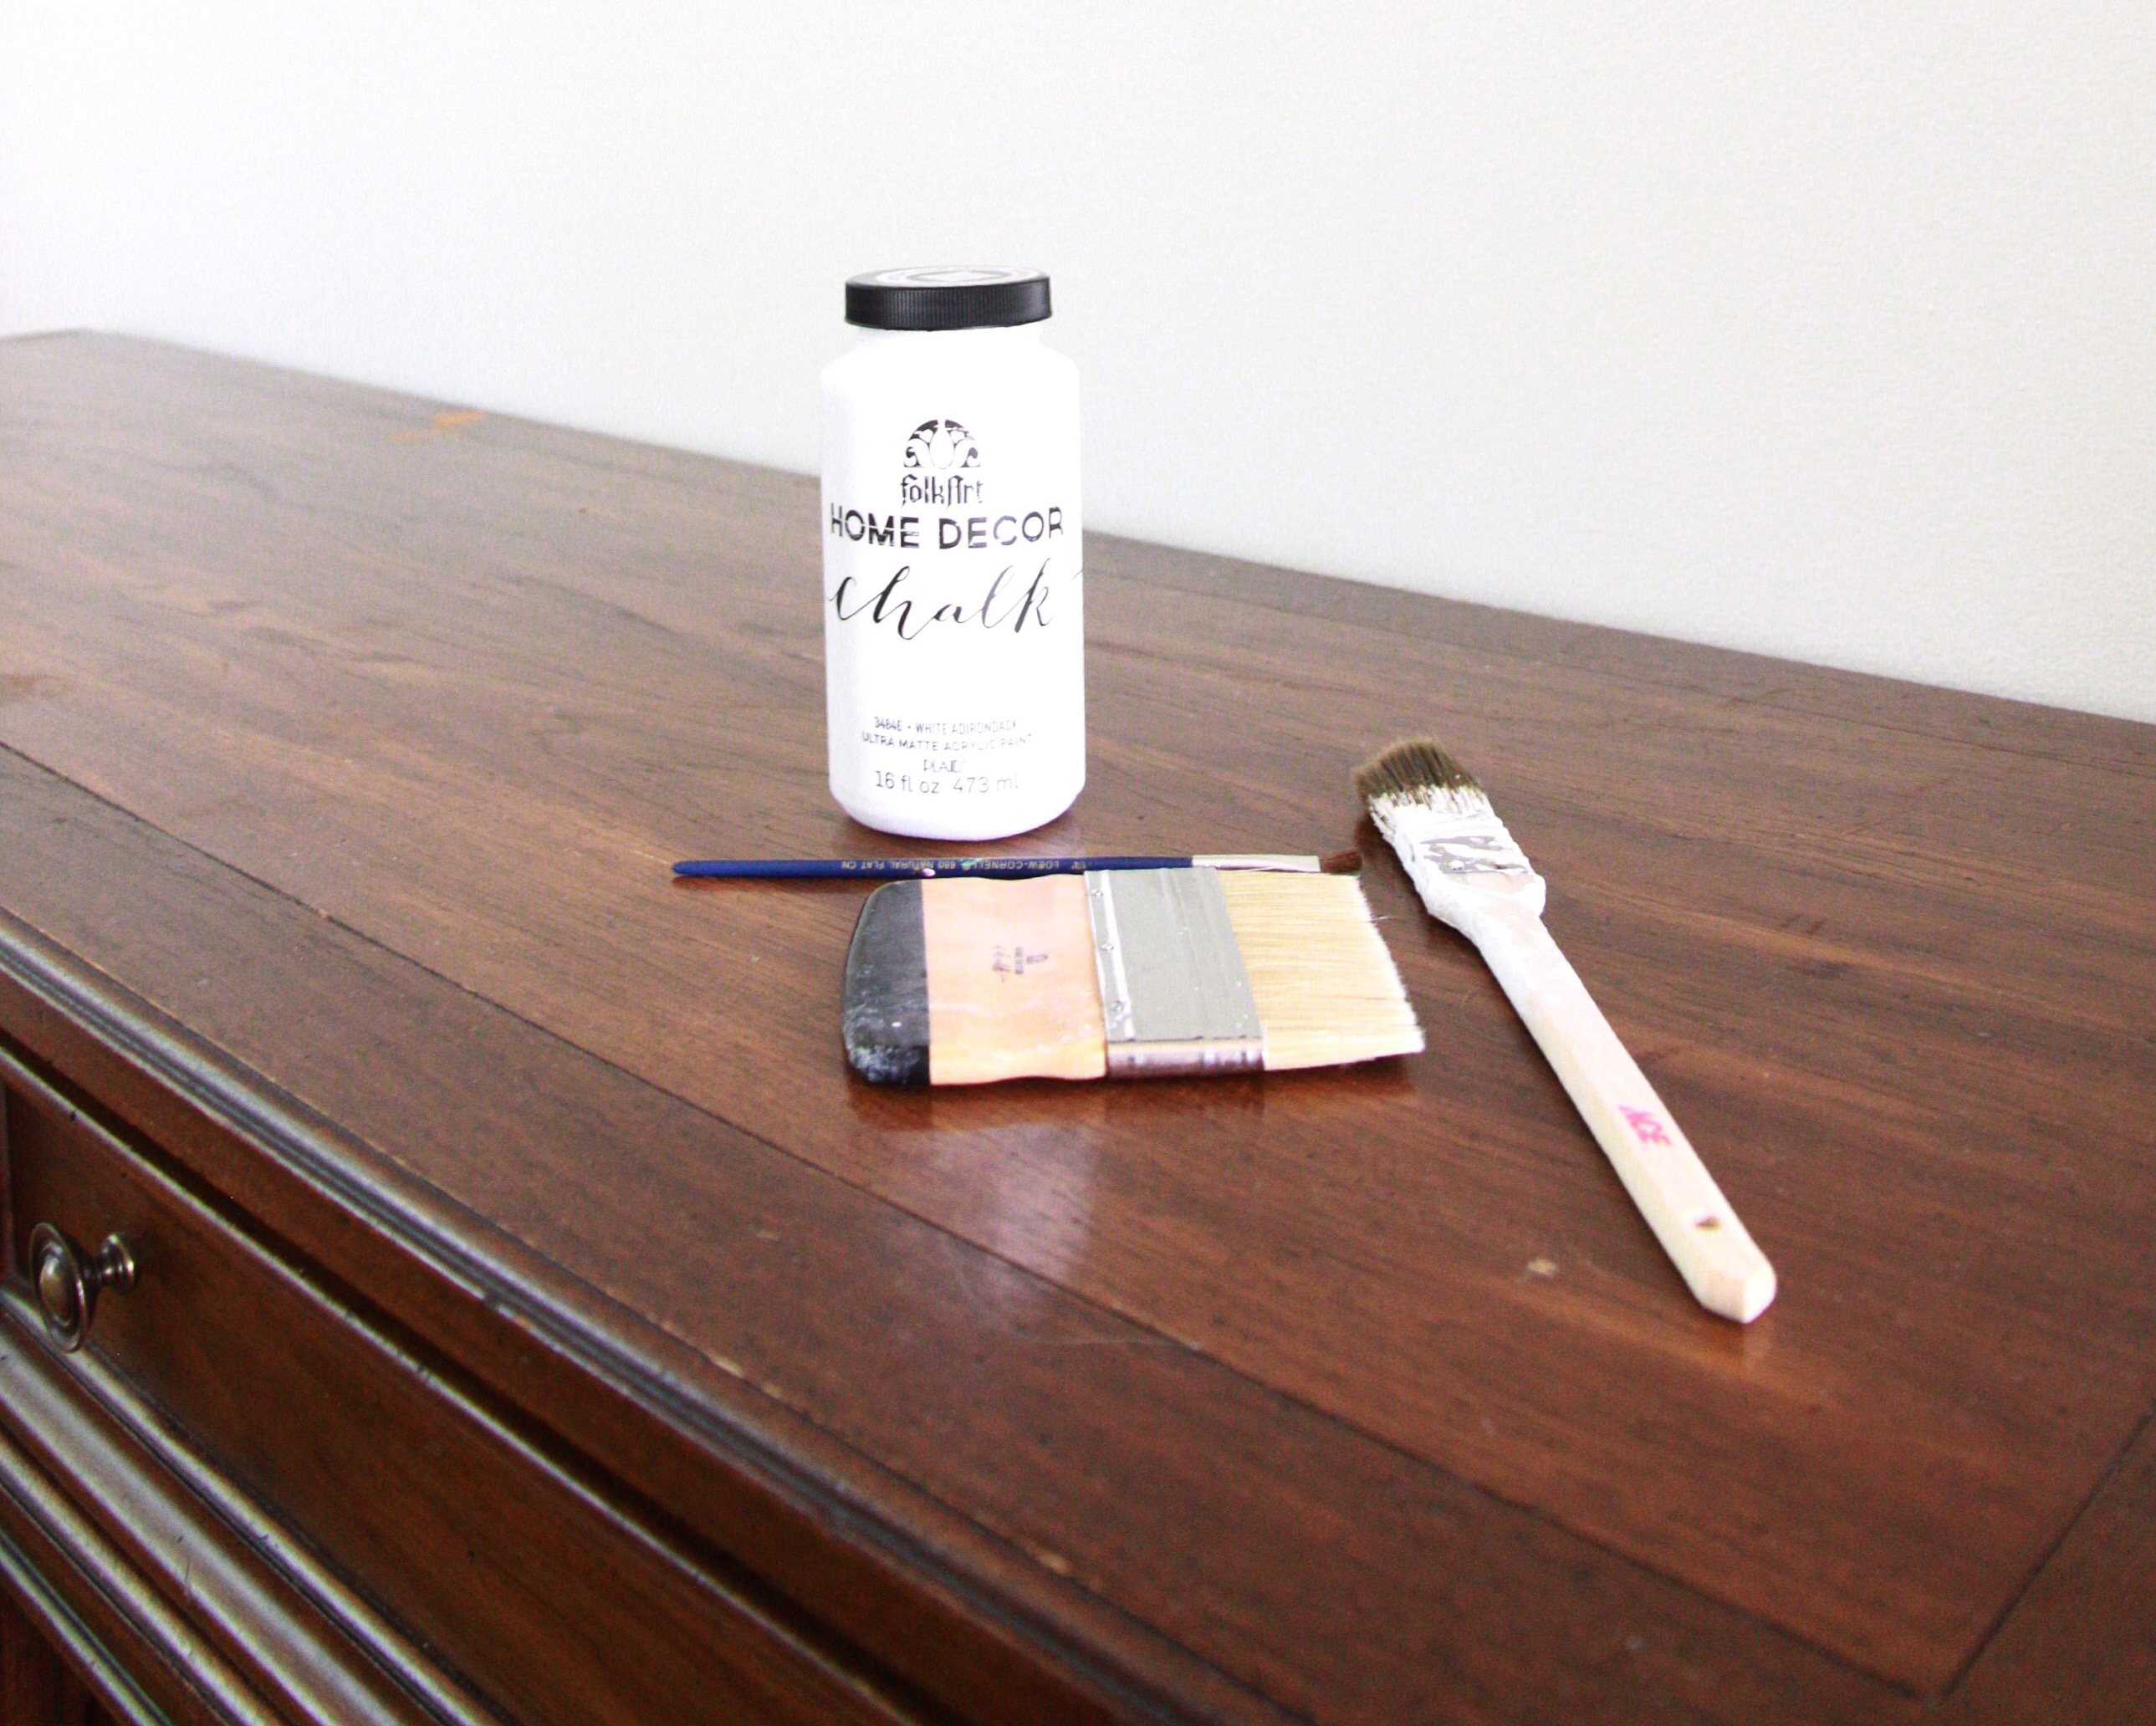
– paint brushes (because of the size and detail of this piece I used an assortment of wide, small and angeled.
– chalk paint (I used Folk Art brand in Andirondak White). Amount will depend on the size of what you are painting.
Here is how to paint the furniture of your choice… (This part is pretty simple)
– start painting (typically there is no need to prep your surfaces when painting with chalk paint) in the direction of the grain and be prepared to move quickly. Chalk paint dries fast and can drag – flaking across if you aren’t careful. (At least this was my experience with this particular brand).
– let dry 2 hours between coats and cover as much as you want. For both my dining table and this piece I did 3 coats because I wanted nice thick layers but again, chalk paint is versatile and can be done in thinner layers.
– I found this tutorial from Miss Mustard Seed as inspiration and helpful when originally deciding how to do my piece
Next for the aging and distressing stage…
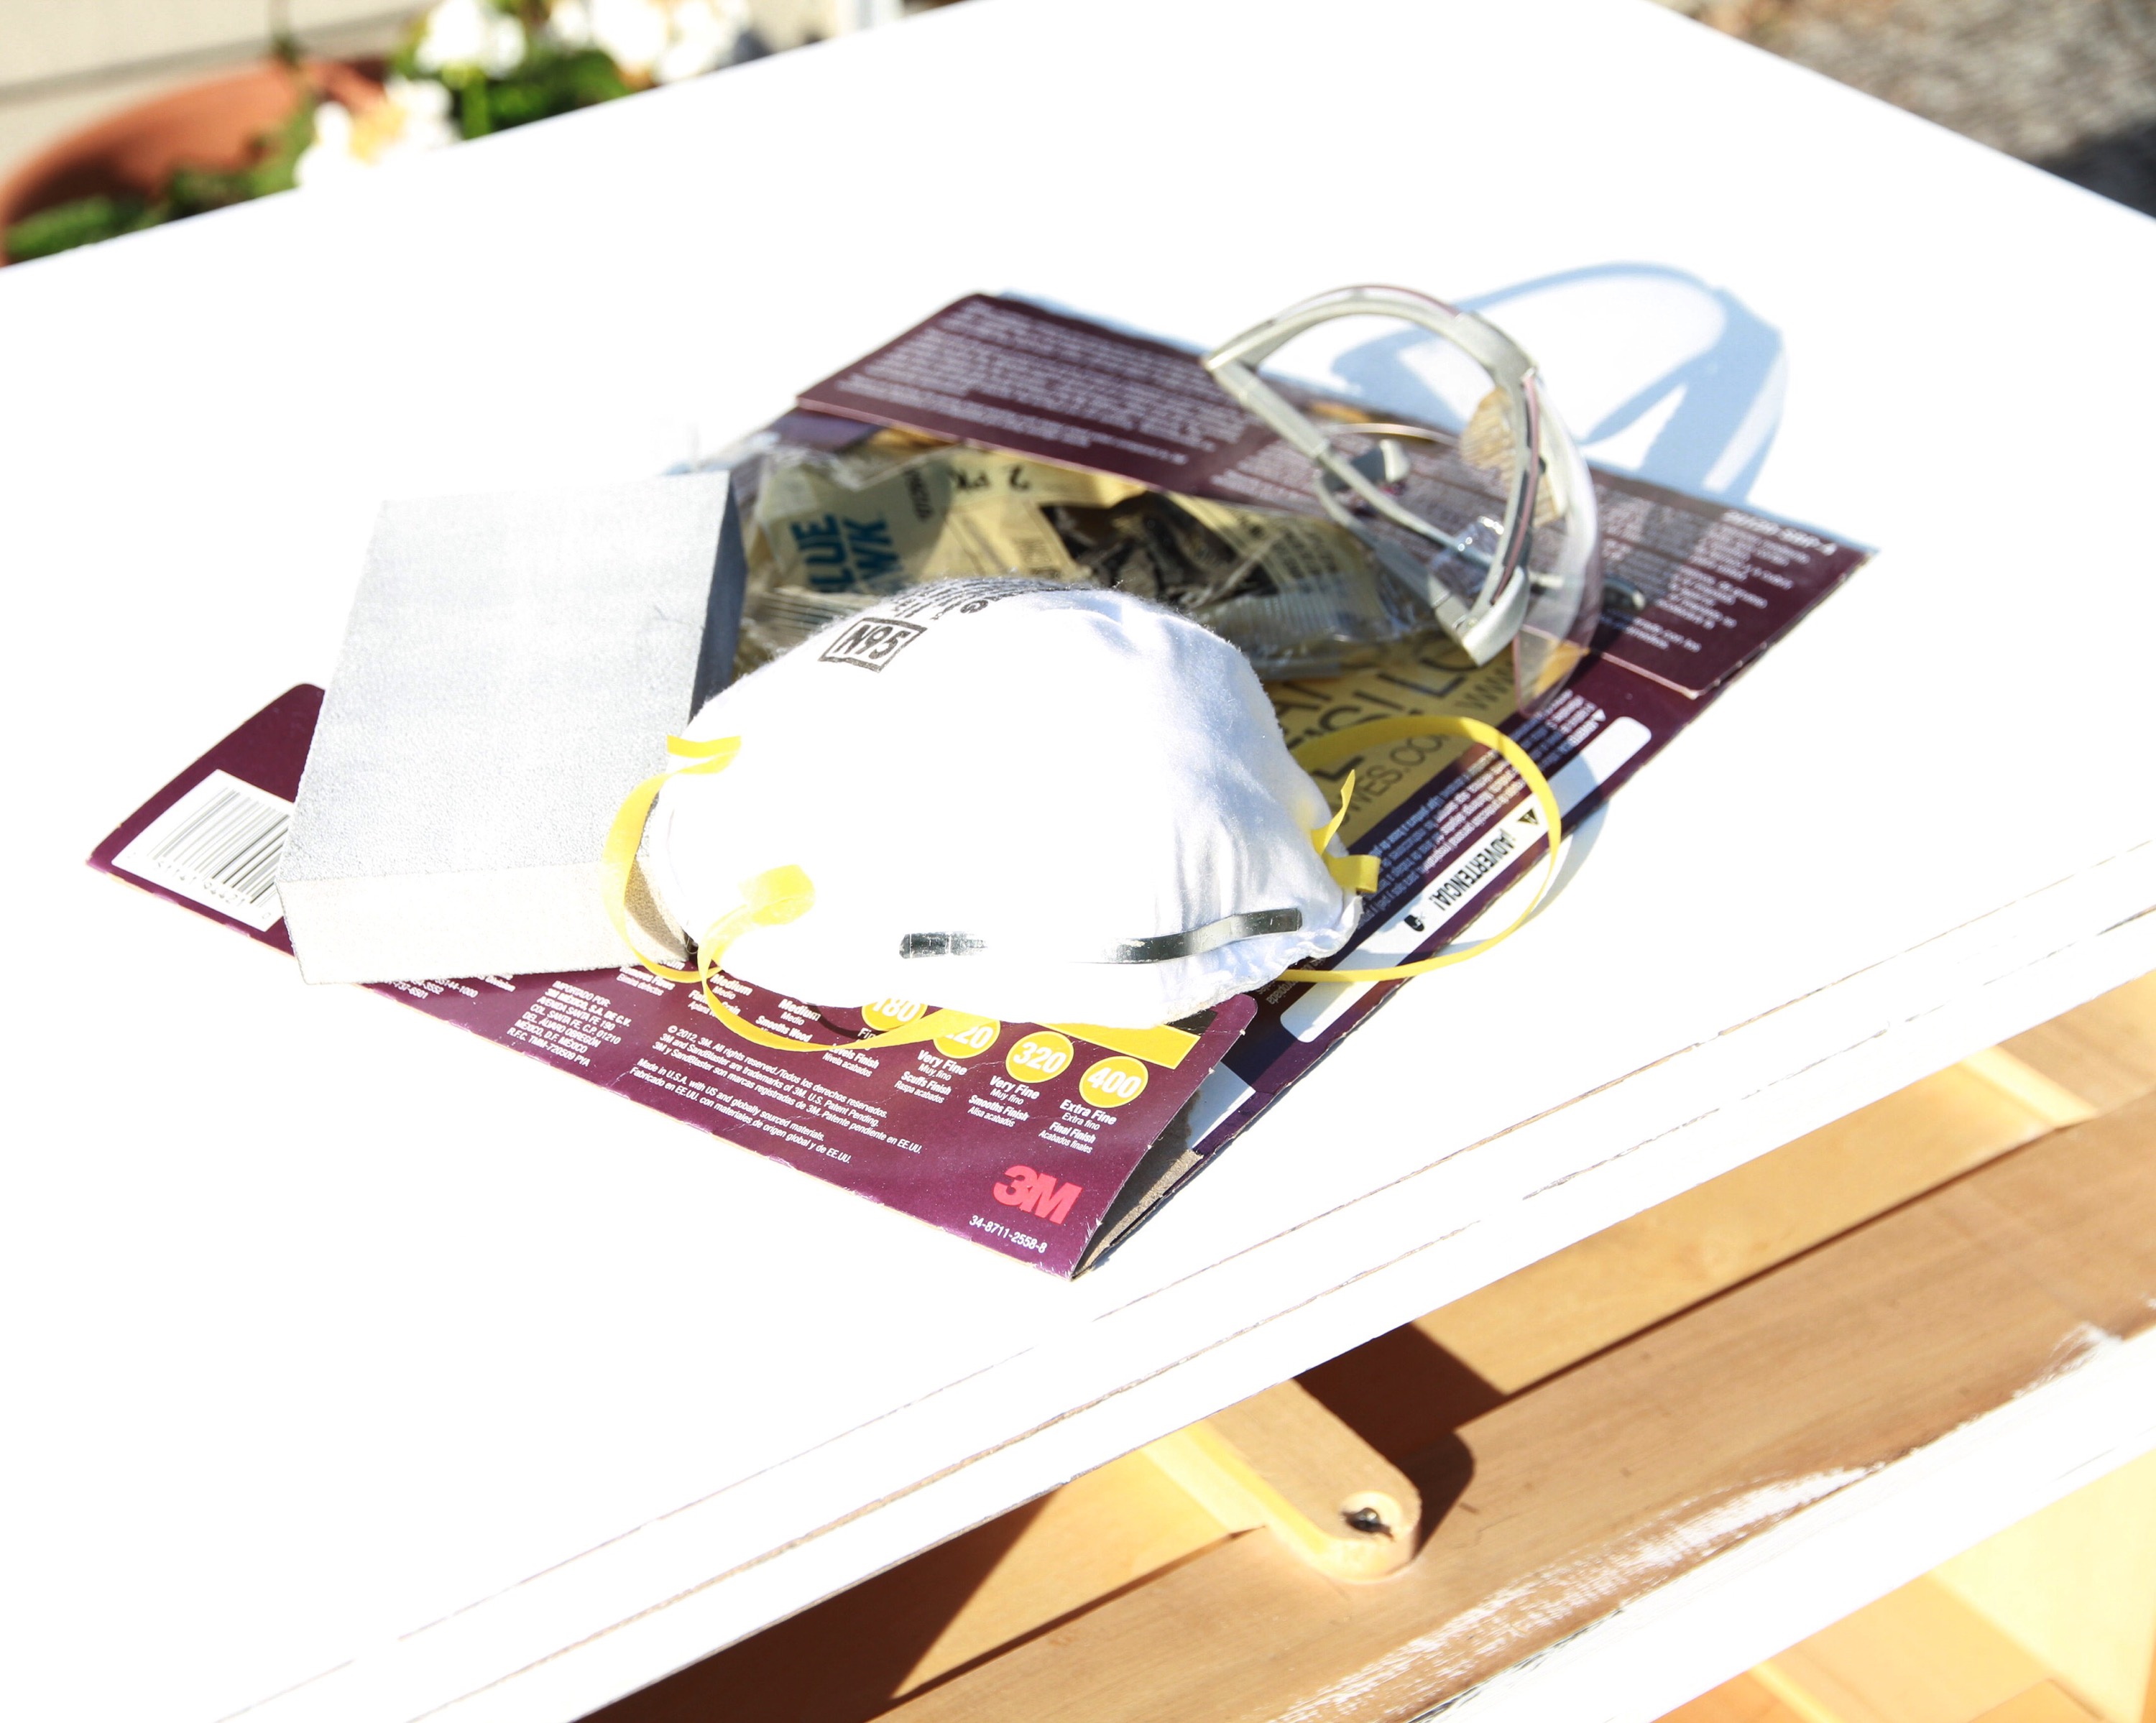
You will need to have…
– 100 grit sandpaper
– a fine sanding sponge
– protective mask and eye gear
Here is how you will sand and distress your piece…
– wearing your protective gear – take the 100 grit sandpaper and sand down the larger places you want to look distressed. I did this to places that stuck out or were pointed.
– take your sanding sponge and lightly run it over as much of the piece as you can. You are not doing this to actually distress but soften it in uniformity.
– wipe down and make sure to use your tack cloth to remove any dust. Make sure you get rid of all of the dust but don’t wipe to hard with the cloth it can make your piece sticky.
– lastly, finish your piece with wax or varnish. I chose Folk Art’s Varnish for my furniture because it is recommended for heavily used pieces and brushes on very easily. It dries 15 minutes between coats.

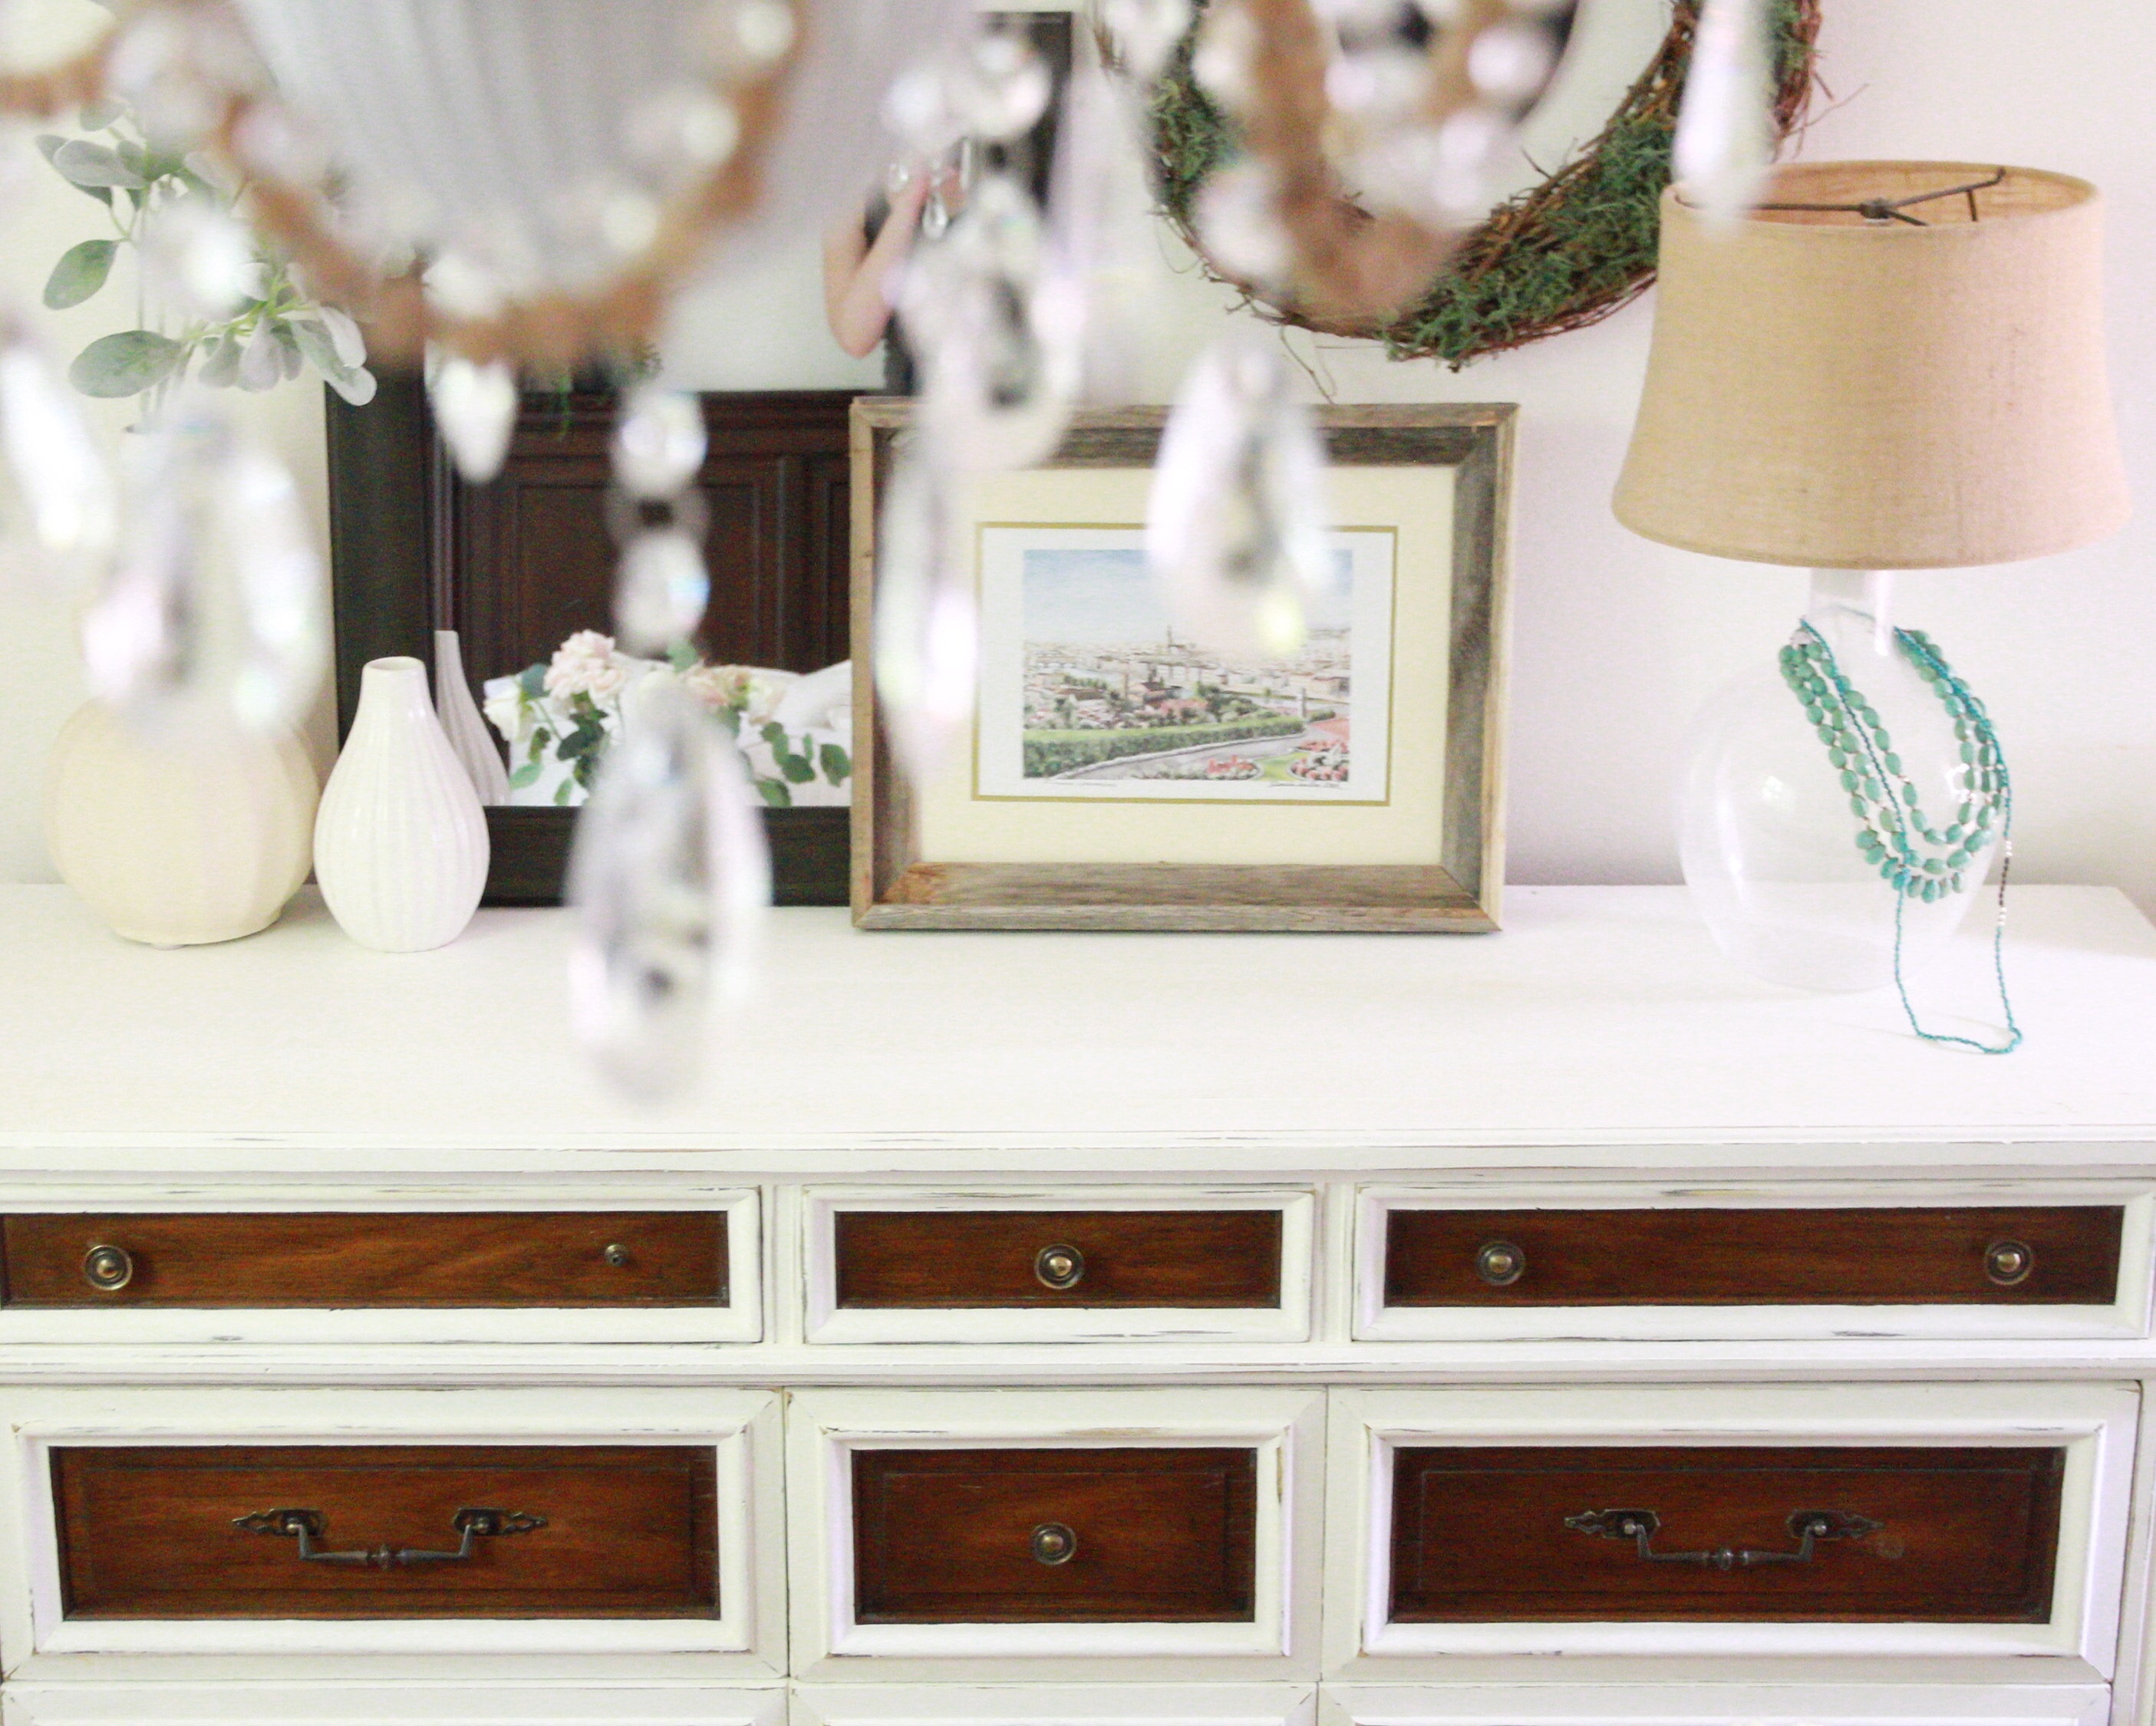
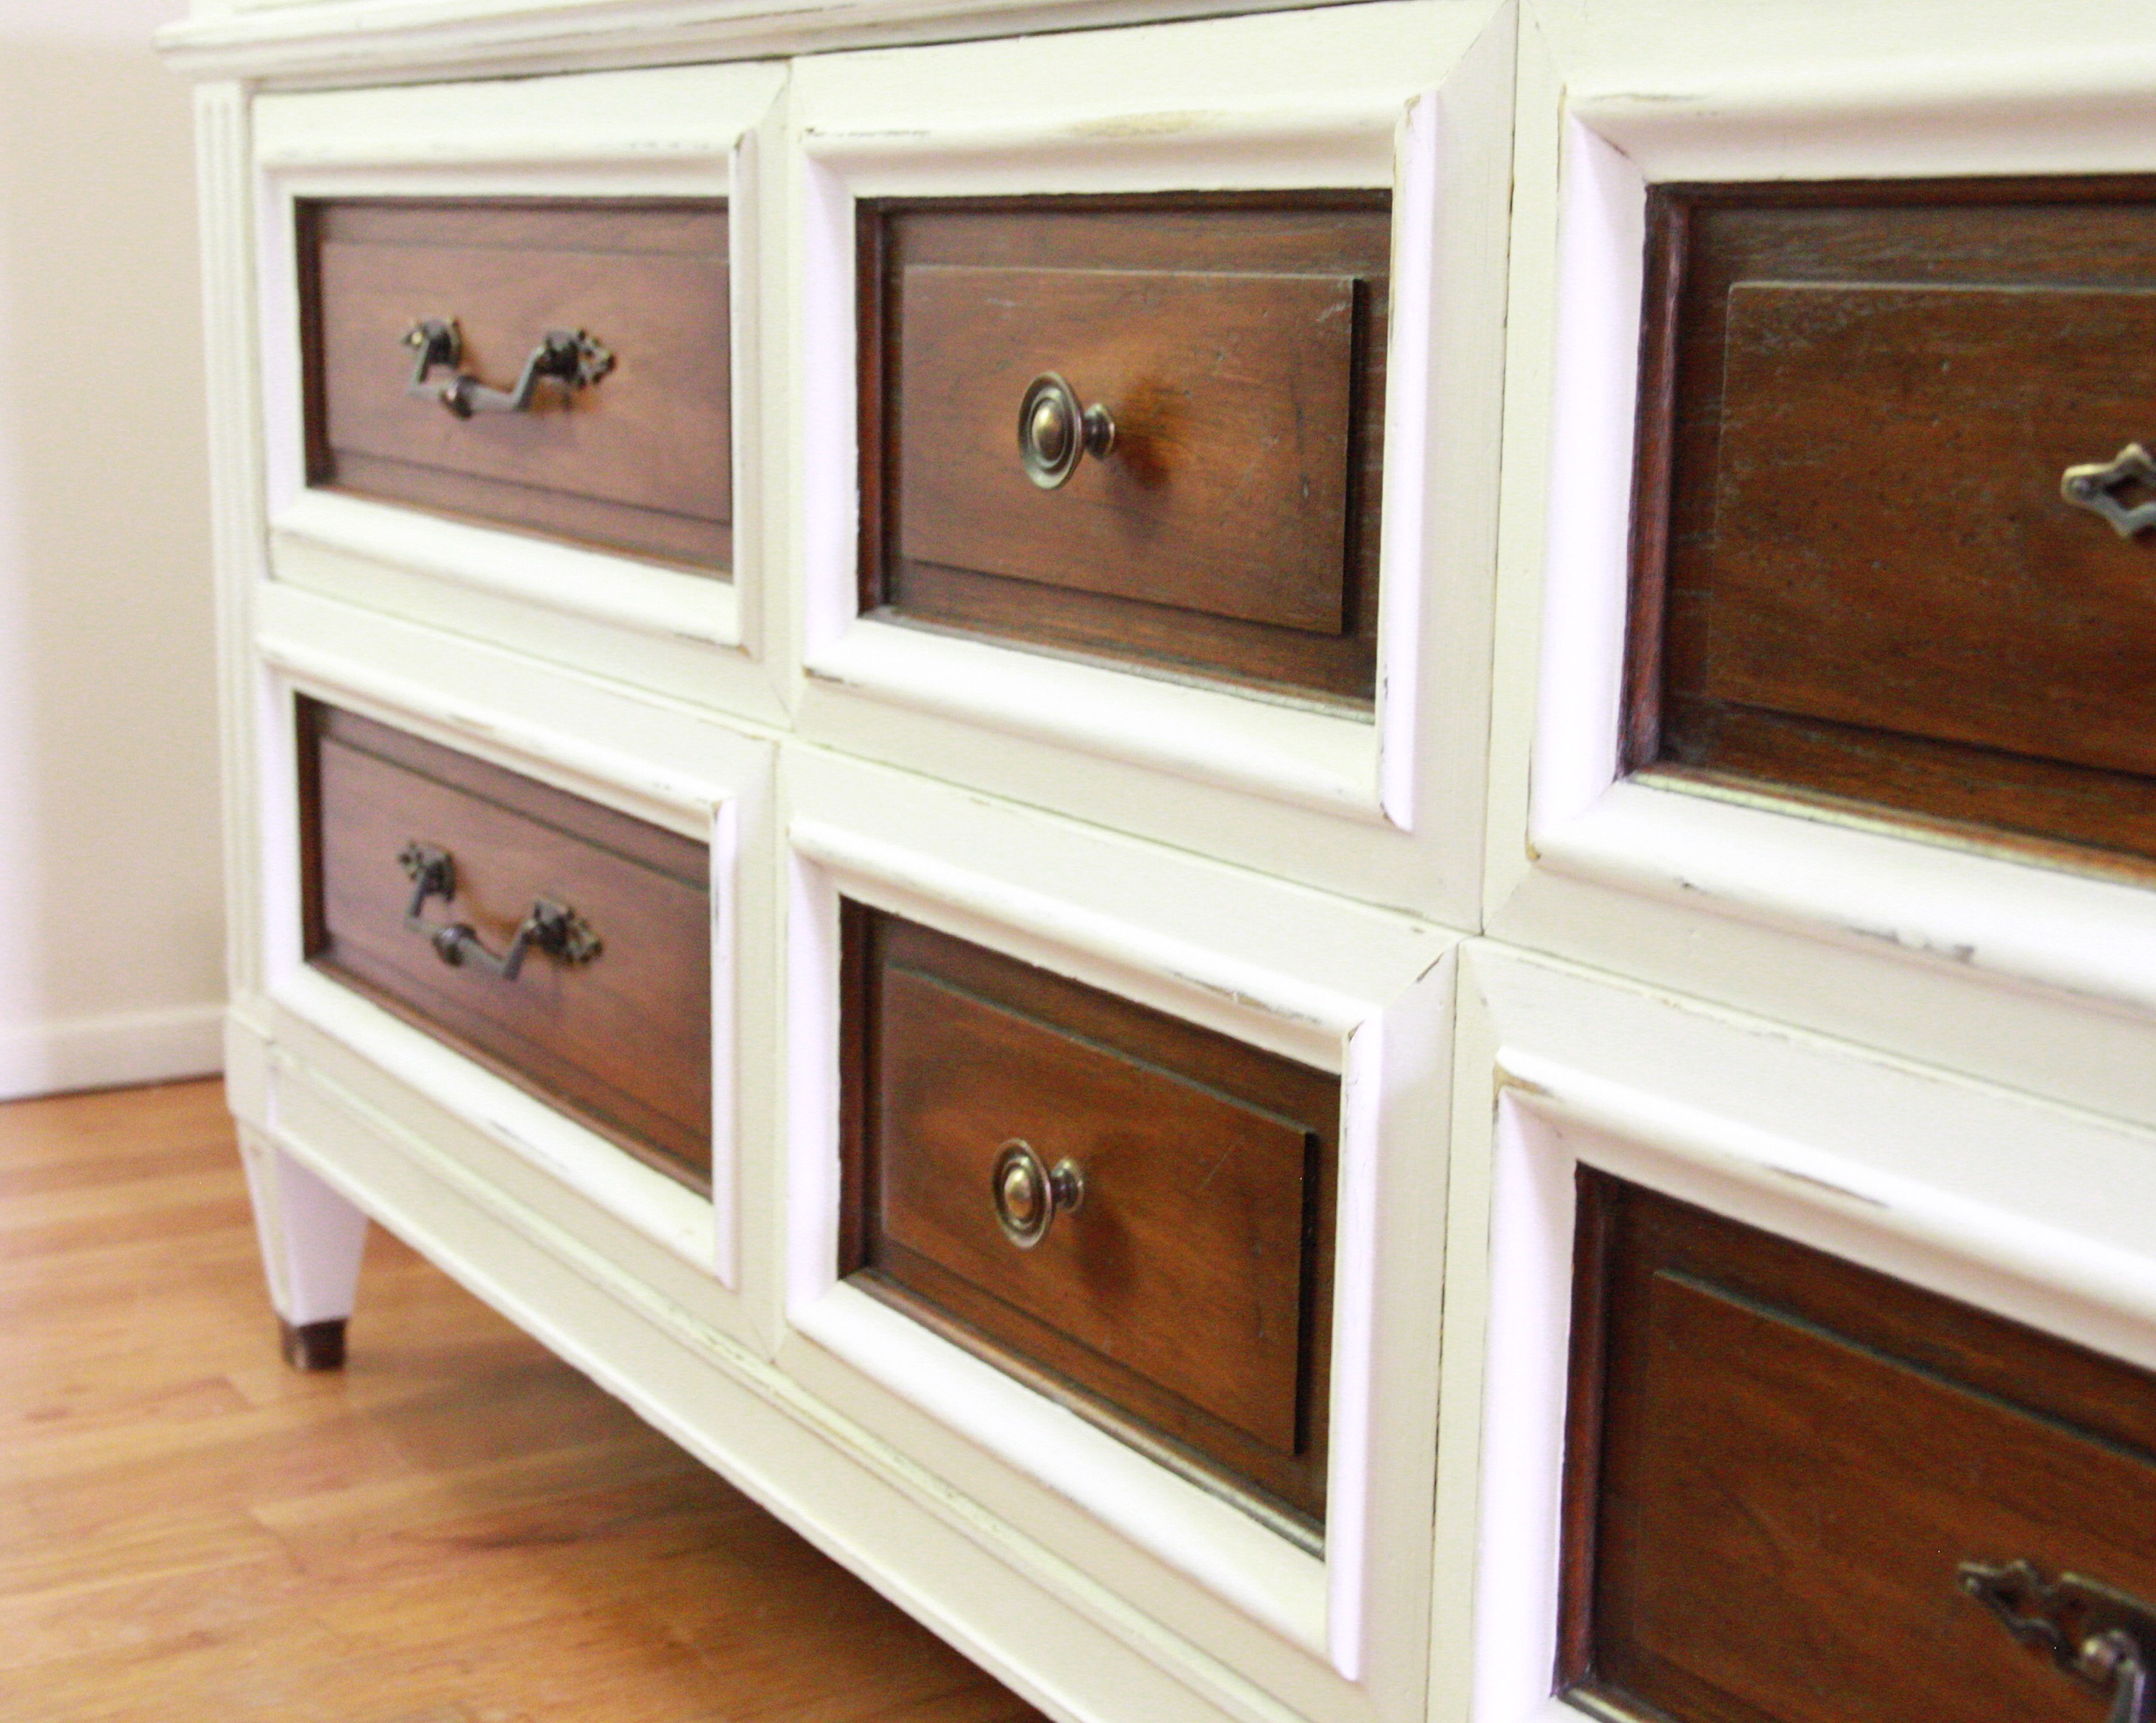
It really was simple and did take time like anything else does. This dresser has taught me some lessons and reminded me about life itself. I thought I knew what I was doing (since completing a similar painting project earlier) and that I could force this piece into what I had planned for it. After resanding a couple spots that were crackling paint (and not supposed to) I thought I had problem solved the issue. To my dismay, the freshly coated varnish dried and started to pull the paint up in places. At first I was frustrated and disappointed because I thought that this was not the look I was going for. After sitting with it for a bit I decided that this dresser was going to have cracked paint and I was going to embrace it. My goodness it’s just furniture! It looks more genuinely aged anyhow and I am pleasantly surprised at a happy accident. Isn’t this true for so much we experience in life? I know I try so hard to make happen what I want to happen but it truly is out of our hands. What we can do is choose to enjoy and open our arms to the mistakes and the changes. Easier said than done but I am slowly learning and continuing to try.
To avoid the crackling, if that is something you can’t live with – then I would suggest prepping your furniture beforehand. I am not positive what you would want to clean it off with but something to remove any residues – because that is what I assume happened here. It is always a great idea to test an area first too. The varnish dries and pulls up paint that is not properly sticking. I had no trouble like this with my dining table and not sure what the major difference was. Always learning something new over here!
Don’t forget to check out the other bloggers participating and their projects ( listed below).
Becky G. from The Other Side of Neutral
Becky C. From Buckets of Burlap
Ashley from Little Glass Jar
Wendy from Life On the Shady Grove
Stephanie from The Yammering Cabin
Jolia from Farm Fresh Homestead
Avery from East Egg Style
Jennifer from The Willow Farmhouse
We would love for you to share your $20 projects too! Make sure to hashtag them #salvageswagger for a chance to be featured on all our instagram accounts. We will pick another winner next Thursday.
Thanks so much for stopping by – I appreciate each of you who take the time to look and support zevy joy. Have a wonderful day!


I can’t believe you found this dresser for $16!!!! That’s the best thrifting I’ve seen yet :)Looks awesome!!
Thanks so much Megan! I couldn’t believe it either – I may have been hovering over it until they taped my name to it and saved it for pick up! Lol
I love this project Annie! It turned out so great, and the turquoise necklaces around the lamp add such a great element to it!
Thanks so much Chloe and for noticing the little details!
Hi Megan
Did you leave the middle wood section alone or did you add a stain? It looks darker than before you chalk painted around the drawers. Thx
I did leave the center stain alone and did not use anything additional. Not sure if that bright white next to it may make it appear darker? Thanks for stopping by!