Details about our DIY Slipcovered Sofa
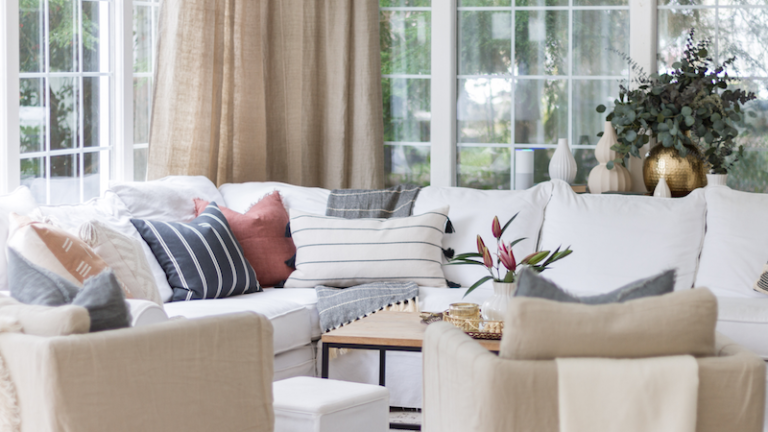
I am sharing with you the details about our DIY slipcovered sofa that everyone seems to love!

One question I get asked often on Instagram is regarding our comfy sofa. I so very much appreciate that people enjoy it and like to know where it came from. So today I thought I would share the story of our couch.
The original sofa was a very dark chocolate brown and came from Mor Furniutre for Less. It had a friendly price that fit within our budget, considering at the time our first baby was on the way. We thought we wanted something dark and wearable. This particular sofa has down feathers built in to all the cushions so it really is super comfy. We loved this sofa for a few years.
By the time I was considering changing things up we had already had our second baby; she turned one and I was starting to get some creative energy back. In other words, we were all sleeping through the night and we had all settled into the life as a family of four. I could now think a little bit about DIY projects and decor. Some people are so good at having little ones and keeping that creativity – but not me, ha! I did little things here and there but felt pretty good about getting a shower when needed.
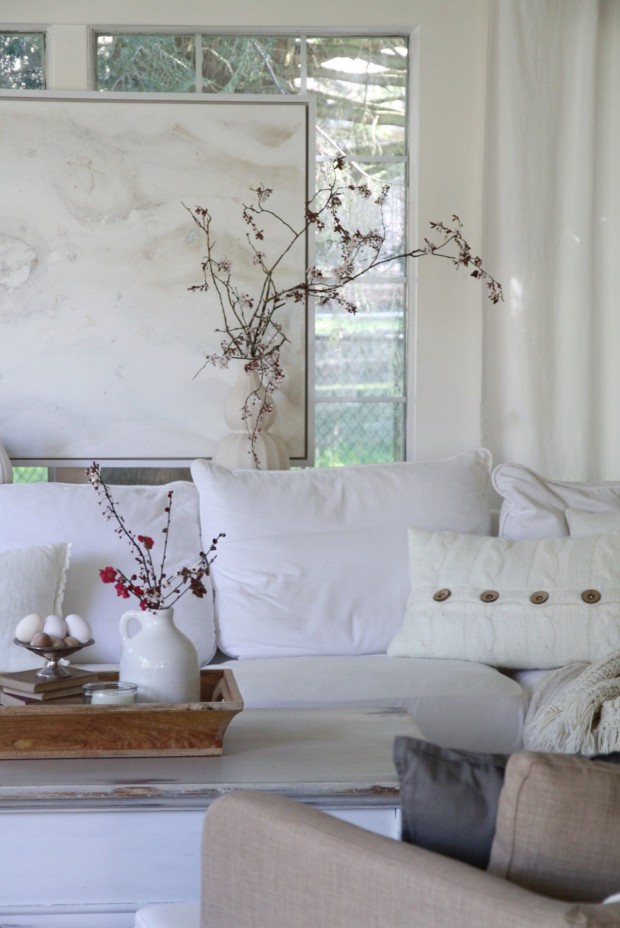
(Painting from Wellbrock Art – can be found on Instagram)
I had always been inspired by all the light and bright sofas out there in design land and we even had a small version from Ikea in our front room for a while. So I made my mind up and determined I would sew a slipcover for our giant sectional.
Truthfully, I did go back and forth with how to handle this task. A couple times during prep I chickened out and looked into having it professionally done. But it was too much for our budget. I knew I was going to have to tackle this project myself.
When I say tackle, I mean it. I wrestled with the sectional and it was a job. I was a teacher at the time and started it during my summer break. I didn’t want it to take away my time from the kiddos so I worked nights a couple hours at a time. I estimated that it would take me 3 weeks. Just writing that makes me laugh. I had no clue what I was doing – I used the sewing skills I had to accomplish this project.
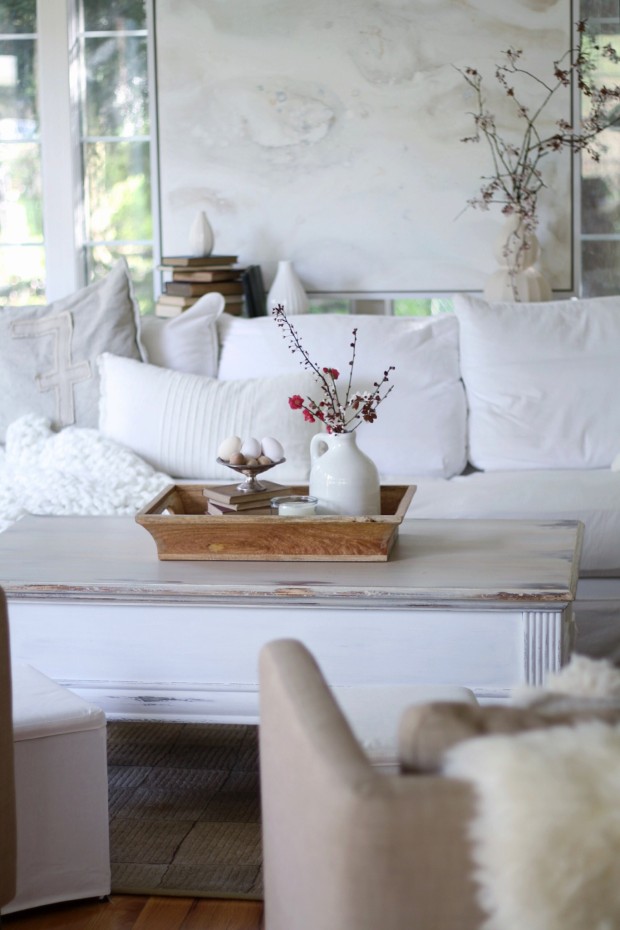
(#7 pillow from Painted Fox – affiliate link in sidebar)
In the end it took me 8 weeks working every single night (except weekends) and that was nearly my entire summer vacation. I made mistakes and learned a lot. Would I do it again, no (at least not with a sectional this size). But do I regret it, never. The reward of finishing a big DIY project like that was great and I have said it before, I will say it again; my decorating parralels so much of life.
You do have to work hard to achieve those big dreams and sometimes you even fail. Through it all you find out about yourself, what you’re made of, you learn and you grow. This sofa was just like that. I literally suffered for it – I pulled my back at the end of it all, after so many weeks of improperly leaning over my sewing machine…

Though, when I sit on that sofa, I smile. I can be assured of the lessons and enjoy the hardwork. You can see a tour of our home about a year after I finished the slipcover.
Here are the more specific details about materials we used…
- 100% white duck cotton
- cotton piping (that I made using the same material)
- Heavy duty thread
- Denim sewing needle
- Extra long zippers for each cushion
- I quickly sewed two sheets that go over the bottom cushions like a pillow case that protect from normal wear and tear.
- A lot of patience. I also truly believe our sofa was so tricky because it is a GIANT sofa and it isn’t symmetrical (which always makes sewing of this nature more complicated). I believe a normal sofa shape would be very doable!
While DIY’s are wonderful they can be tricky, but I hope this encourages you to keep trying. This sofa only happened because it was a DIY. It didn’t put us in debt (It cost 500 total) and has held up incredible. We wash it occasionally but not all the time. I do not plan to change it any time soon and LOVE that I have the regular opportunity to share it with you.
Thanks so much for stopping by and have a wonderful day…

It’s absolutely gorgeous – even if it did take a what felt like an entire Summer to complete! LOVE it my friend!!!
Oh Kristi thank you so much, that is such a compliment coming from you! Hope you are having a great week and thanks for taking the time to visit!
Thank you for posting this, Annie. I’ve been considering making slipcovers and this was helpful. It’s that darn piping that keeps me from diving in! Doesn’t look as good without it, but it sure does slow things down. —Elise
Elise thank you very much! I completely understand the piping, once I got the hang of it it wasn’t too bad ha! But yes it really does take that extra time. =)
Where do you like to shop for best prices on fabric? I love your slipcovered couch and am ready to update my couch like this!
Hi Cindy, thank you very much! It depends, for smaller projects I usually use any of my local craft stores that accept coupons as that is how I get the best deal. But for a much bigger project I have found that going online and searching for the best price can even be better. I really appreciate you stopping by and hope you enjoy your soon to be update!
It is so beautiful Annie, great job!…. and I may tackle mine one day but I
keep going back and forth, pay to have it done, or save money and do it myself
Alicia thank you friend and I completely understand. I appreciate you stopping by!