DIY Bunny Easter Egg
Hello friends, thanks so much for stopping by yesterday as I shared a simple Easter table decorated for the season. Today I wanted to pop back in for a fun and easy Kid’s Easter Egg tutorial. Everly and I spent a rainy afternoon (which seems to be typical most days lately 😉 playing around with these and I just had to share!
Growing up I LOVED to craft. I mean I was all about puffy paints, acrylics/ceramic figurines, ribbon, friendship bracelets and so much more. My grandma was the crafter in our family and on seldom occasion I would head to her place to spend the day making cookies and playing with beads or making dolls. These times were few but they were special. I am certain I got my love for home making and DIY from her and I love that.
It brings me such sweet peace to know that in some ways my kiddos get to know that side of her through my creativity and I love watching how they will carry on that creative side as well…
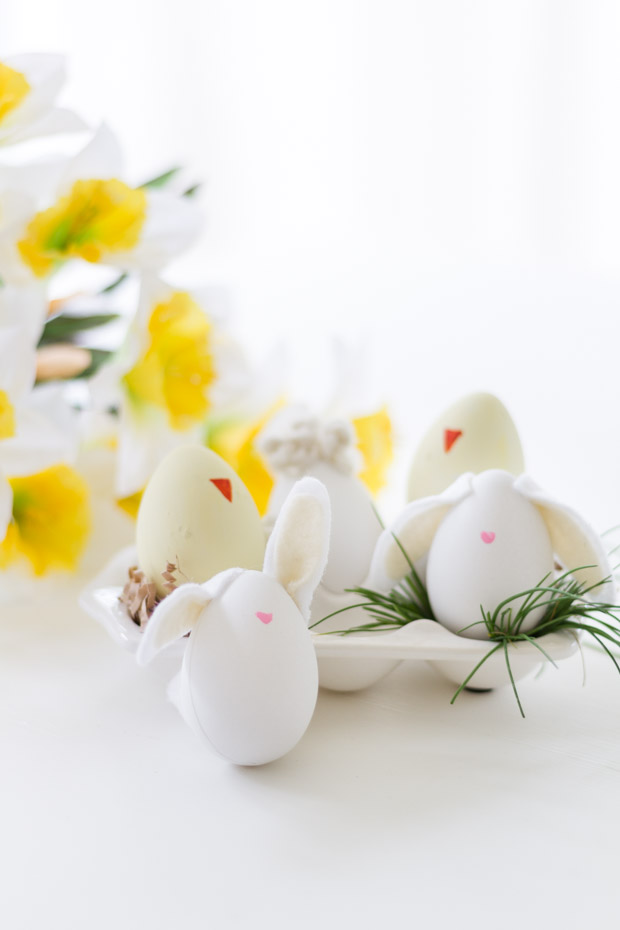
Now on to these fun little eggs. I was browsing the store and wondered how I could fix up a fun version of an egg and then it hit me! Little bunnies! But even better I would create a little scene with all his spring time friends.

This project was really simple and takes some basic skills – I wanted the eggs to resemble the cute little critters but not be too detailed.
Here is what you will need…
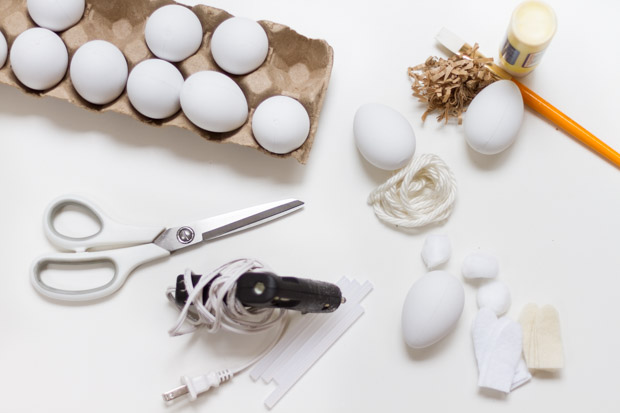
- Faux Easter eggs
- Scissors
- Craft glue for kid friendly version or glue gun/glue stick (adult only and practice safety when using as these get hot).
- Yellow, orange, pink paint/paintbrush
- Yarn
- White puff balls, and some felt cut in the shape of bunny ears
- Brown craft paper gift basket filler
And here is how you will assemble the different friends:
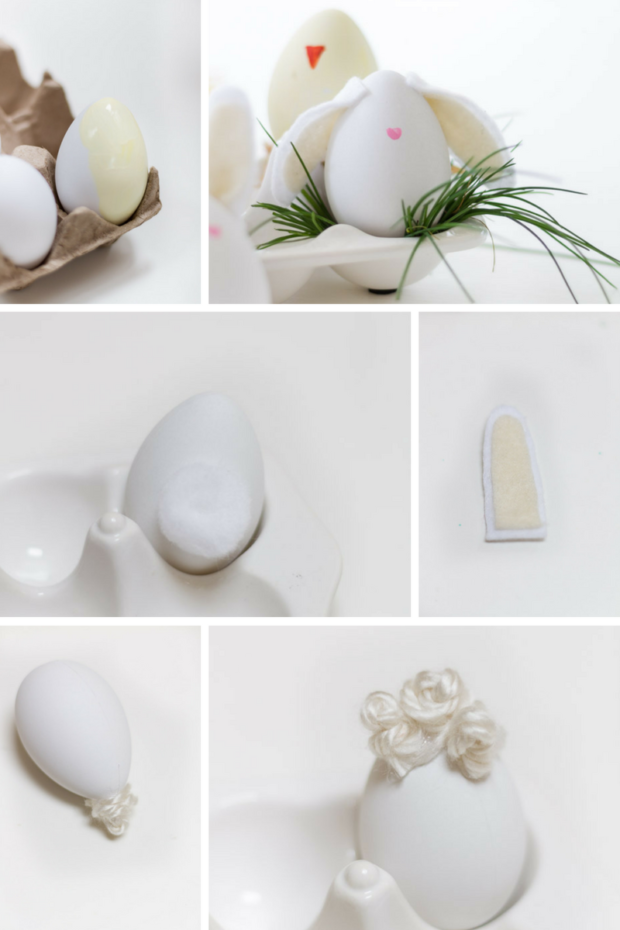
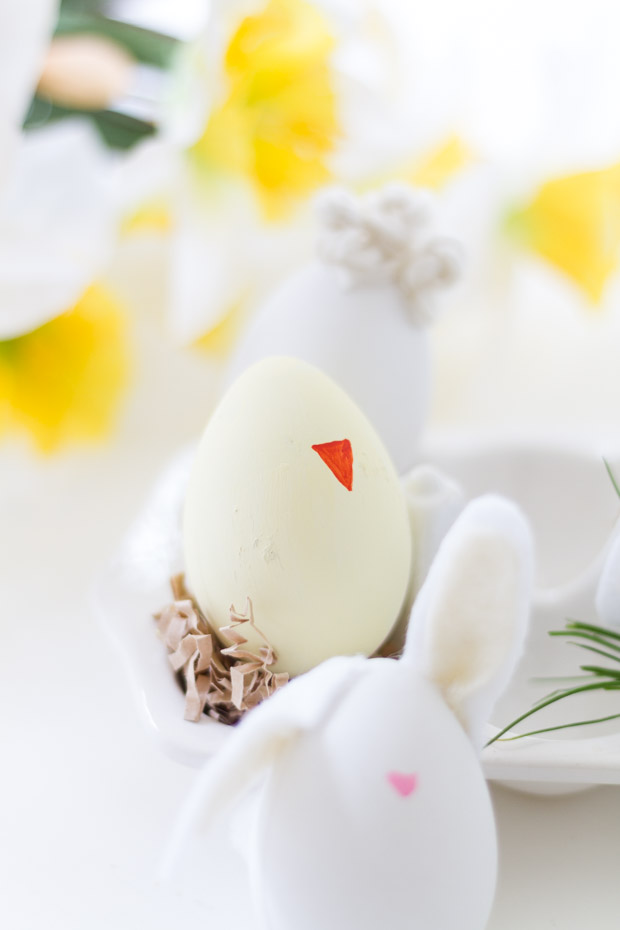
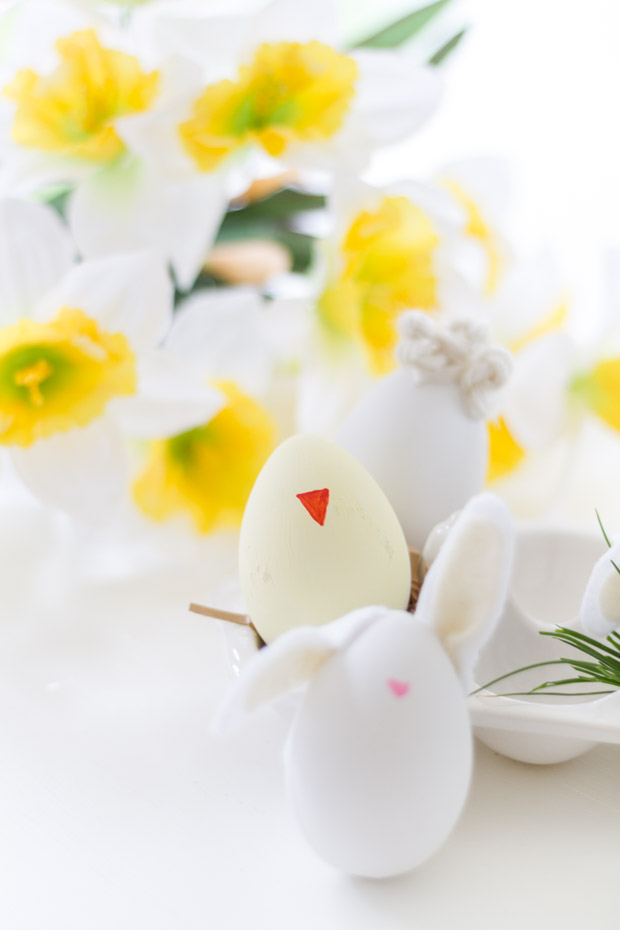
- For the chick: paint the egg yellow and give it a small orange painted beak. Then set inside a little nest of basket filler.
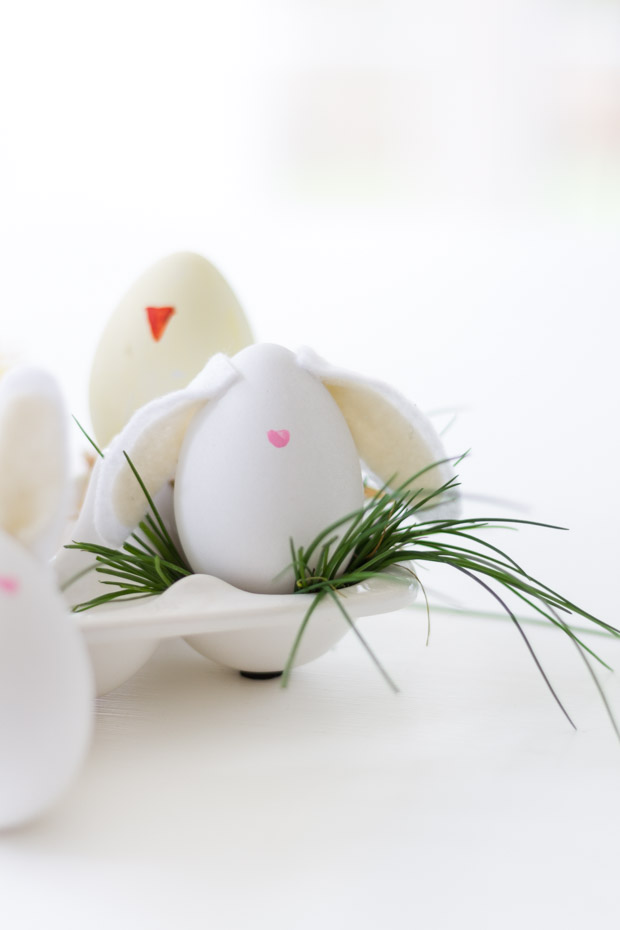
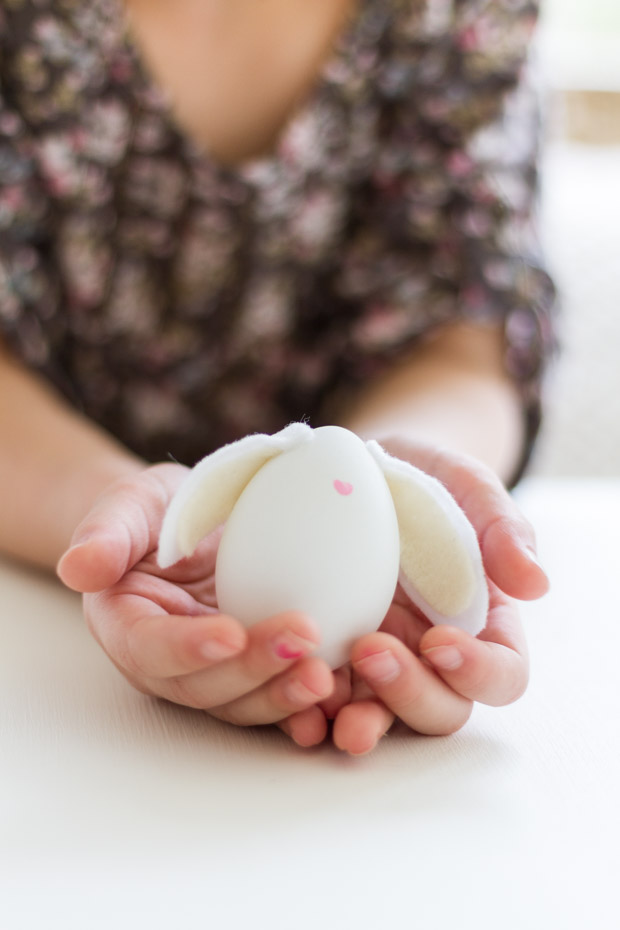
- For the bunny: glue the puff ball on back for tail and glue on two little ears on the sides. I layered a couple colors for more detailing. Also paint a pink nose on at the end.
- For the lamb: apply glue and curl some small pieces of yarn rolled up or knotted to create the effect of wool. I attached a few pieces of string total.
And there you have it! Simple and super cute – a craft the whole family can really enjoy =)!
She was pretty smitten with her little friends…
I hope you enjoyed this today and let me know if you try it out!

I will be back next week with another craft project I can’t wait to share…

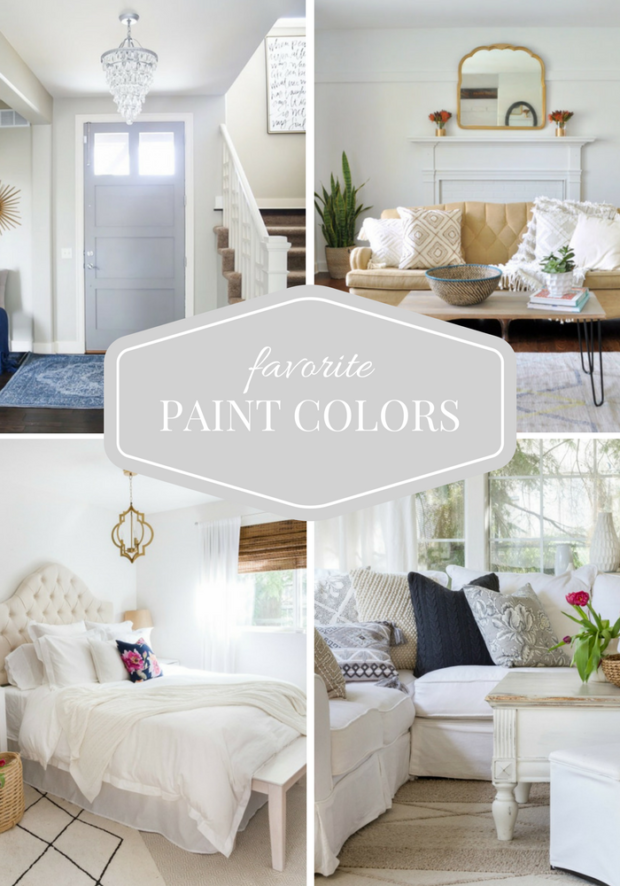
And speaking of painting, I am flattered to be sharing my favorite paint colors over at Shauna’s Satori Design For Living today- I would love for you to come and stop by! It is a fun series she has over on her blog and a few other bloggers are talking about their favs as well!

Oh Annie, these are too cute! They remind me of having an “egg baby” in 6th grade, ha! But these are oh soooo adorable! What a cute mom you are! xoxo