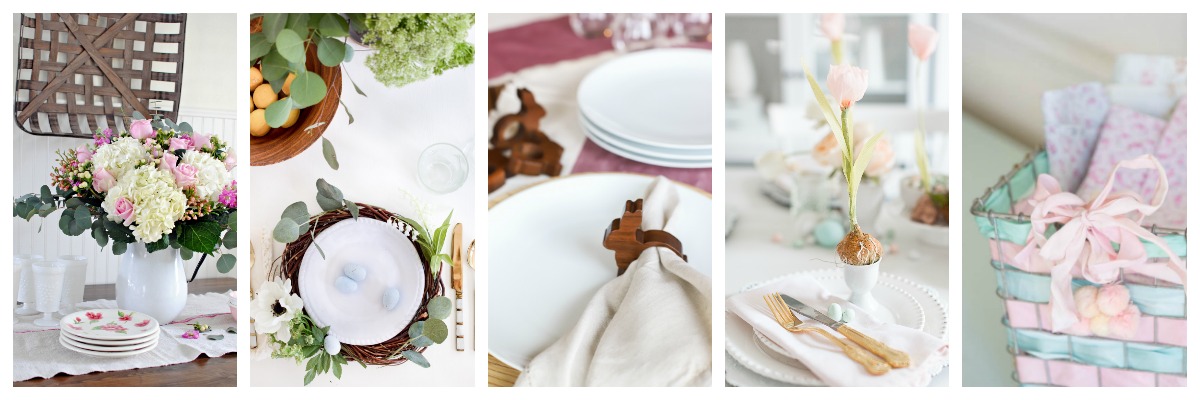
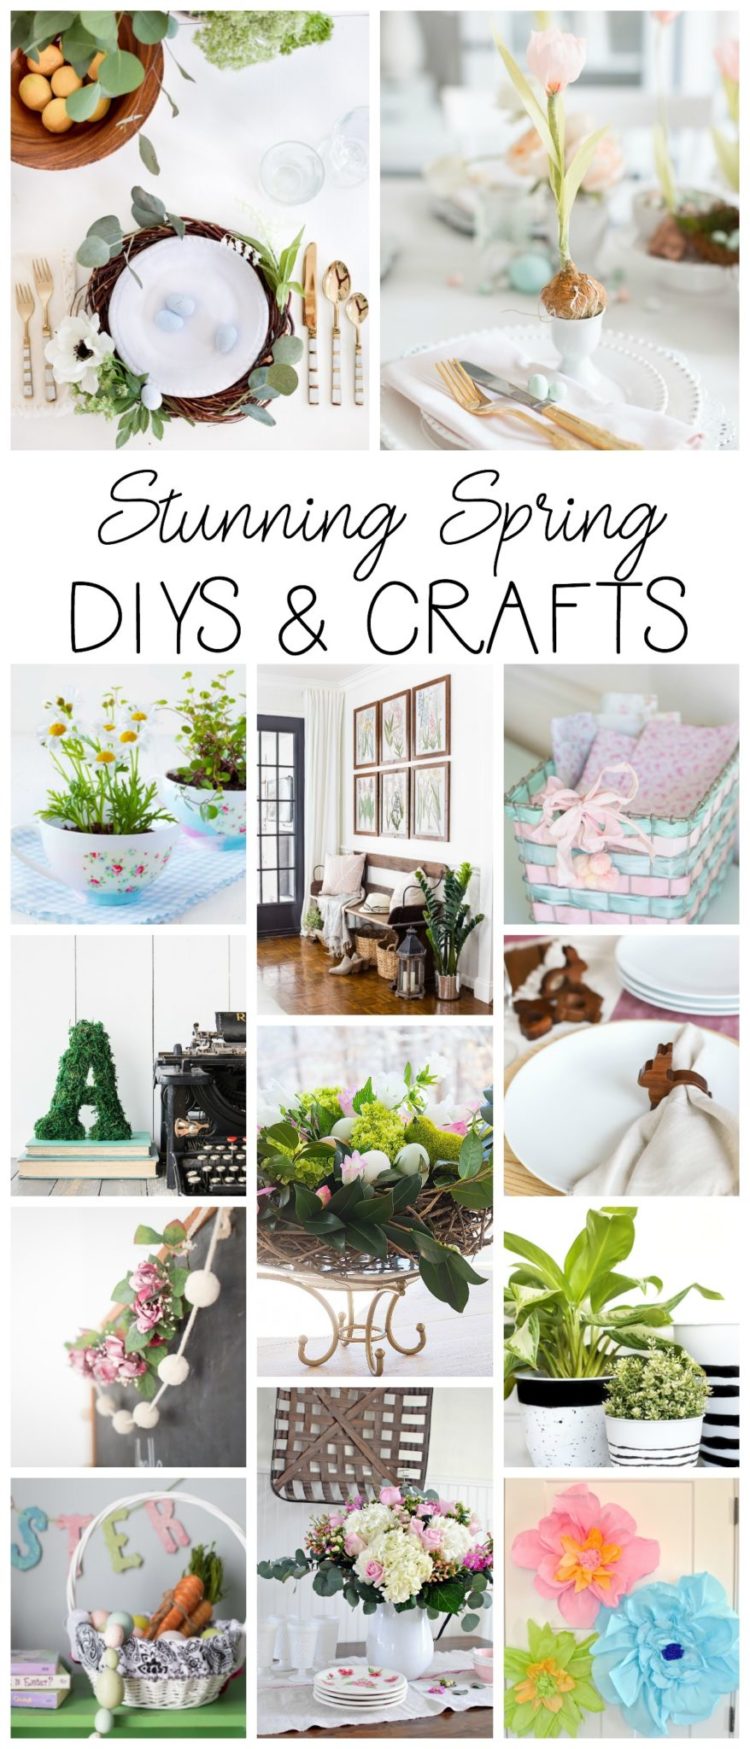
DIY Spring Floral Charger and Candle Ring
This clever DIY spring floral charger and candle ring is very multi purpose!

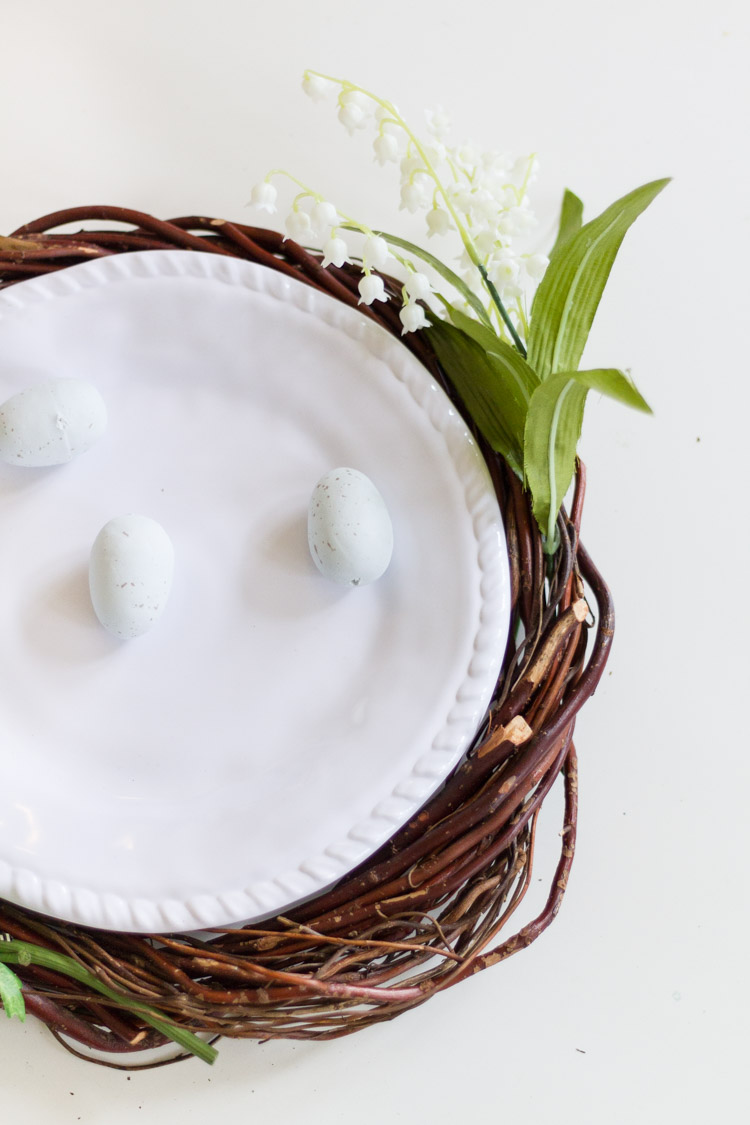
Hello again friends! I hope that you all have been well… I am thrilled to be back today sharing a fun spring DIY craft hosted by my sweetest friend Krista at the Happy Housie. Be sure to check out all these talented friends below sharing their creative projects and pretty inspiration for the season! Today’s project was inspired by a post I put together when I first began blogging. I did an Easter table on a dollar store budget (here). For this specific DIY , I took it a step further and embellished the plate chargers with elegant florals to make it even more ready for spring. Even more, it can be used as a charger, candle ring or even a miniature wreath!
Here is what you will need and how you can make this botanical beauty too…
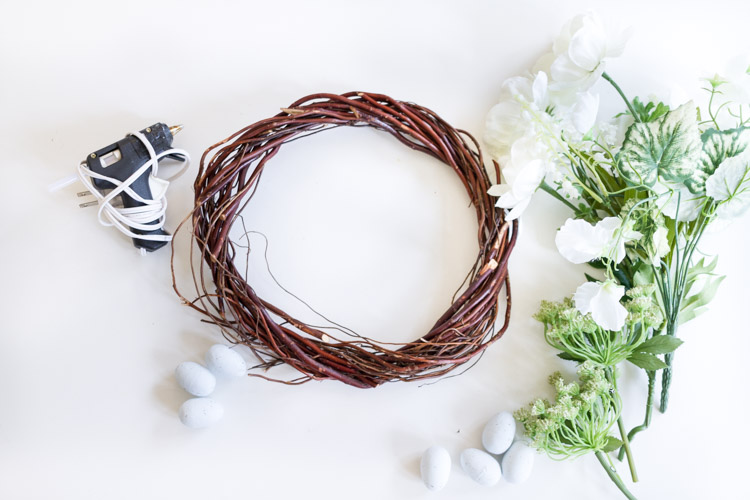
- You will need miniature grapevine wreaths (I found mine at the dollar store),glue gun, glue sticks, faux florals, miniature eggs and anything else you may want to accentuate with. *Please note- none of these materials are food safe so you would want to ensure that food is not resting or being served on the materials.
To assemble your chargers, you will want to…
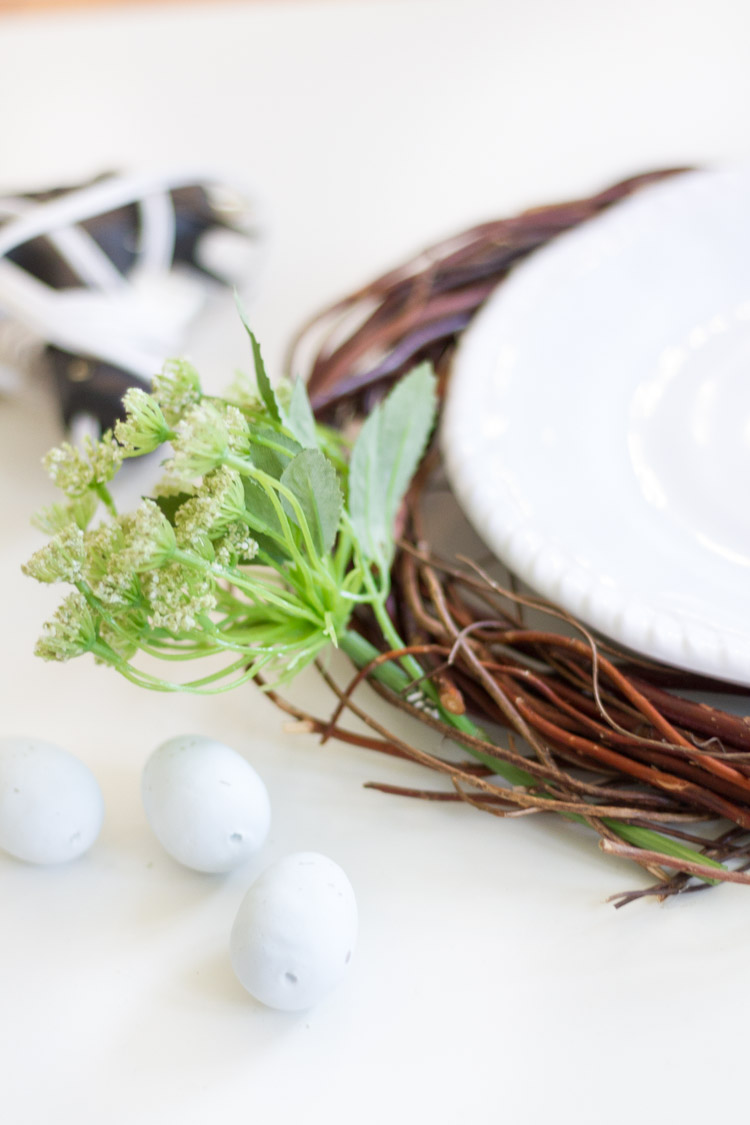
- Begin weaving the florals in to the wreath shape. I just cut the faux florals down to size and tucked them in and out throughout the branches. To ensure that they stay put you could take an extra step of using your glue gun and gluing it in place.
- Continue to insert florals throughout the wreath. I chose not to fill the entire wreath as I wanted it to be a bit more organic, but you can go either way.
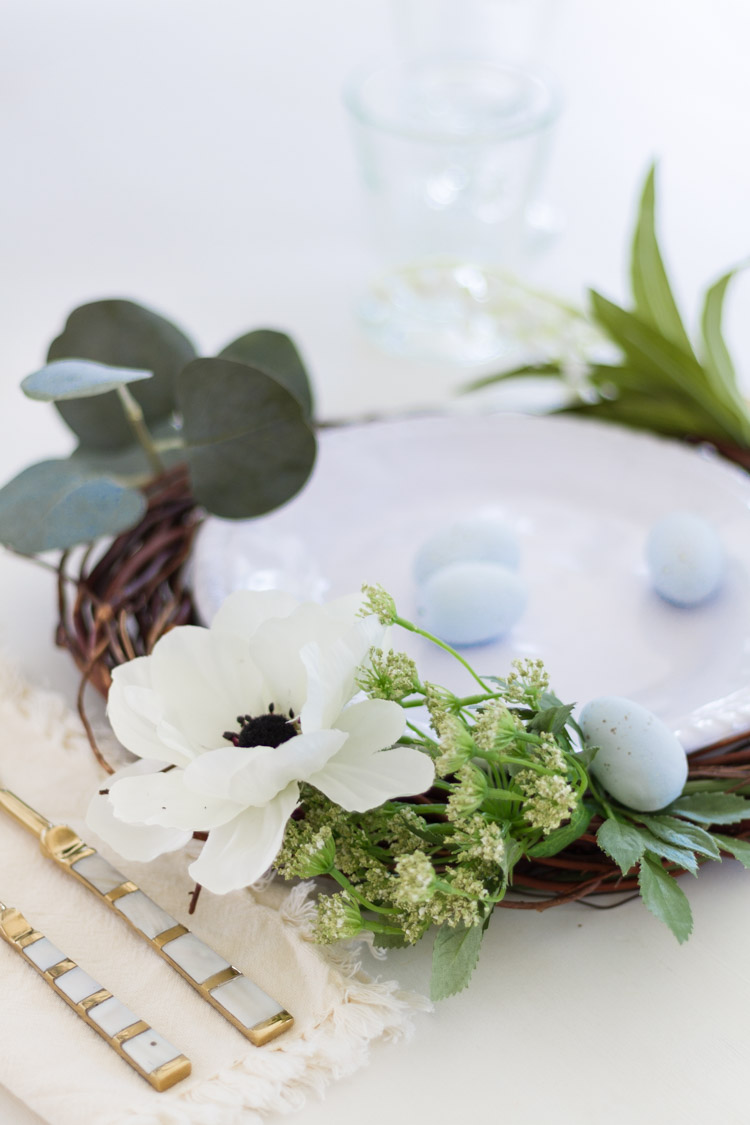
- Let pieces dangle from the outside as this gives the project a more whimsical look.
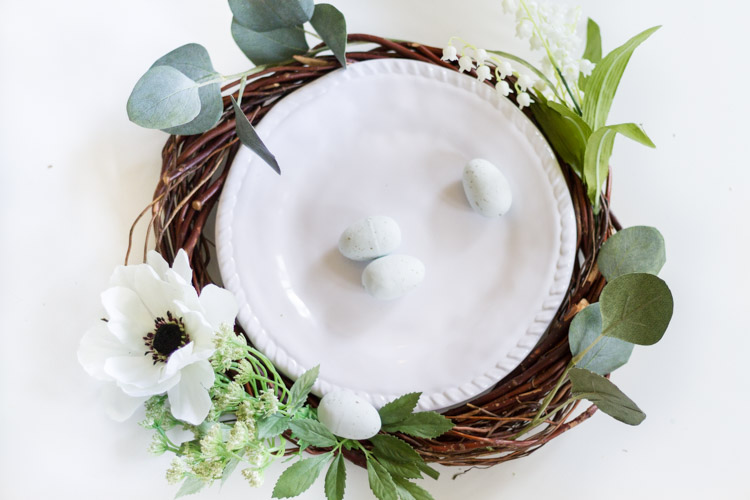
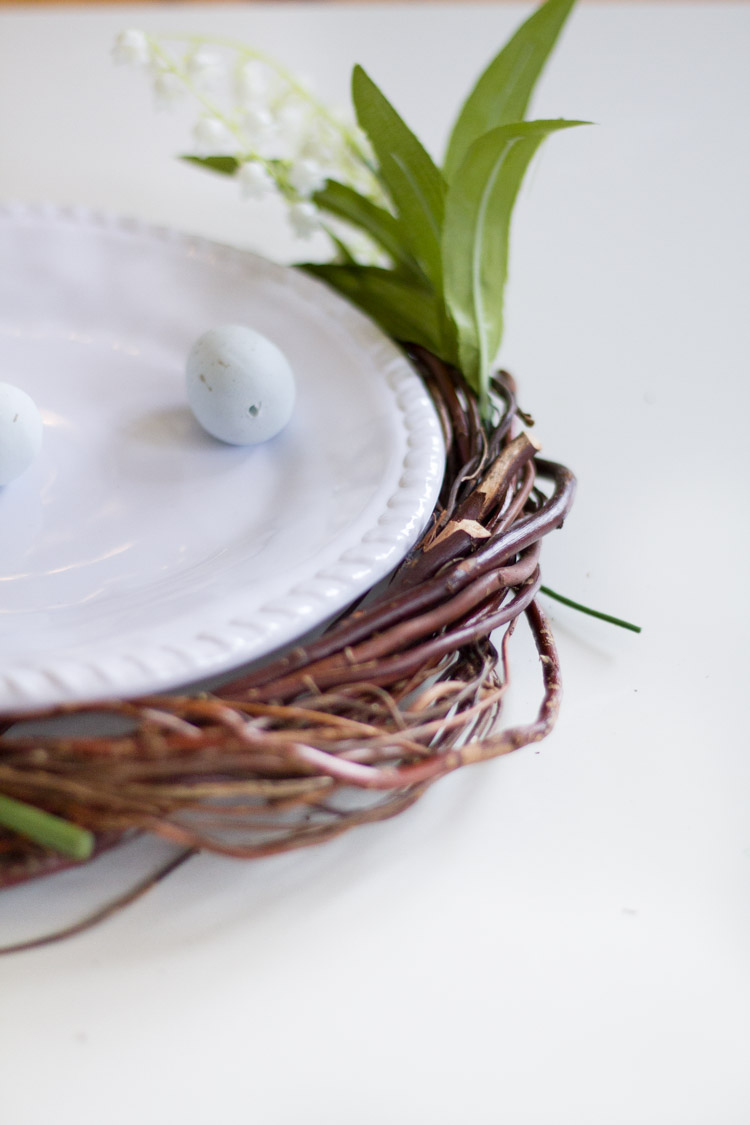
- Don’t forget to insert some random leaves here and there, as seen here with the eucalyptus.
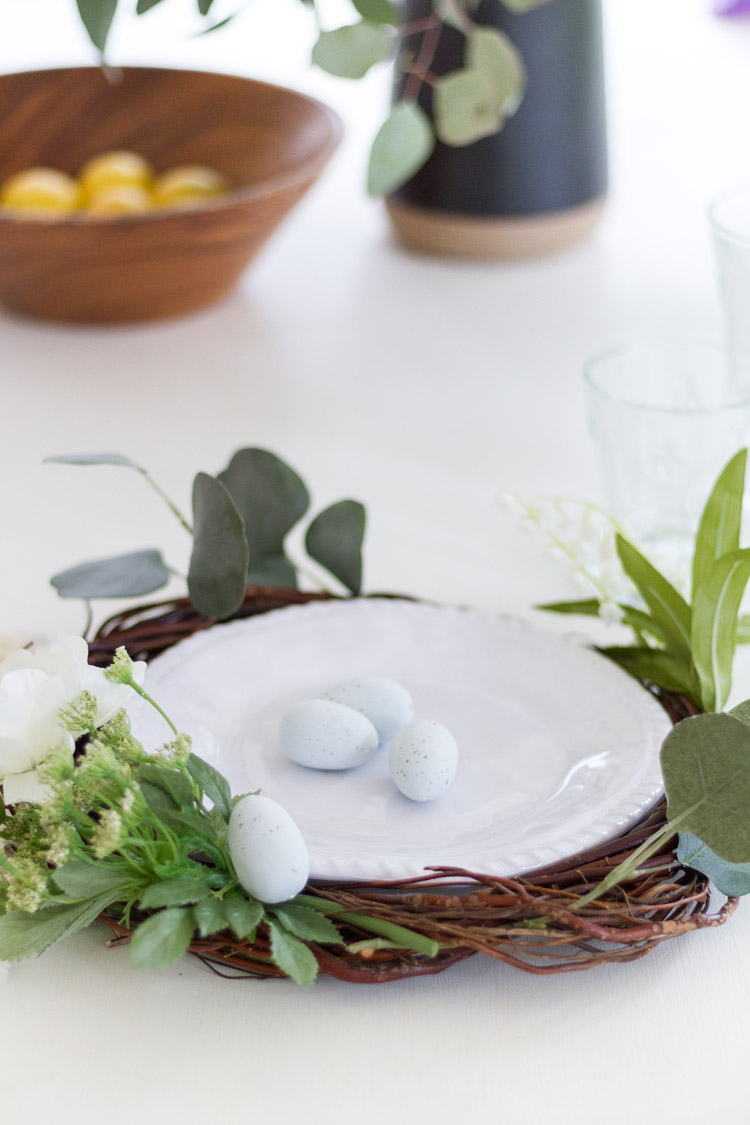
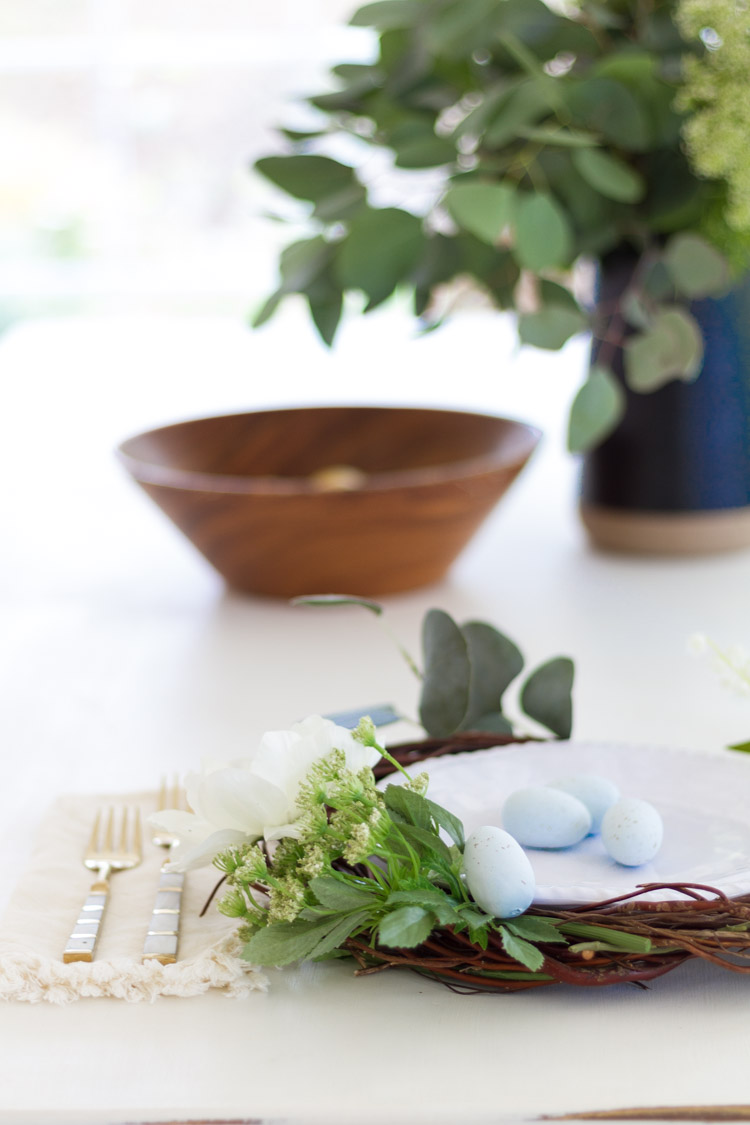
And there you have it!
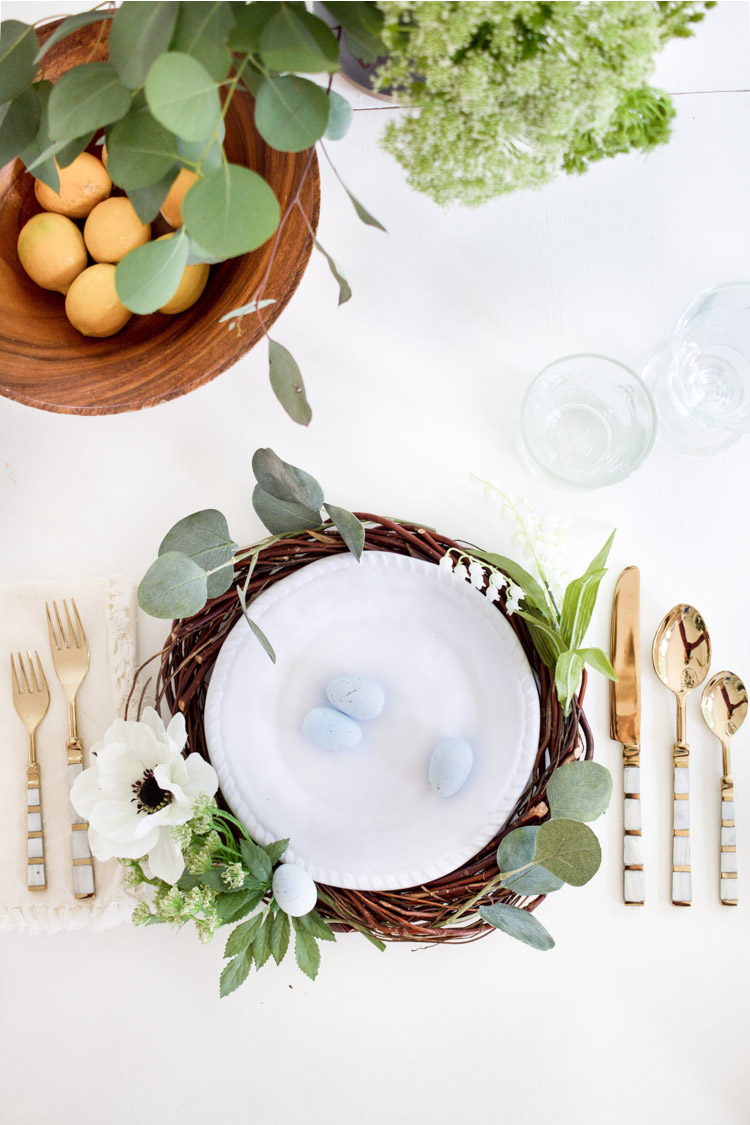
Doesn’t that look inviting and pretty all set for a spring luncheon or festive dinner?!
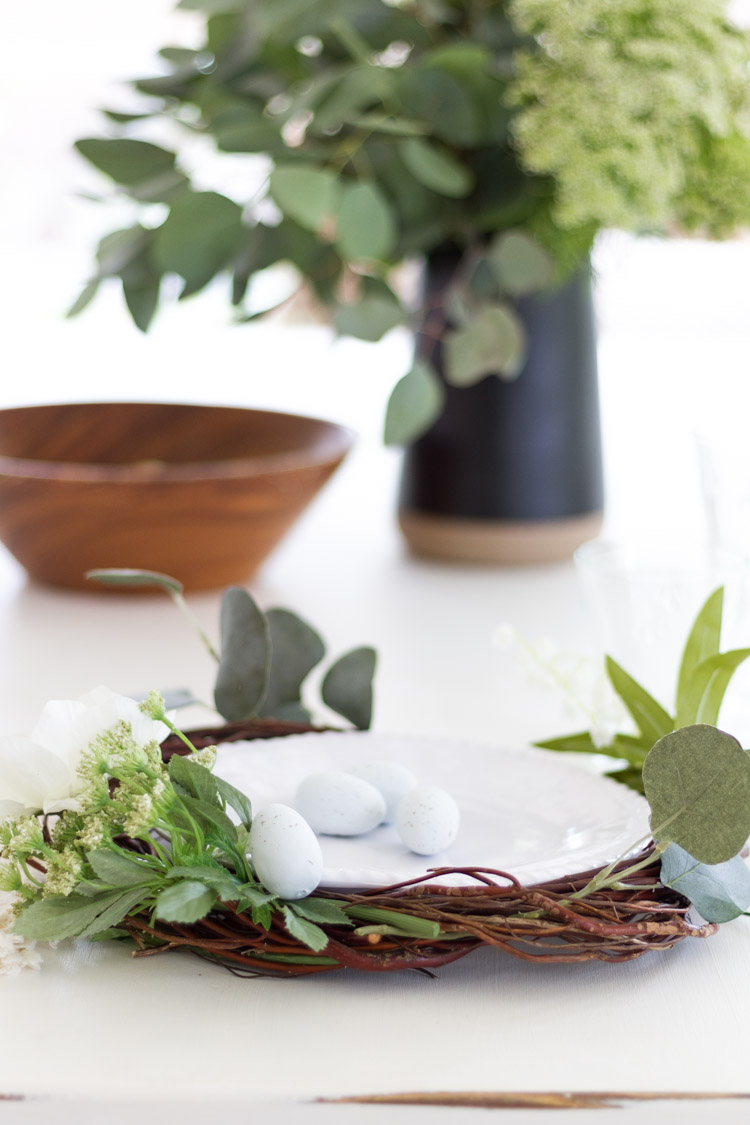
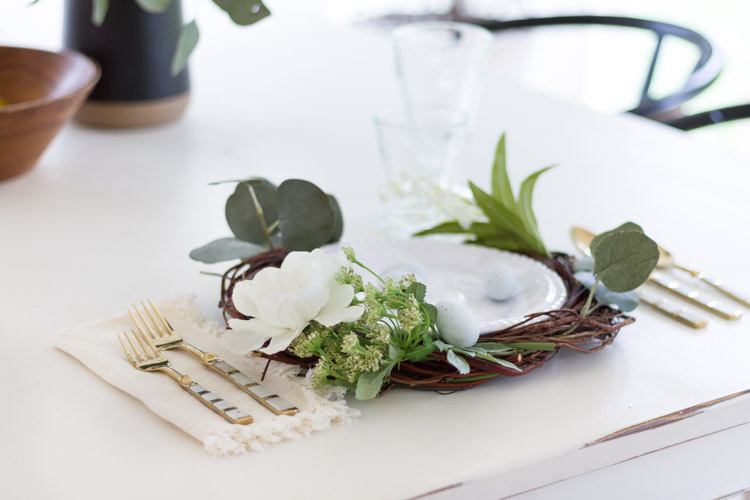
I showed this set up as part of a table setting, but you could also use this to hold a pretty cupcake or sweet treats instead. A trio of these lining the table would make such a lovely arrangement.
It could also be decorated as the base for a large candle or hung on the back of a chair… The options are wide open!
I hope you enjoyed this simple DIY today and maybe you will be inclined to try one for yourself!
Don’t forget to visit the rest of the group sharing these incredible ideas down below as well! Thanks so much for stopping by you all!
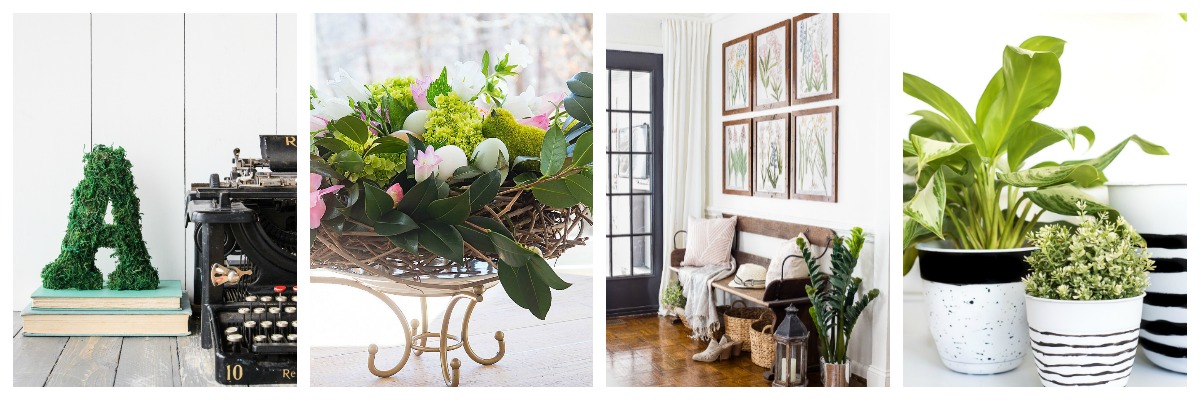
DIY Moss Letters at The Happy Housie
DIY Spring Floral Bird’s Nest Centrepiece at Duke Manor Farm
Spring Botanical Gallery Wall Printabls at Bless’er House
Easy Painted Planters at Place of My Taste
Spring Floral Arrangement at Town & Country Living
DIY Spring Plate Charger and Candle Ring at Zevy Joy
DIY Wood Bunny Napkin Rings at The House of Wood
Crepe Paper Tulip Surprise at Craftberry Bush
5 Minute Simple Spring Ribbon Project at Shabbyfufu
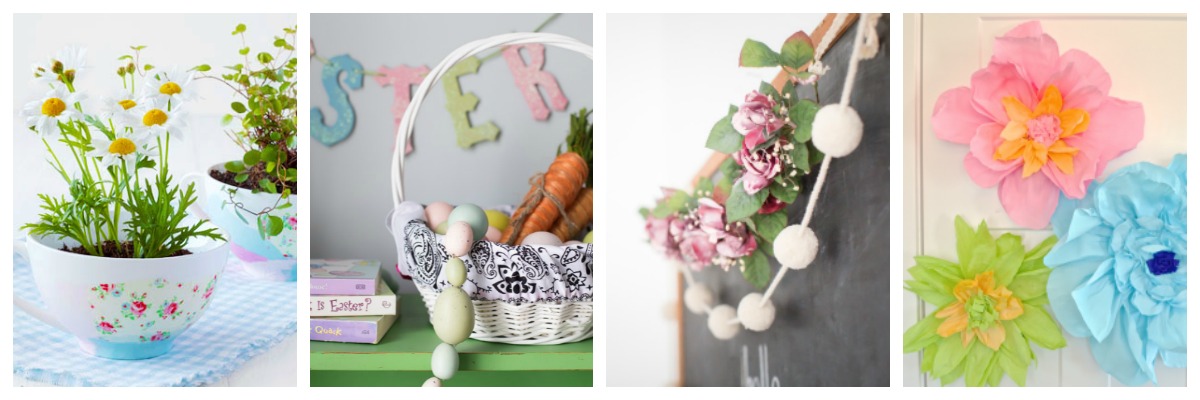
Decorative Tissue Paper Tea Cups at Paint Me Pink
$1 Bandana Easter Basket Liner at Heathered Nest
How to Make Giant Paper Flowers at Newly Woodwards
DIY Thrifted Garland Makeover at Amber Tysl


i love this . i have been wanting to buy some twig chargers for some time now, but now can save lots of money and make my own! thanks for the idea.
Laura I am so glad you think so and thanks so much for the compliment!
This is so simple and pretty. I love the greenery.
Kim I really appreciate that, thank you!
I love this! So gorgeous, Annie. And your beautiful photography gets me every time. xo
Jen that is such a compliment and you are constantly wowing me! Thanks so much, xo!
Such a cute and simple project, Annie. Love it!
Jennifer thank you so much friend! I appreciate that, xo
So beautiful, Annie! I love this sweet idea – I would have never thought to use a wreath form like this!! And stunning photography:) Thanks so much for joining in on this hop!
Krista you are the sweetest, thank you so much and thank you for having me! I love crafting and doing it with friends is even better! xo