DIY Whimsical Spring Wreath
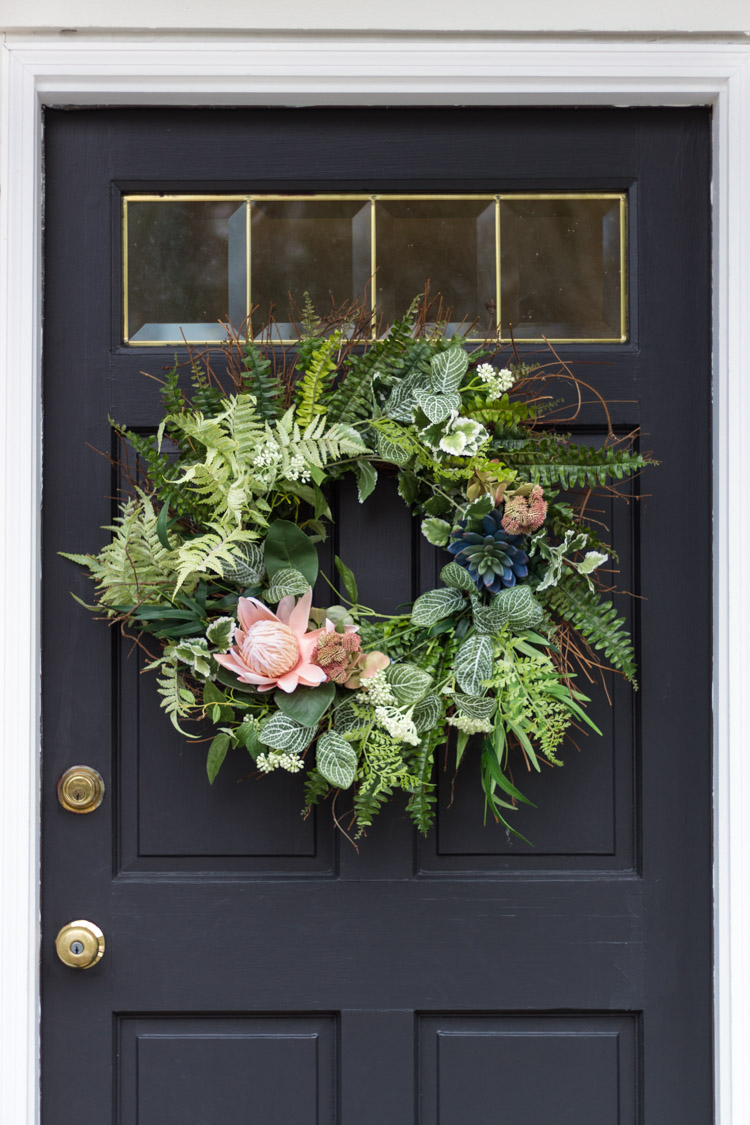
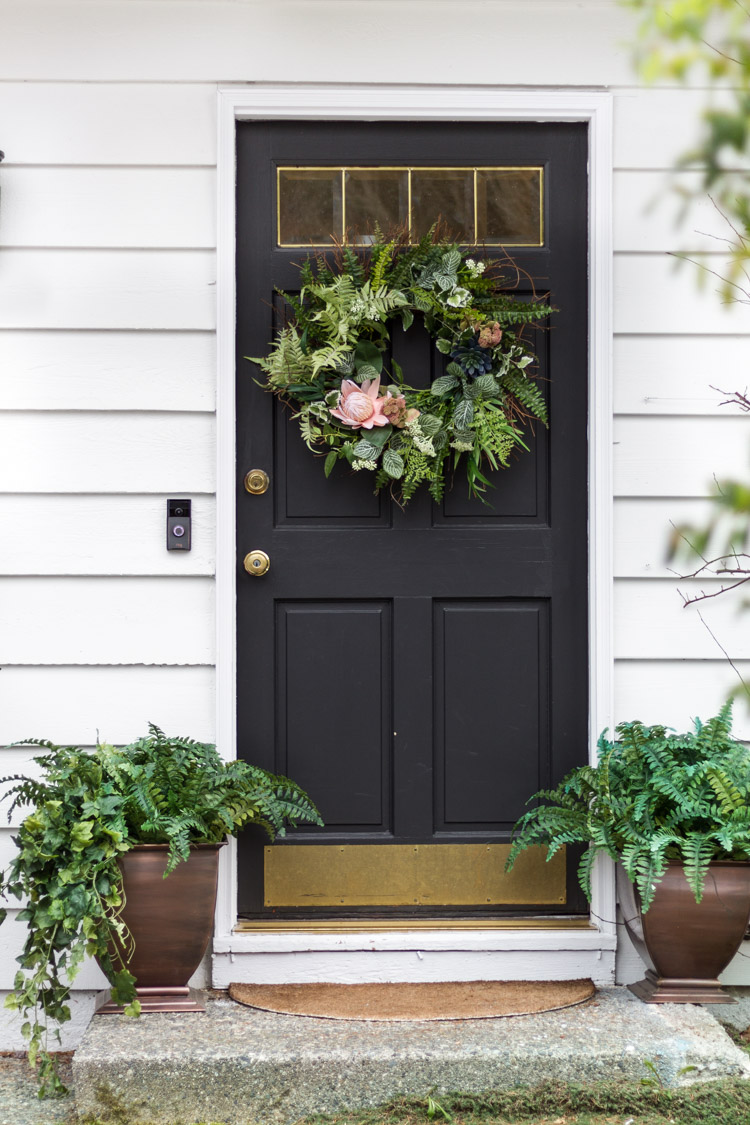
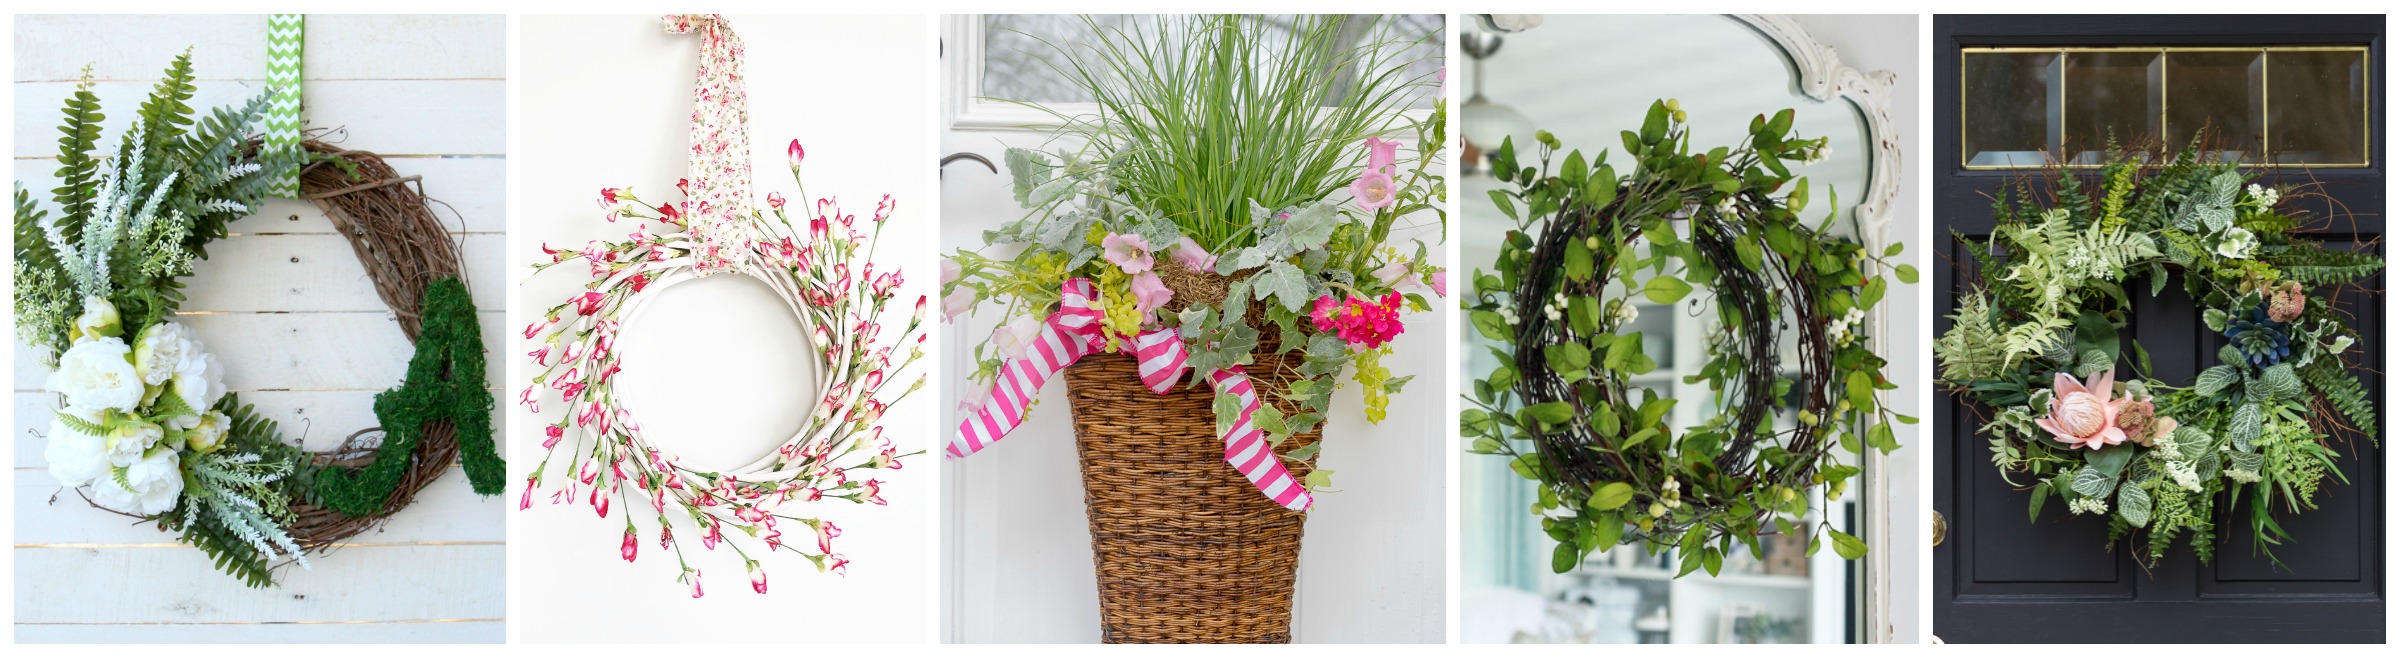
I will show you how to make this gorgeous DIY whimsical spring wreath!
Hello friends! I am kicking off spring (although the ground has been covered off and on again with snow, lol) with a DIY whimsical wreath! I’ve joined up again with Krista at The Happy Housie to share these fun seasonal ideas as part of the Seasonal Simplicity Spring Series. Clearly, spring is on my mind so there was no twisting my arm to share a wreath all dressed up for the upcoming season.
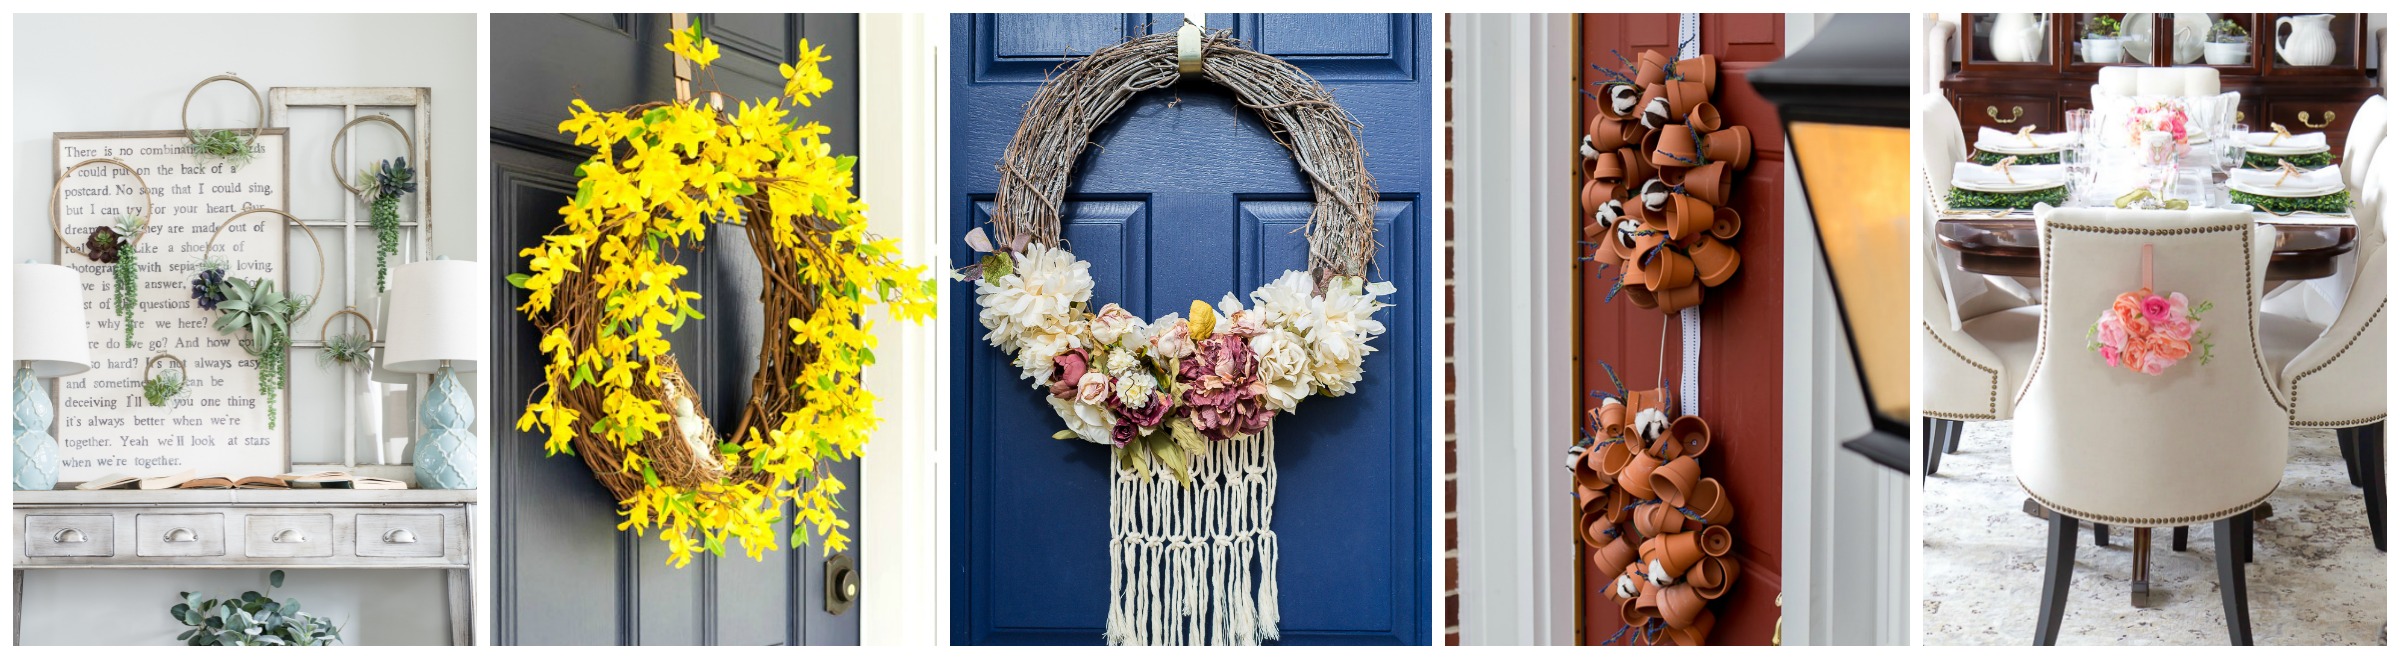
This is truly a simple project and is perfect for a door, fireplace or wall in your home. When I was trying to decide how I wanted to construct it, I happened to be shopping at Michaels Craft Store. I was inspired by all their faux florals and wreaths they had there! I chose to make mine with certain colors and foliage which makes it a fun customizable craft to do.
Here is how you can make this lush whimsical wreath too…
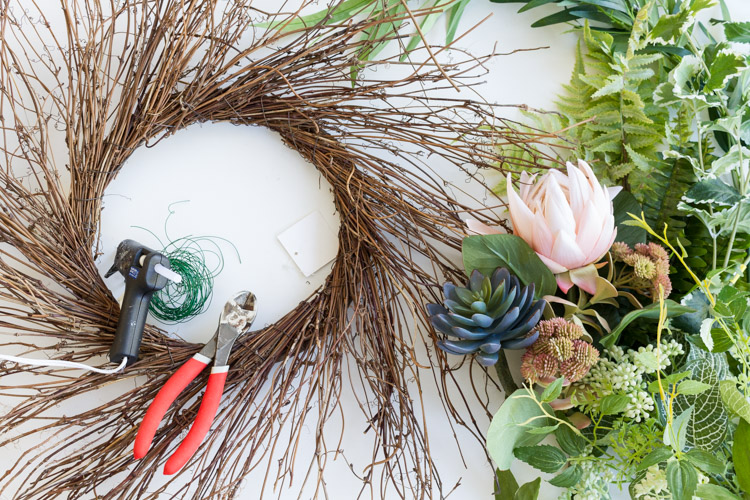
- A grapevine wreath, any will do… but I chose the fanned branch style and it makes adhering all the florals pretty easy.
- Faux florals and or branches, leaves, etc…
- Wire snips
- Glue gun and glue sticks
- Floral wire (I didn’t use this, but it may be helpful if needed in addition to the glue).

First carefully snip the florals. I kept the woodland ferns and foliage differing lengths, but also made sure to have the first layer of greenery be mostly long enough to cover the grapevines.
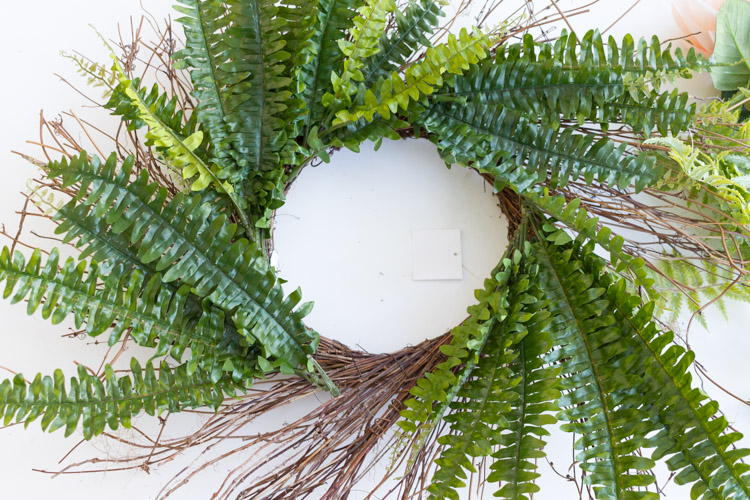
Lay out the branches following the movement of the wreath, clockwise. Get a layout ready and done before you permanently glue as this will give you a chance to make any necessary changes. Apply glue to the back side of branches and stems. You will make to sure each piece is nice and adhered, therefore it will require quite a bit of glue ;)…
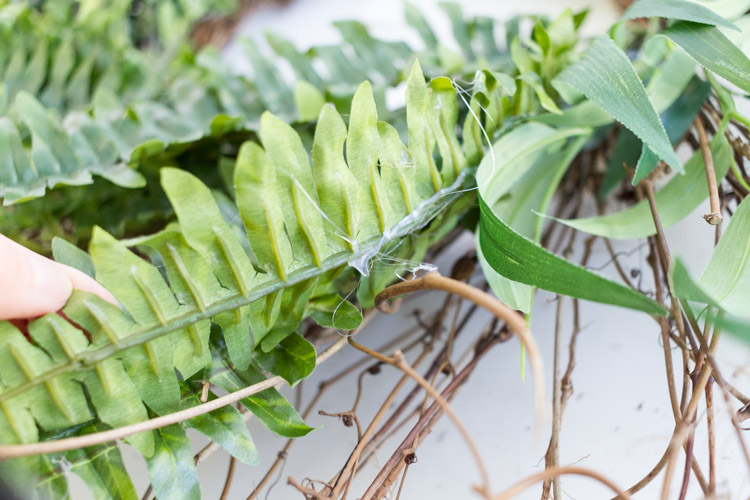
As shown above, you can work by gluing sections with some of the longer pieces. Gluing the base first, adhering and then work to the top.

Again, always lay out the layers before gluing so you can see how you want it to flow. Then do another round of gluing.

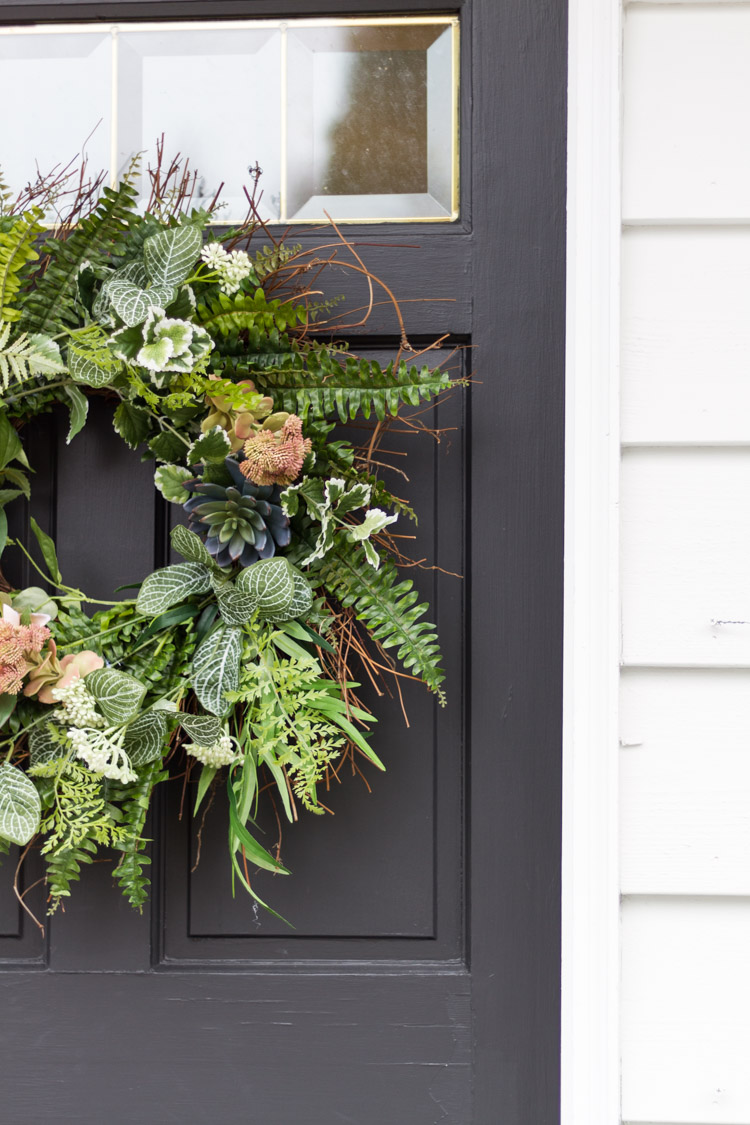
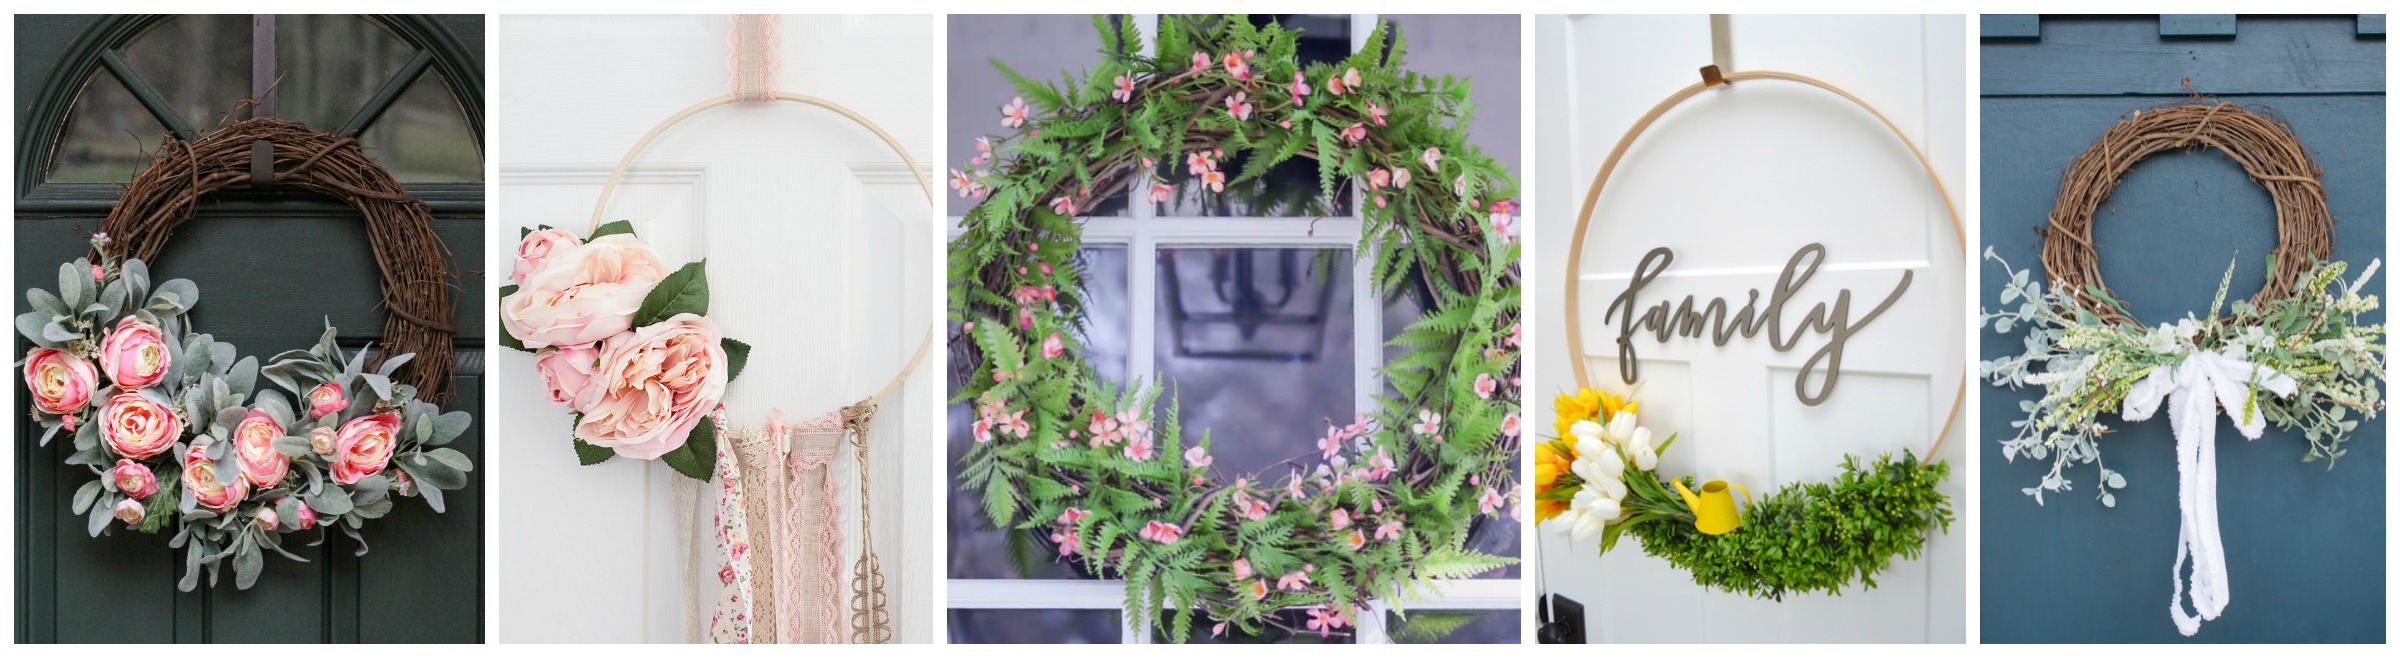
Finish off with shorter stems and insert bulkier ferns, florals etc… I wanted to have some lovely fresh succulents scattered throughout, so that was my last step for the entire process.
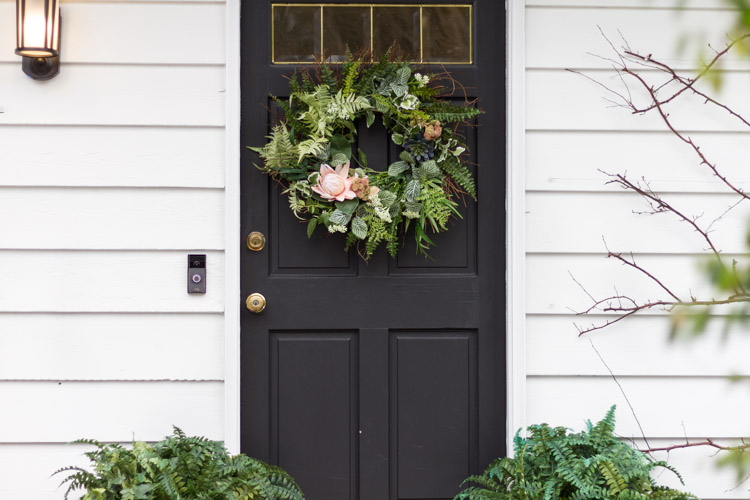
And there you have it! I promptly stuck mine outside on our front door with coordinating ferns on each side.
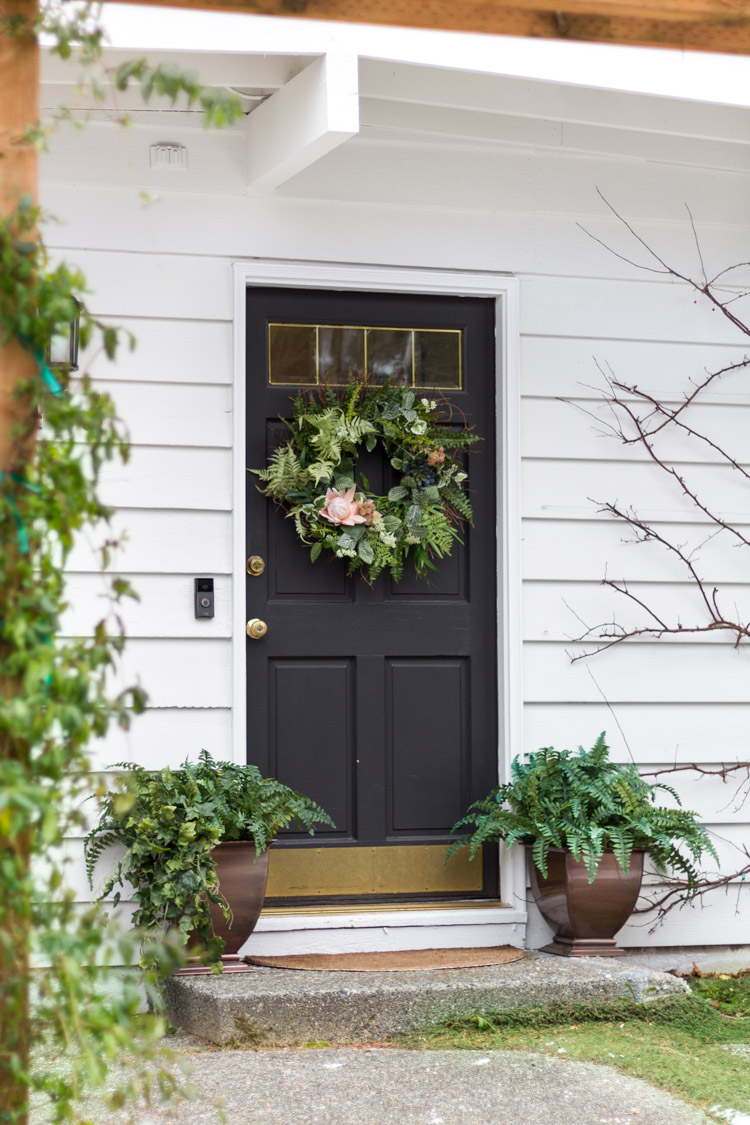
It really isn’t quite spring here yet, but it doesn’t hurt to dream and anticipate all the beauty that is on the way!
I plan to keep this botanical beauty up here for months to come, even though snow is possibly coming this week!
I hope this may inspire you to try some fresh springy projects as the season is right around the corner!
Don’t forget to stop by these amazingly talented friends down below as they share their spring wreaths too!
Thanks so much for stopping by friends~

The Happy Housie / A Pretty Life / Duke Manor Farm / Confessions of a Serial DIYer / Zevy Joy
House by Hoff / On Sutton Place / Place of My Taste / Heathered Nest / Setting for Four
The Turquoise Home / Home Made Lovely / Willow Street Interiors / Newly Woodwards / Amber Tyls


So pretty, Annie! I always have the hardest time finding wreaths I like. You may have just given me the inspiration I need to start creating my own! It’s perfect for your door!
Jennifer you are the sweetest and so creative, what a compliment… Thank you friend!
Adding ferns and a succulent. Probably my favorite parts of this wreath. It just feels so organic and even unexpected. Thanks for the inspiration.
Kim I am so glad you see it that way- what a compliment, thank you so much!
Your wreath is so pretty Annie…perfect for spring! I especially love the succulent and the sedum flowers!
Jo-Anna thank you so much!!
I love it!!! So pretty and so fun….. Thanks for sharing! I’ve got a wreath like that – I think I’ll head over to Michaels and shop for greenery!! Blessings, friend!
Lanita, you are the sweetest to stop by and compliment, thank you so much! Blessings to you as well…
This is so beautiful, Annie! It’s so fresh and inviting! Yay for spring! xoxo
Laura yes, yay to spring and thank you so much sweet friend! xoxo
Thank you so much for the easy tutorial with tons of pictures !! I will be headed to the craft store as soon as I get my kiddos on the bus in the morning !
Nakota that makes me so happy to hear and thank you so much!
This wreath is absolutely gorgeous! I love the fullness of it and there’s just so much to see… Love it love it love it! XO
Christy thank you so so much!I really appreciate it…
So gorgeous, Annie! I love the mix of leaves and blooms that you layered over the ferns – even succulents! Such a pretty design! Thanks for being part of this hop!
Krista thank you! This was such a fun hop, thanks for having me! xo
Beautiful Annie!! Nothing says spring like ferns and greenery!! Love it on your front door!
Heather aren’t ferns the best?! Thanks so much!
Your wreath is very full and very pretty for spring!
Shannon thank you so much!