DIY Wooden Flower Box
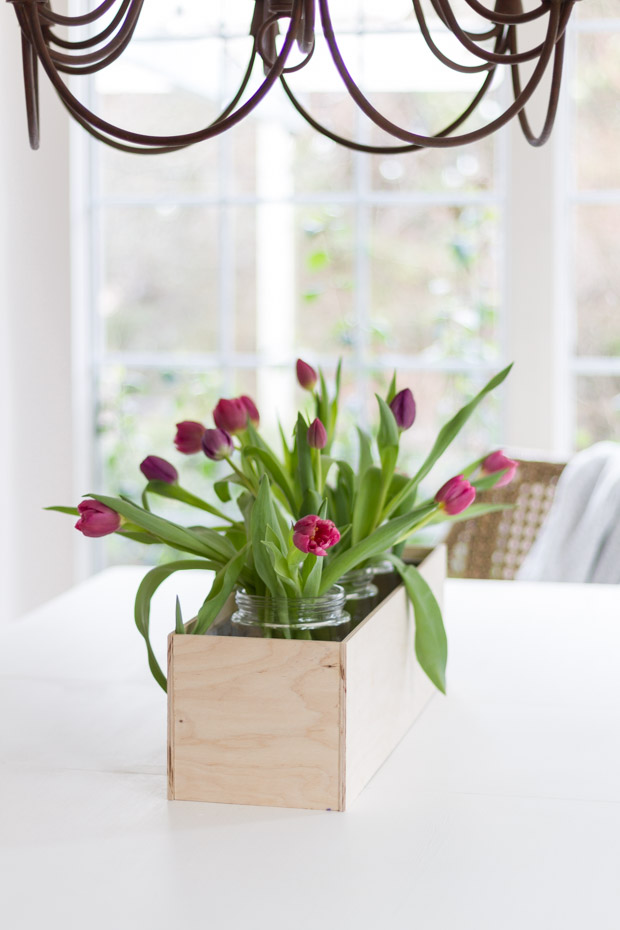
I will show you how to make this DIY wooden flower box.
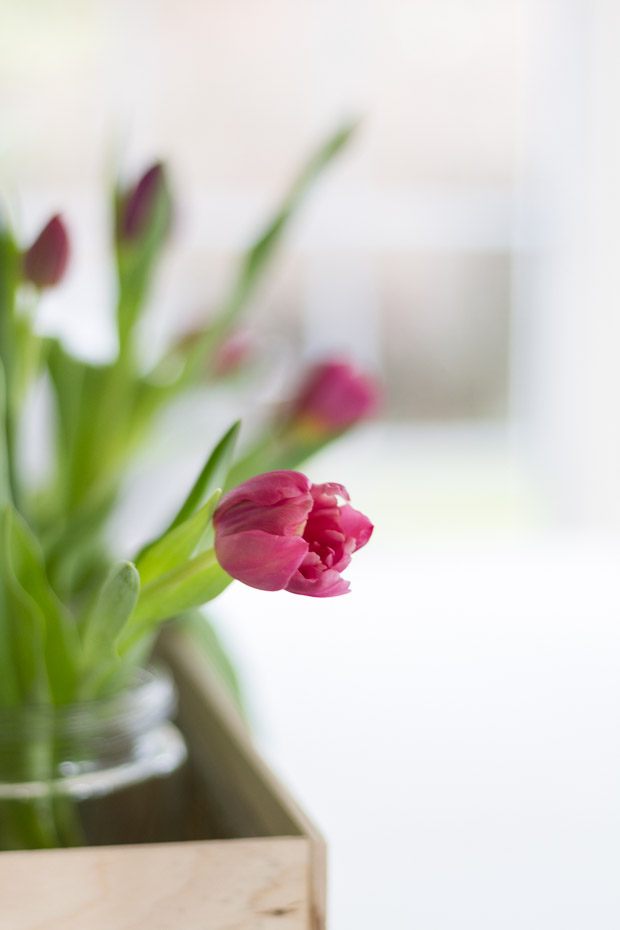
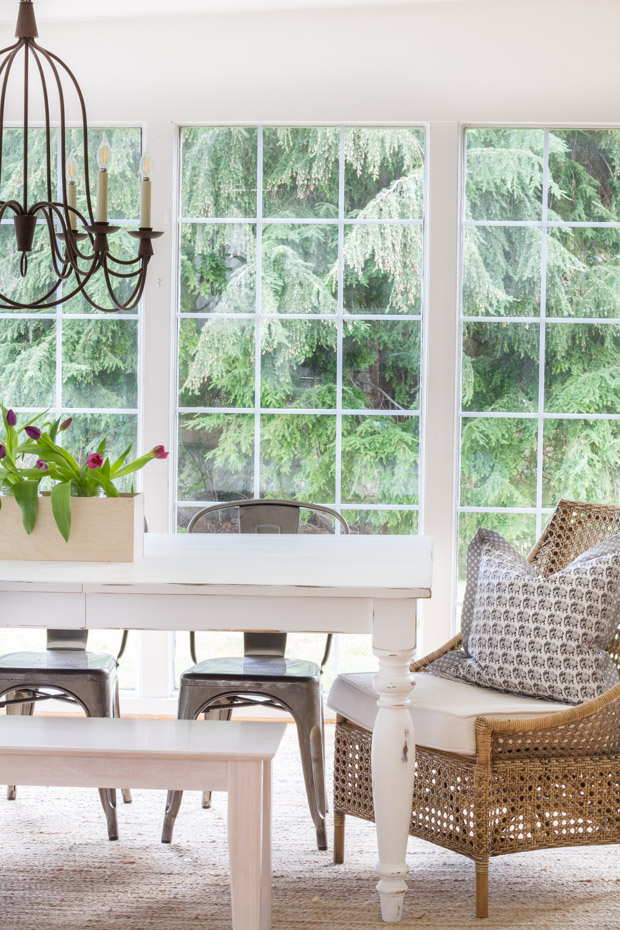
Hello there friends, hope you are well and Happy Valentine’s Day to you! Flowers have been on my mind as has spring. The two so beautifully go together and the simplicity of it all is what I find to be so enchanting. The other day I looked out our daughters window who has a gorgeous fragrant lilac tree outside. I surveyed the tree over and over looking for the littlest sign of growth. After some more looking, I found it and I was surprised at how happy the sight of teeny tiny buds forming made me. Flowers are on the way! Displaying flowers throughout your home is one of the most wonderful and inexpensive ways to change your decor and add extravagant pops of vibrant color throughout. So today I wanted to share this easy DIY Wooden Flower Box I made that was also inspired by this gorgeous one I saw on Terrain.
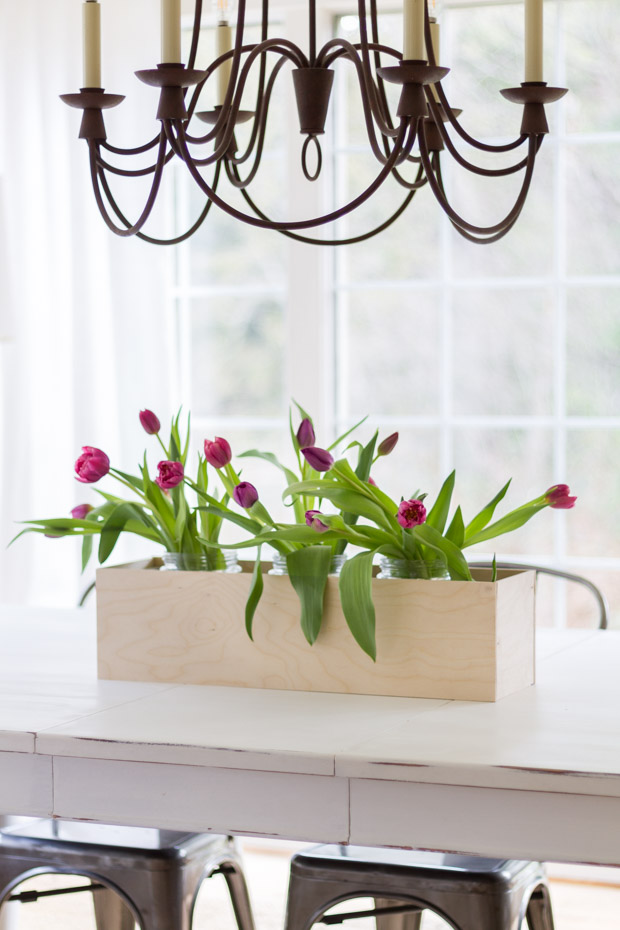
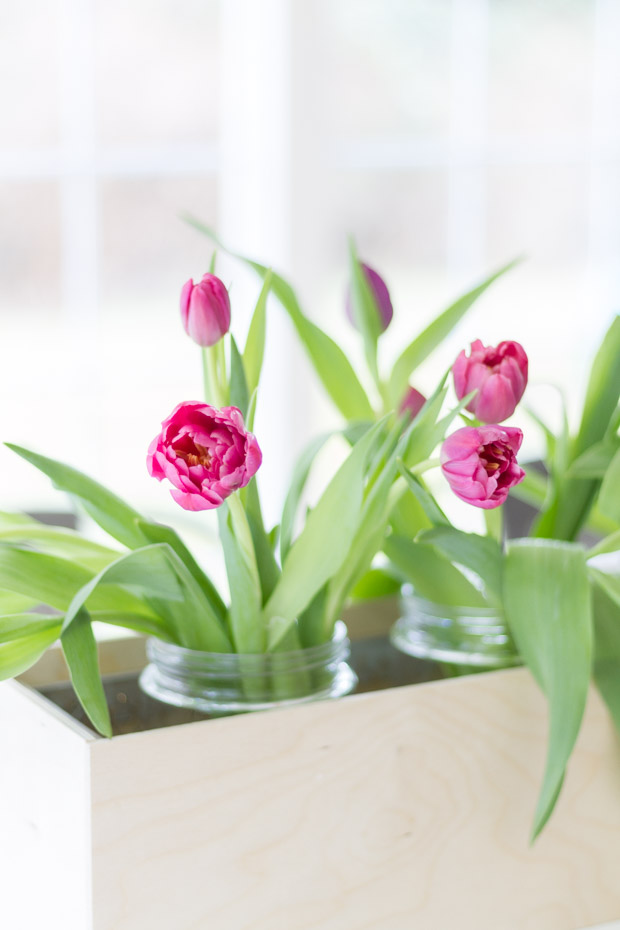
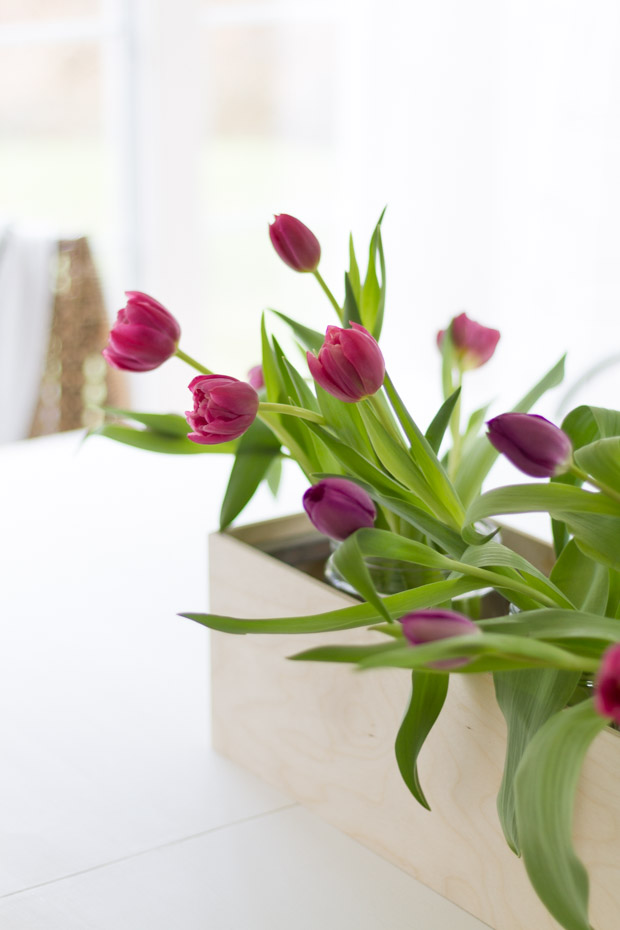
It is more of an indoor flower box that can be used for faux flowers or can have vases with water placed inside. Either way, it would look lovely atop your tables or sitting by a window.
Here is how you can make one if you would like…
You will need:
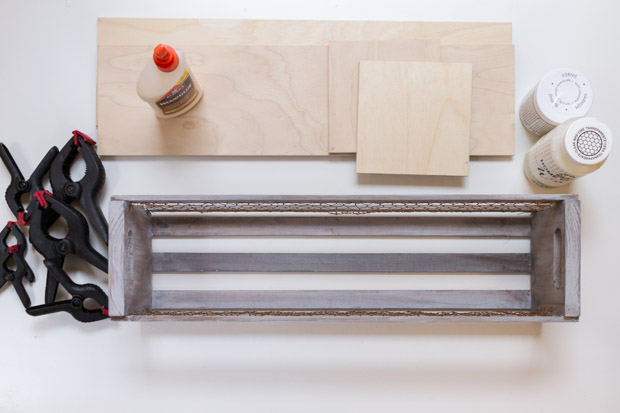
- A wooden crate (I used this older one I had from a project that I made last year over at Craftberry Bush). I still really enjoyed this crate with chicken wire, but also loved how long this crate was and since I had it on hand already – I decided to reuse this project for repurposing reasons.
- Clamps
- Wood Glue
- 1/4 (give or take) wood pieces cut to the length and width of original crate. (Please note, practice safety when using tools). I was able to find this wood at our local craft store.
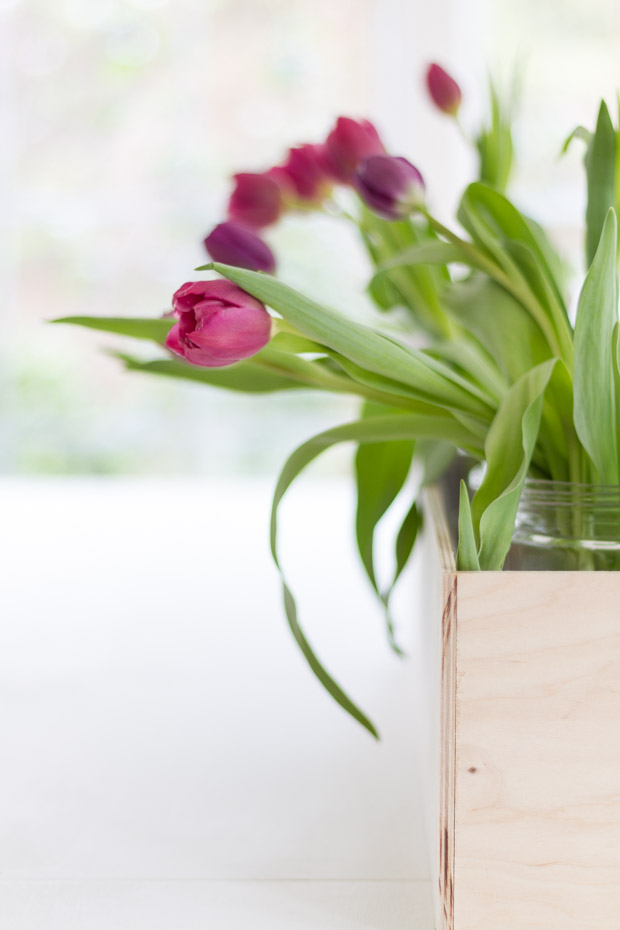
- Wax, stain or paint. I kept mine unfinished as that was the look I was hoping for but you could use these beautifully for another look.
Here is how you will assemble the wooden box:
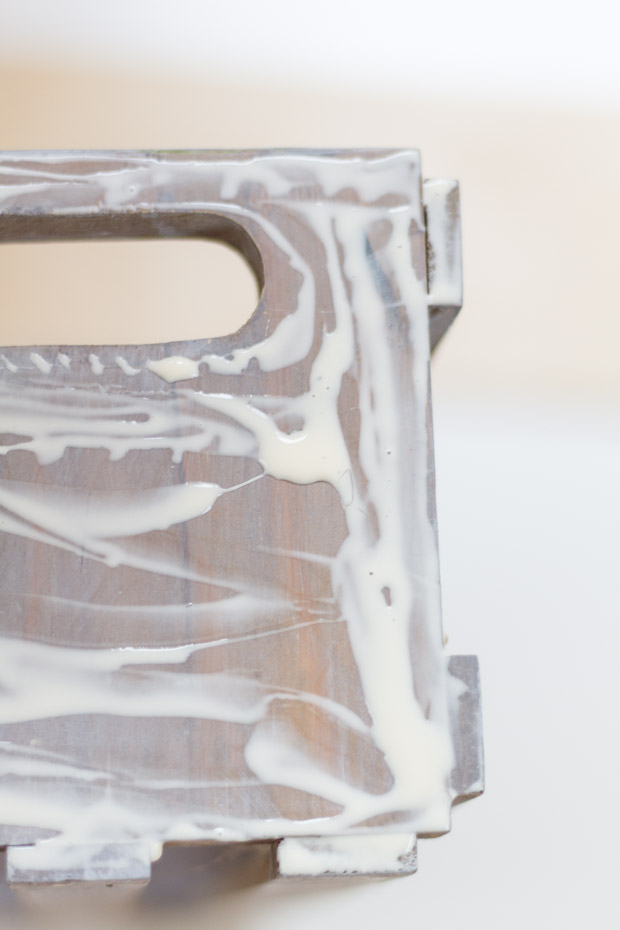
- Begin by applying glue all over the surface you will be adhering the sized wood piece to. Make sure to follow and abide by all guidelines/instructions with whatever glue you may be using.
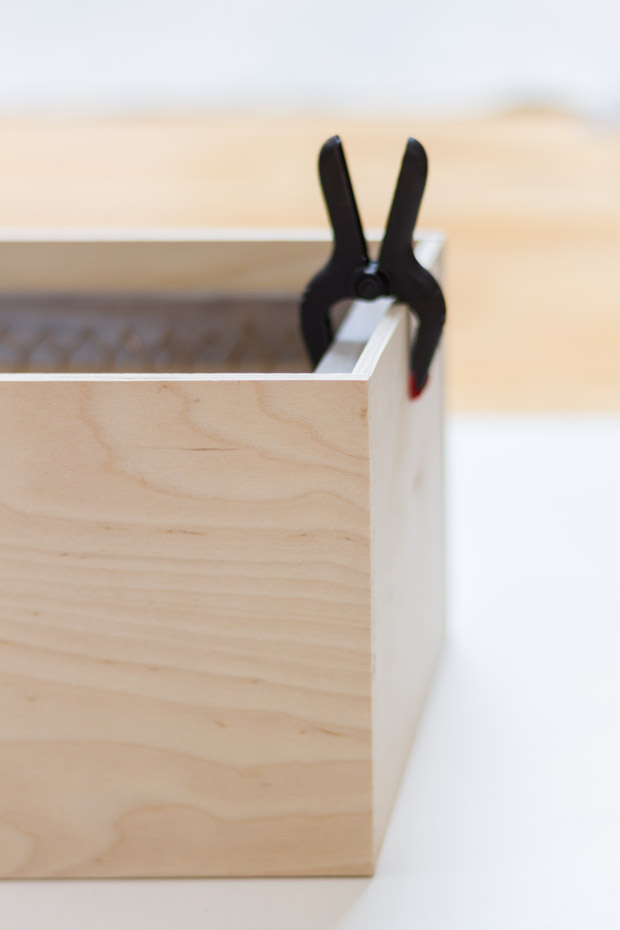
- Next, press down the wood piece to the crate and clamp it in place until it dries.
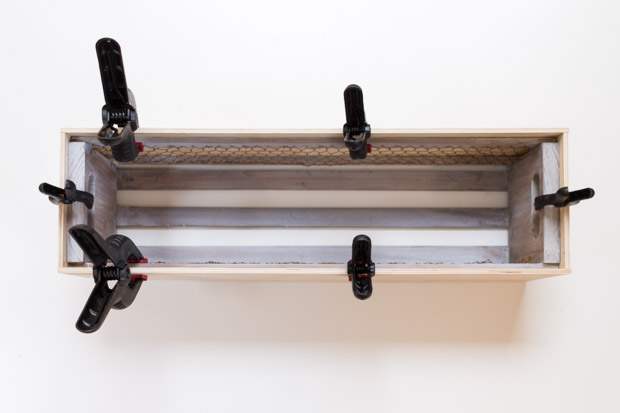
- Continue to move around the entire crate until it has been covered by the 4 pieces of wood. Once the glue has completely dried you can remove the clamps.
And that is how easy this project is!
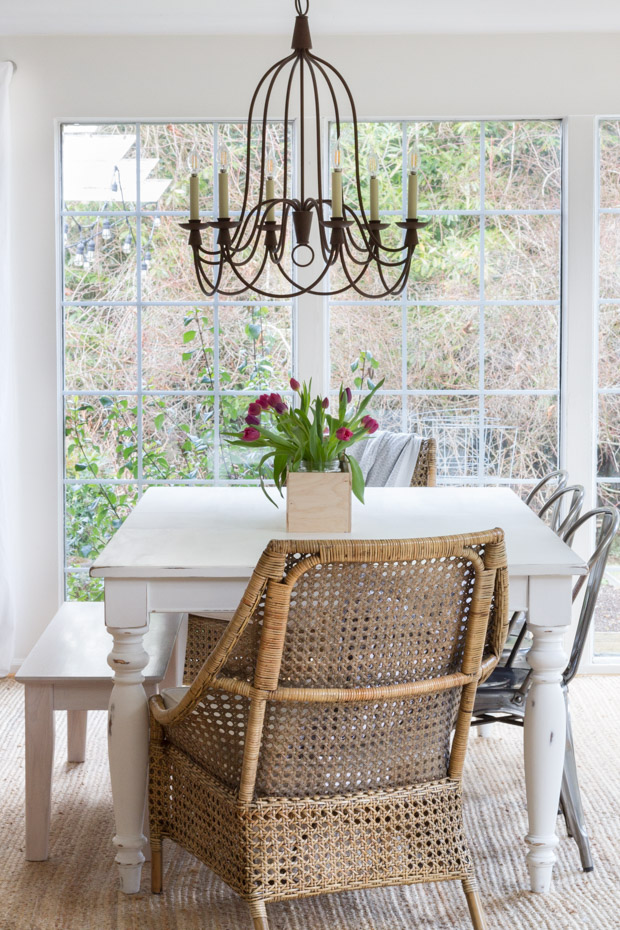
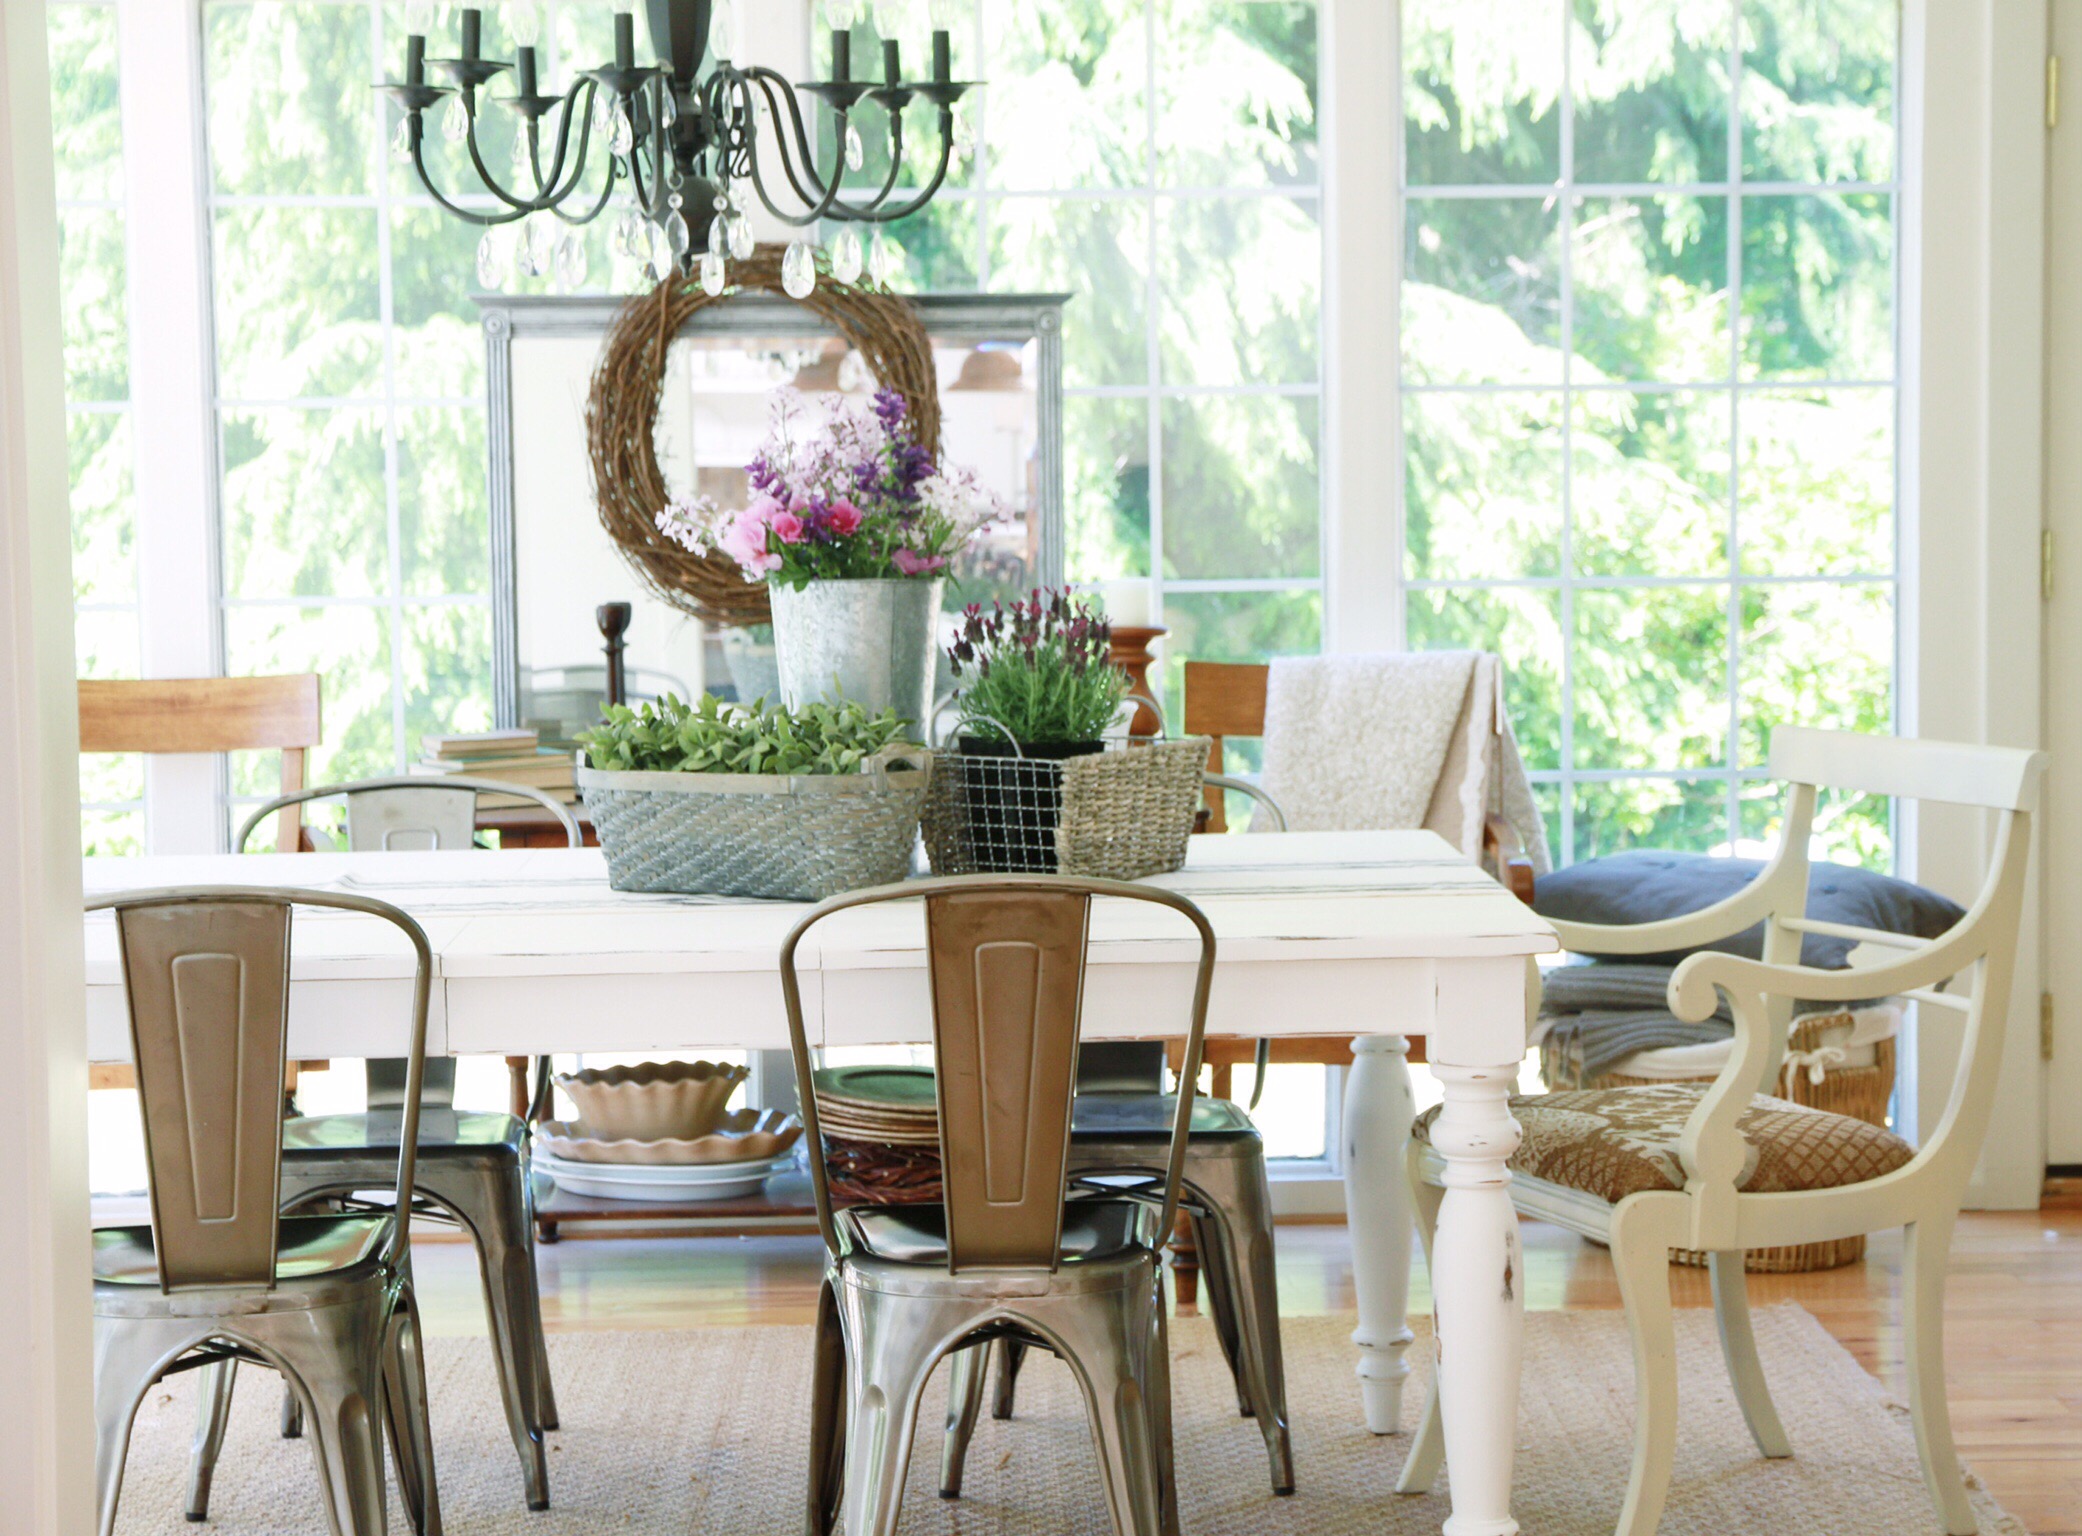
I have used it a couple times already… You may have seen it first here.
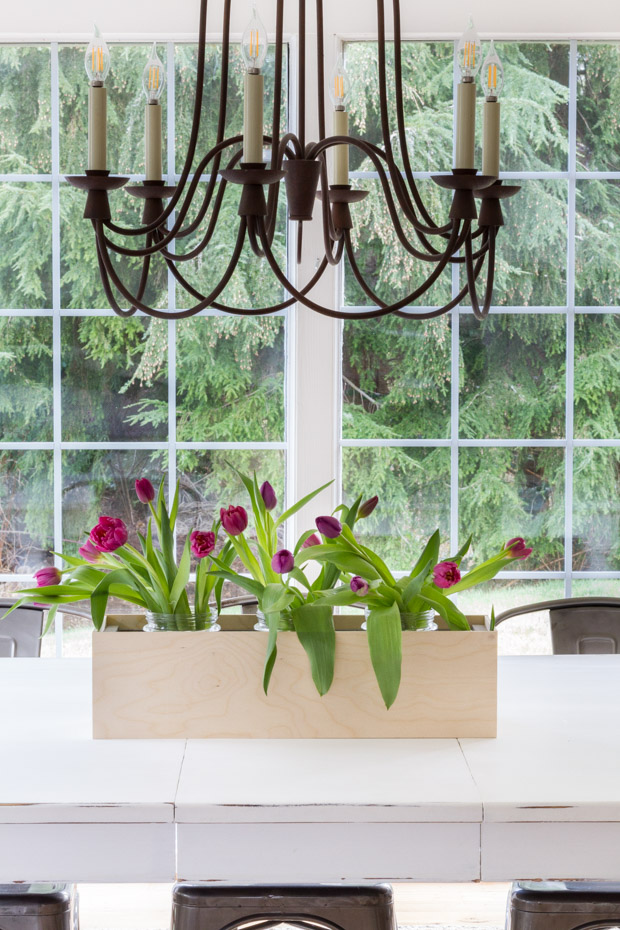
Truth is, the box works simply as all the botanical beauties do the talking, they are the statement.
I plan to use it for many more arrangements and throughout the home.
I hope you have enjoyed this little bit of floral fun today ;)…
Thank you very much for being here and I hope that the rest of your week is lovely all!


Beautiful! Great instructions. ThAnk you for the inspiration!