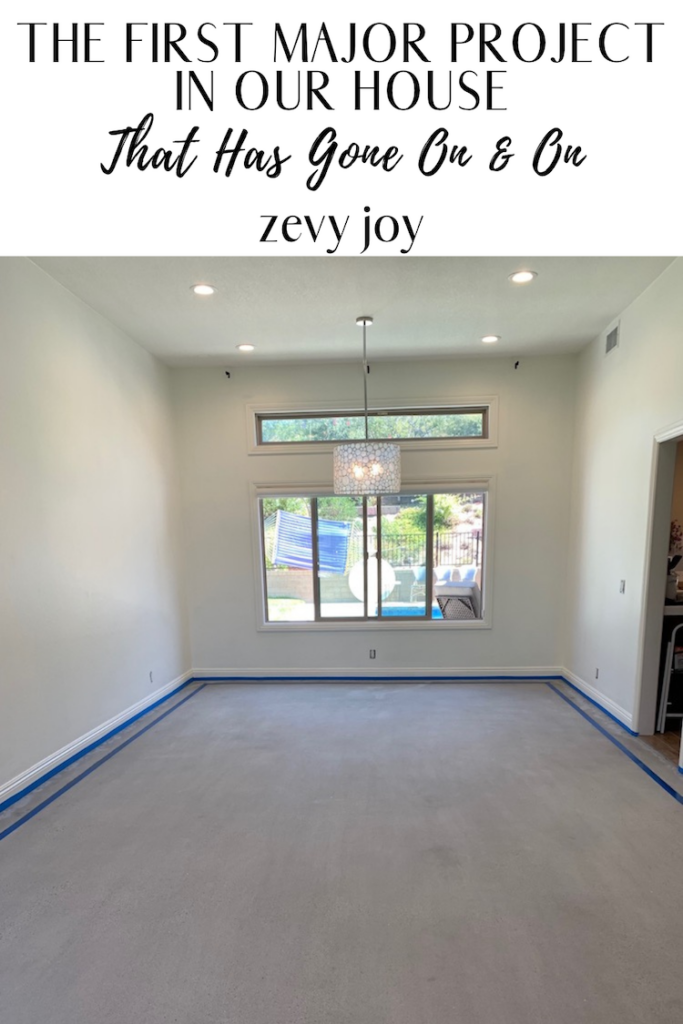
The First Major Project In Our House That Has Gone On And On…
How The First Major Project in Our House Is Going!
An Update On Our Latest Project…
Hello friends! I had planned to be back next week sharing the completion of our first major house project/DIY with you… But then that said project took a few twist and turns and has now taken over a week to finish. So let me explain.
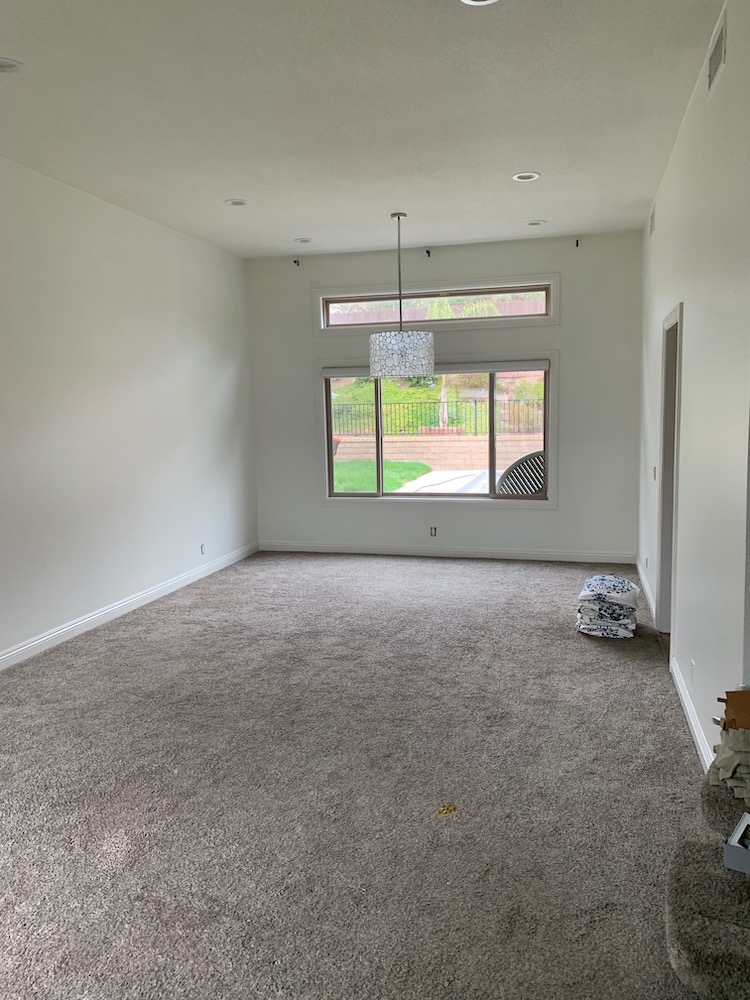
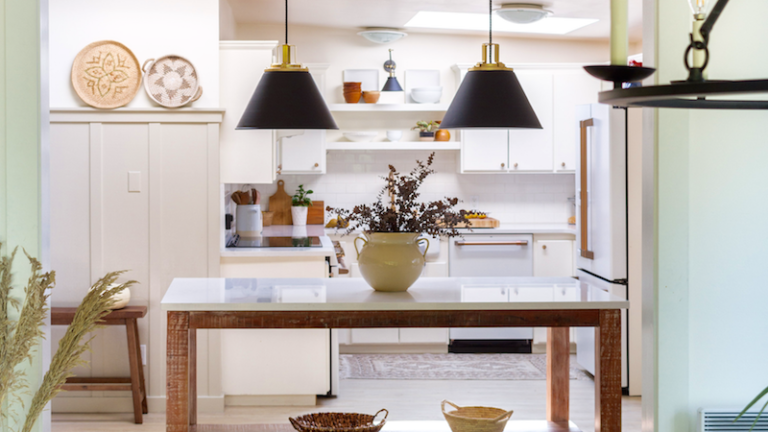
On the first floor of our home there is wood look tile flooring and then there was also carpet. The carpet was in the formal living/dining area. Originally, we were going to tile the carpet area and match it to what was already on the rest of the first floor. After some more careful consideration, we decided this was something that we would push the pause button on financially. We just felt better about the idea of waiting to save up for this in the budget (in the future) and conserve funds now. So that left us trying to get creative for a budget friendly flooring option! Here’s why… I really couldn’t picture making carpet work in a dining area with kiddos and dogs. We do have carpet upstairs which I can make work longer term, but I just couldn’t do it in the eating area.

After lots of thought, we settled that we would look what was under the carpet and either paint the plywood or clean up the concrete. We were actually hopeful for the concrete option. This would be something we could make look really nice for a little bit of money. Plus it would work well for the coastal/ranch design I am putting together here.
A couple weekends ago we did pull back carpet to find concrete, yay! We made plans and went for it that next day.
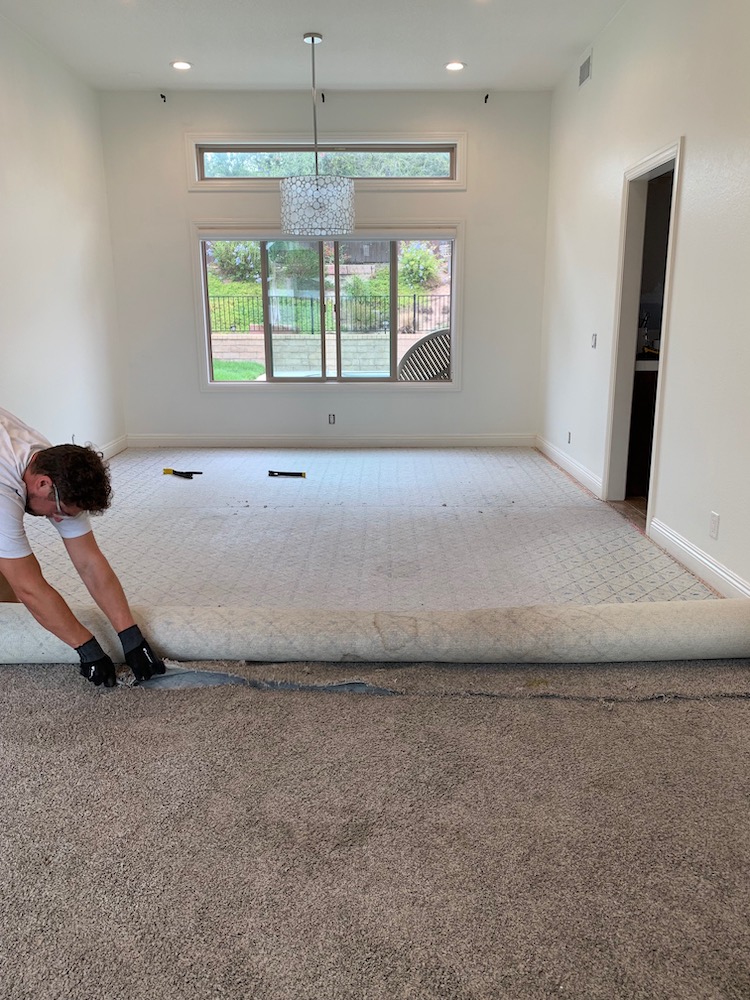
Here you can see the carpet removal process. We started by pulling up and rolling up the carpet. It was gross. There were pet accidents everywhere from the previous owners, ugh!!!
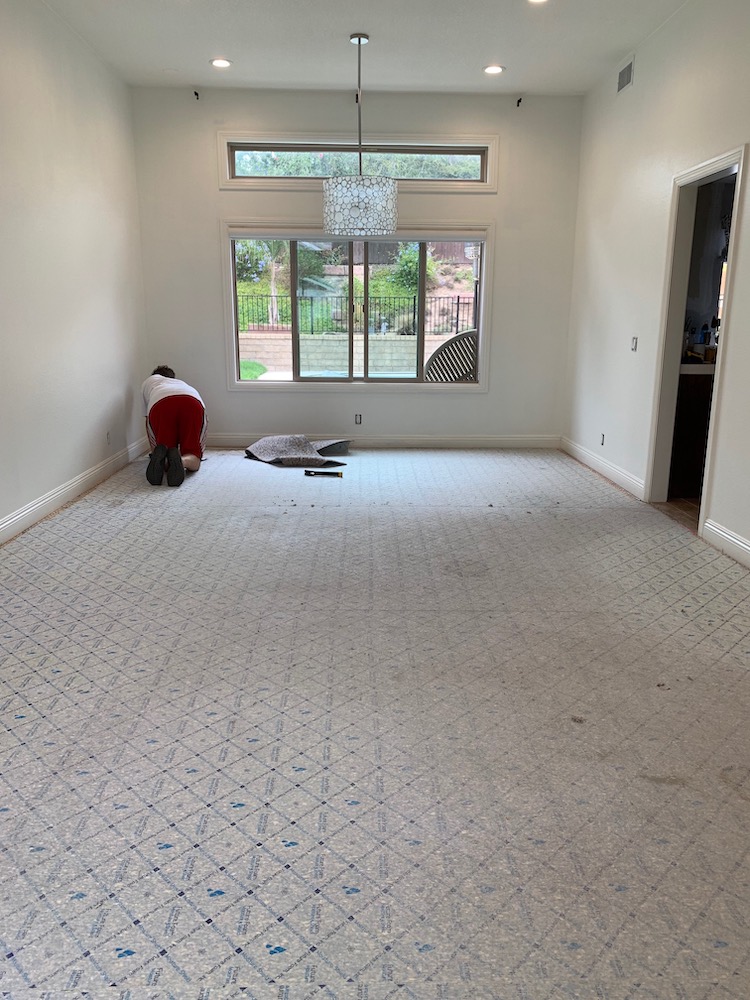
Then we rolled up the padding as well, also pretty dirty.

Lastly we took up the carpet tacks/nails. This unfortunately and inevitably caused damage and little holes that would need to be patched in the concrete.
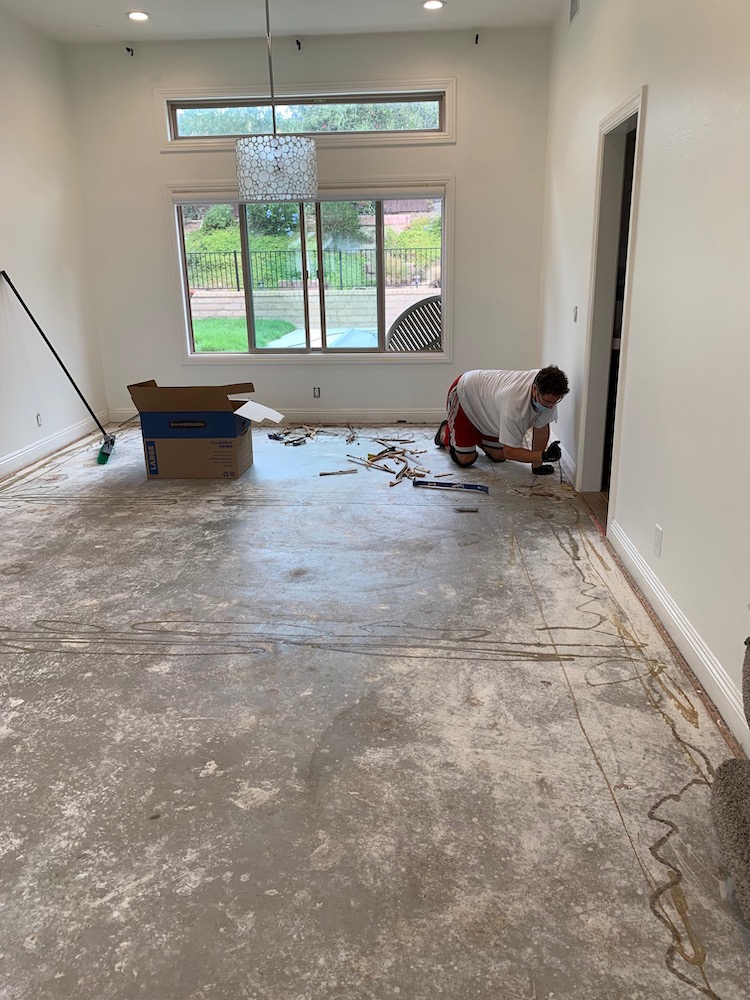
Once all was said and done we rented some tools and got to cleaning things up. This involved smoothing out and removing glue, drywall from the floors. This took a couple days and was no fun, not at all.
Next, we patched the tack holes with concrete. This is where we ran into a hiccup.
After a couple days of work (a few hours here and a few hours there) the patching dried and as we prepped for our final step (which would be sealer)… We sadly realized that our patch holes were going to look drastically different once sealed from the rest of the floor. We had thought that things would match some what, but this just wasn’t the case.
We desperately searched for solutions and the next day (this last weekend) we tried laying a cement border. Only to find the concrete was setting weird and just looked funny. It was too thick!
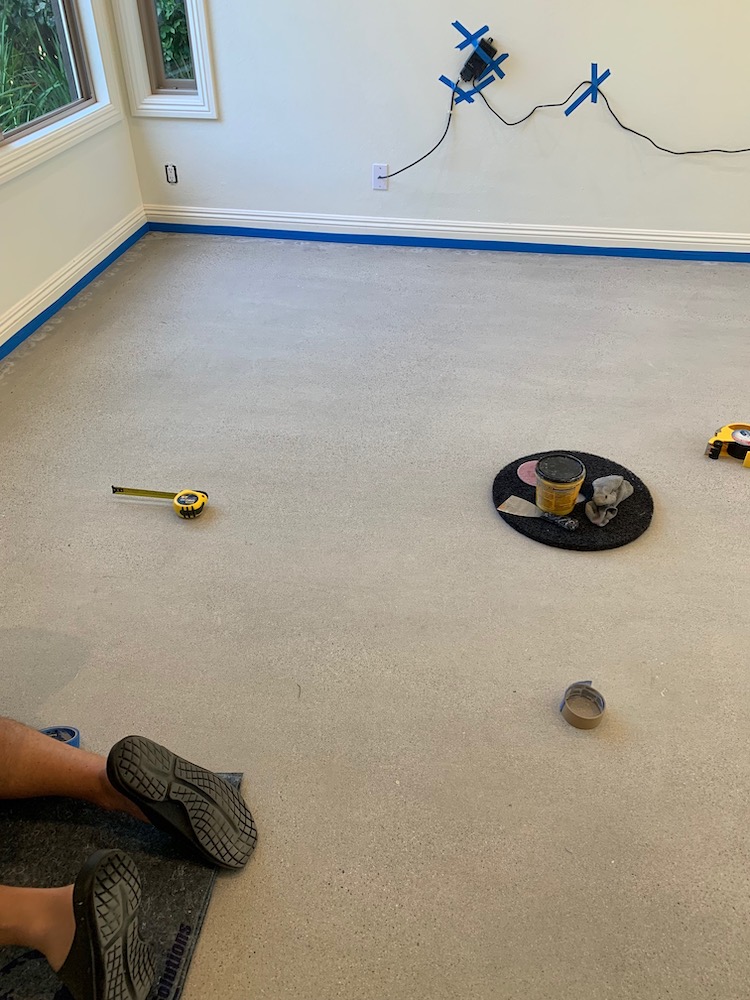
We quickly scraped it off and started from square one again. So after hours of talking it through with a back and forth of, “should we just paint it all?” or “let’s just tape off a border to cover the patching and paint it something that would blend well, but created a border?”… Can you guess what we chose? (You can see the patched holes in the photo above – once the sealer goes on the concrete looks a nice, pretty dark gray but all the holes stay a white/gray).
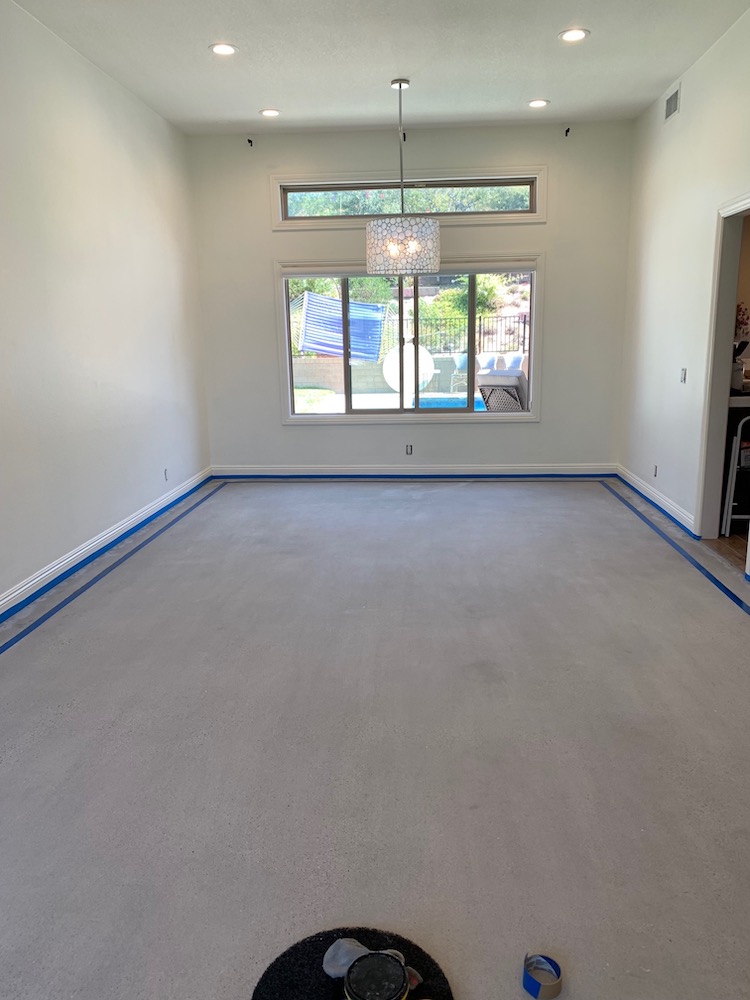
We went with a border! After all of our hard work prepping these floors we wanted to keep the concrete look. We felt good about a border, as after all this is a bandaid fix for flooring until we can afford to match our existing flooring.
So here it is taped and prepped with a border. Everything besides the border has been sealed (can’t wait to share that at the end of the week)! The border will be painted once the sealer has cured and we can move furniture in. This project will have taken 3 weeks from start to finish. And here we thought it would take a weekend…. LOL! This is the life of DIY I tell you.
Stay tuned for part 2 of this post, I can’t wait to share the full before and after with you!
Thanks for visiting with me today!


Looking more like you already! Thanks for sharing your journey
I know envy is wrong but oh my, I am envious of your decision! I would love stained concrete in my living-dining area. The look is fantastic! Can’t wait for next stage.