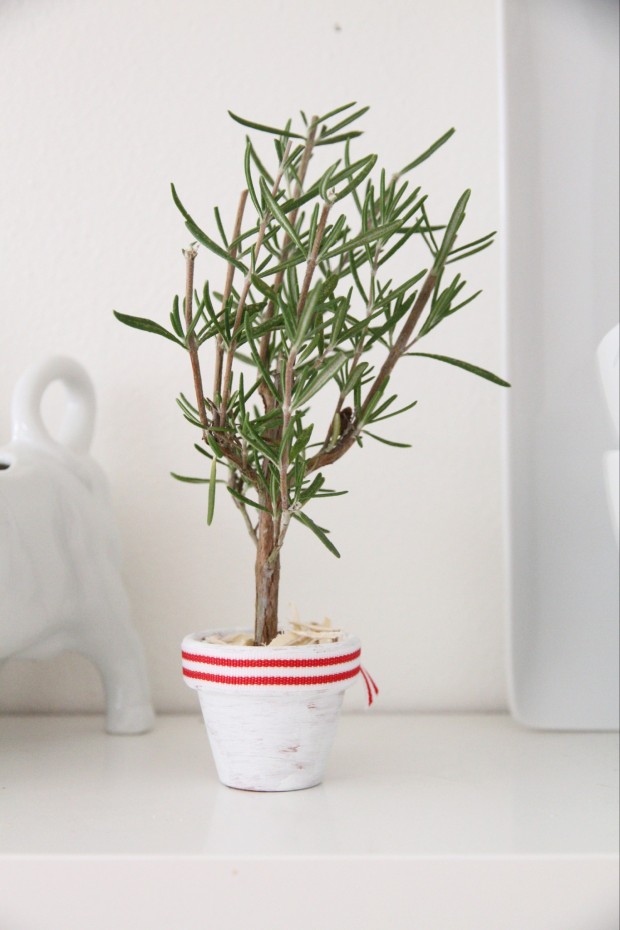
DIY Rosemary Christmas Tree
This DIY rosemary Christmas tree is the perfect tree as it will last a long time and will not shed!
Hello and happy Wednesday! Yesterday was December first and the countdown to Christmas has begun. We have started some of our holiday traditions around our place and I can not get over how much I love this time of year. As I was folding the laundry the other morning, I sat on my kitchen floor with little shirts and socks surrounding me. I had the glow of Christmas lights coming from each room, sweet carols in the background and my best girl by my side. I was overwhelmed by how sweet that special moment was. There are moments when this time of year is bittersweet because of those I miss and the traditions that are no longer intact. Even so, it really is a beautiful time of year because of the reason we celebrate this festive season and that resounds over all the rest.
Christmas trees are a wonderful symbol of the season and they are everywhere in my home. Last year I shared a tree made with Chenille Stems here. This year I wanted to make some version of a simple topiary tree using the Rosemary we had from our garden. I have noticed in the past that as I cut this fragrant herb, it will last a long time and does not shed all over the place. It dries in tact (for the most part) so is simple to use for longer periods of time.
I have seen similar ways of making topiaries so that you can actually promote the growth of the Rosemary. I on the other hand, wanted to make something purely decorative using what we had around.
You will need…

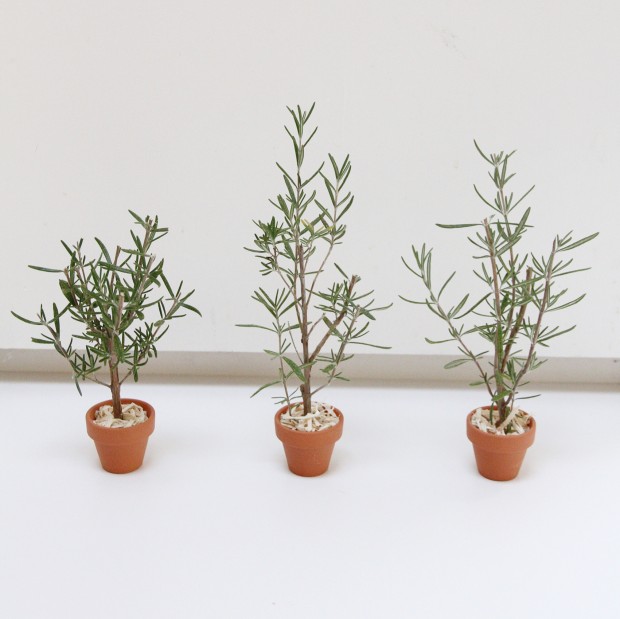
- A small bunch of Rosemary – cut in the shape of a tree (tallest at the top and slowly trimmed shorter at the bottom.
- a small clay pot (size will depend on your Rosemary bunch – I went with the smallest size possible).
- Raffia basket filler (I had this left over from Easter and it worked great, but you could use moss, styrofoam, real dirt, etc…).
To make these sweet little trees, you will…
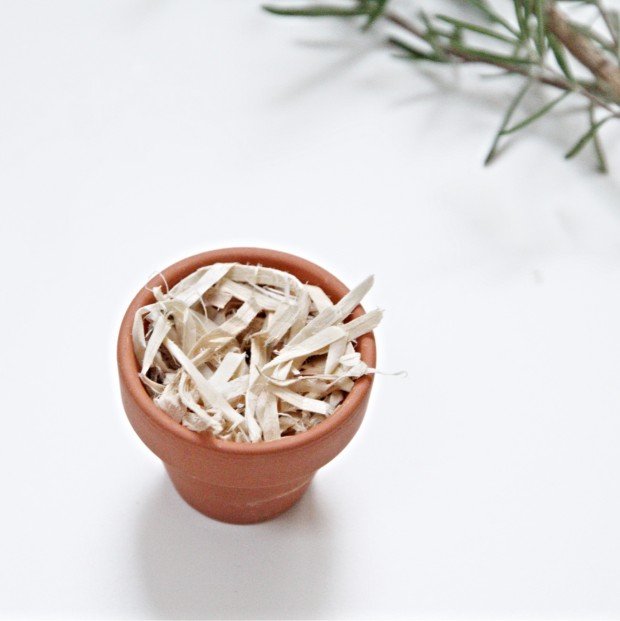
- Insert your filler. I stuffed mine as much as possible and then made sure it was level with the clay pot.
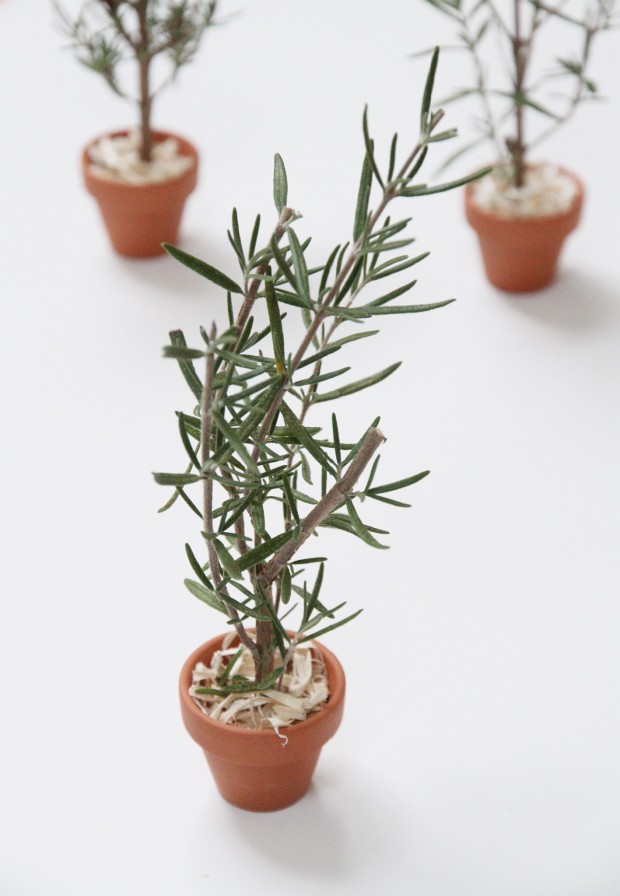
- Insert the stem of the Rosemary straight into the filler.

And that is it! I did go a step further and use some bright white chalkpaint on the clay pots along with an embellishment of white/red striped ribbon. This entire project cost less than a dollar for each tree.
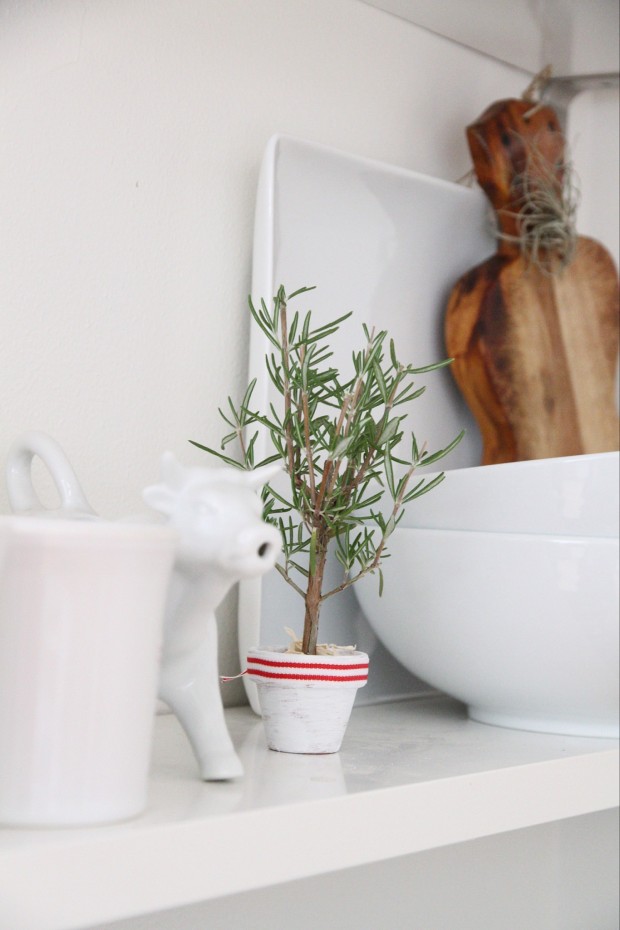
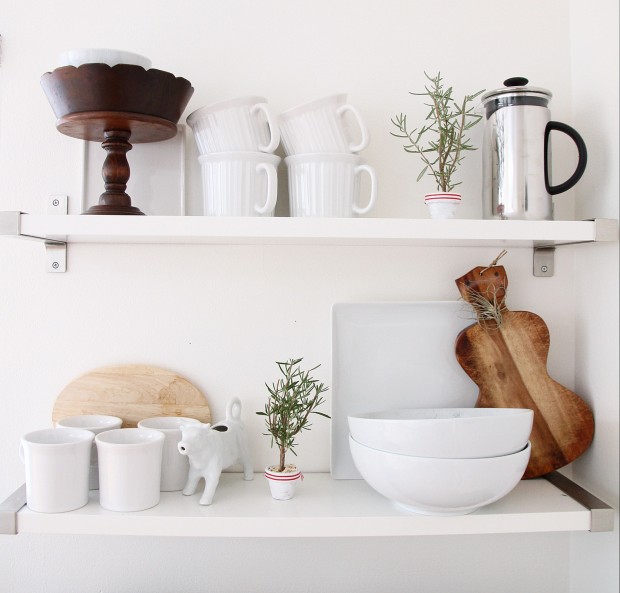

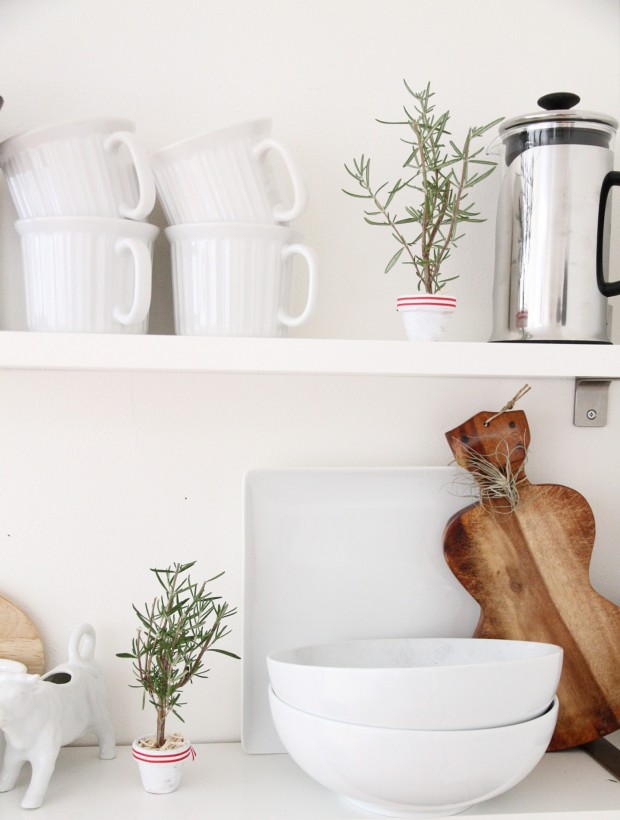
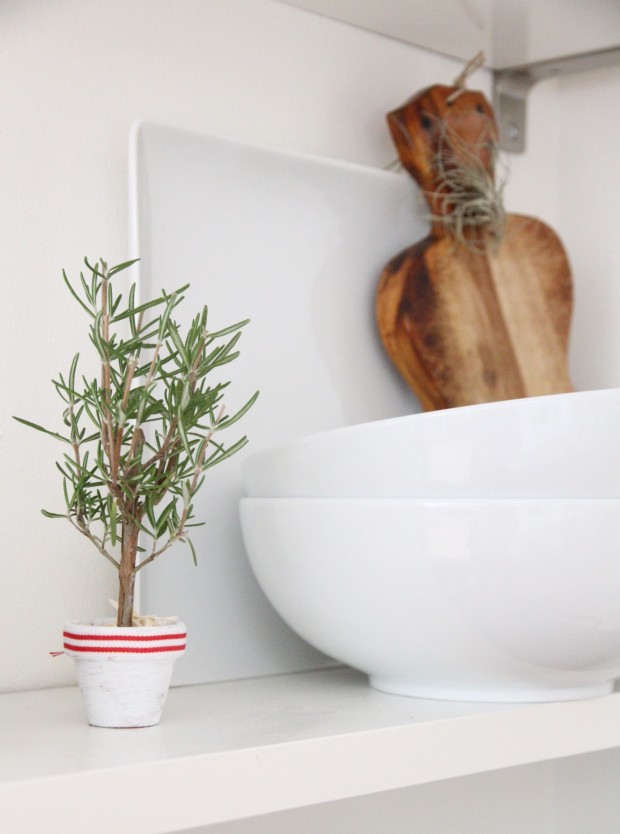
They look perfect perched on a shelf and add that little touch of Christmas wherever you put them…
For another great DIY project check out my DIY Laurel Wreath.
Before you go, the second issue of Everything Home Magazine was released yesterday and we would love for you to stop by! Thanks so much friends!


How does it stay moist?
Hi Susan,
I do not keep them moist as they just end up drying and I have had pretty good luck whenever I cut them and they last awhile (just dried naturally). Thanks so much for stopping by!
This is so sweet! I have a large rosemary bush outside and we use it alot in foods but never thought to do this!
Love it!
Hi Cheri, that makes me so happy to hear. Hope you enjoy trying it out. Thanks so much for stopping by!