DIY Tall Dollar Tree Candlesticks, Pottery Barn Inspired
These Dollar Tree candlesticks were transformed into tall, Pottery Barn inspired decor! With just a few simple supplies, you can create high-end looking pieces on a budget!
⚠️ Note: These are for use with faux or battery-operated candles only — do not use real flames.
Looking for an easy way to elevate your home decor? These tall Dollar Tree candlesticks were made to look high-end, and I’ll show you how to do it step by step.

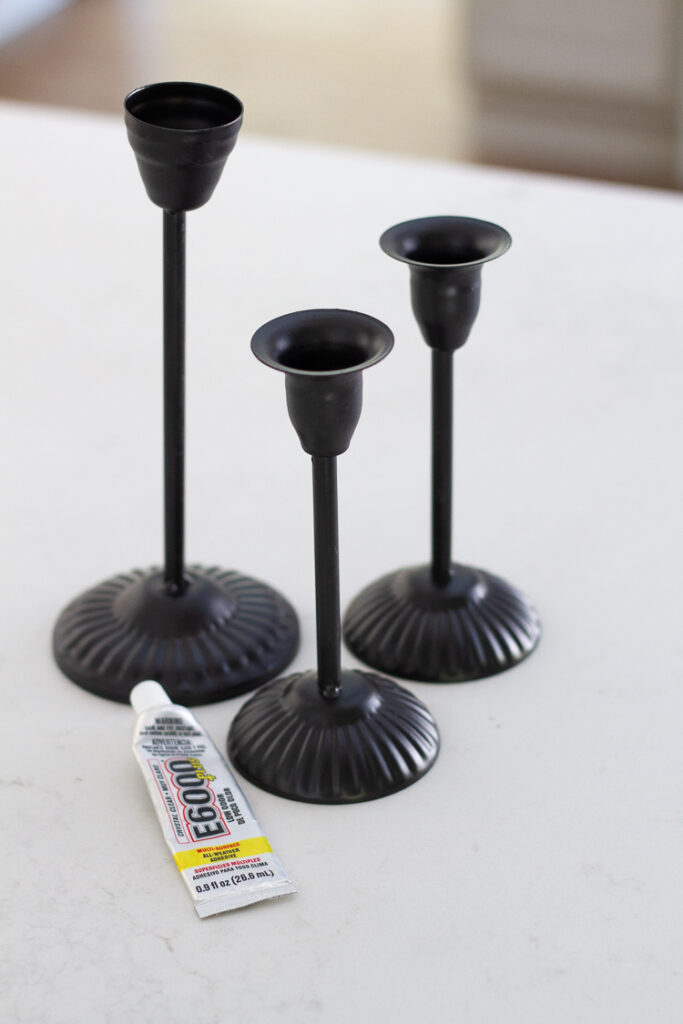
I actually made these candlesticks last year after being inspired by some I saw while online shopping. I figured, there must be a way to make a DIY version. So of course I headed to the Dollar Tree and saw these single candlesticks. I knew that you could easily glue these together to make the tall version I was wanting.
SUPPLIES – Use only faux or LED candles. These DIY candlesticks are not safe for real flames.
- Shorter candlesticks like these, I got 2 shorter ones and then a taller one. You can vary heights by using different sizes. The taller you get though the harder these would be to stand, so I would keep it within reason as I shared here. I like these because they have distinct ends and that slender form I was looking for.
- E6000 glue (or a very strong type of super glue).
- Rub ‘N Buff for finishing off with a gold finish. You could also keep as is.
DIY INSTRUCTIONS
The steps to making these is really quite simple. I took the first candle stick and applied the glue around the candlestick opening on the rim. I then attached it to another candlestick at its top opening.
I made sure to glue only 2 candlesticks together at a time to ensure they dried well and securely. I noticed sometimes they would tip over if I went too fast, so it is important to check on them and adjust if needed before fully drying. I let it cure over night and then came back to finish the other parts.

Next I applied glue around the bottom rim of the candlestick and glued two of those together.

This is also equally important to make sure things glue securely and hold straight. So while it cured, I did check on it periodically.

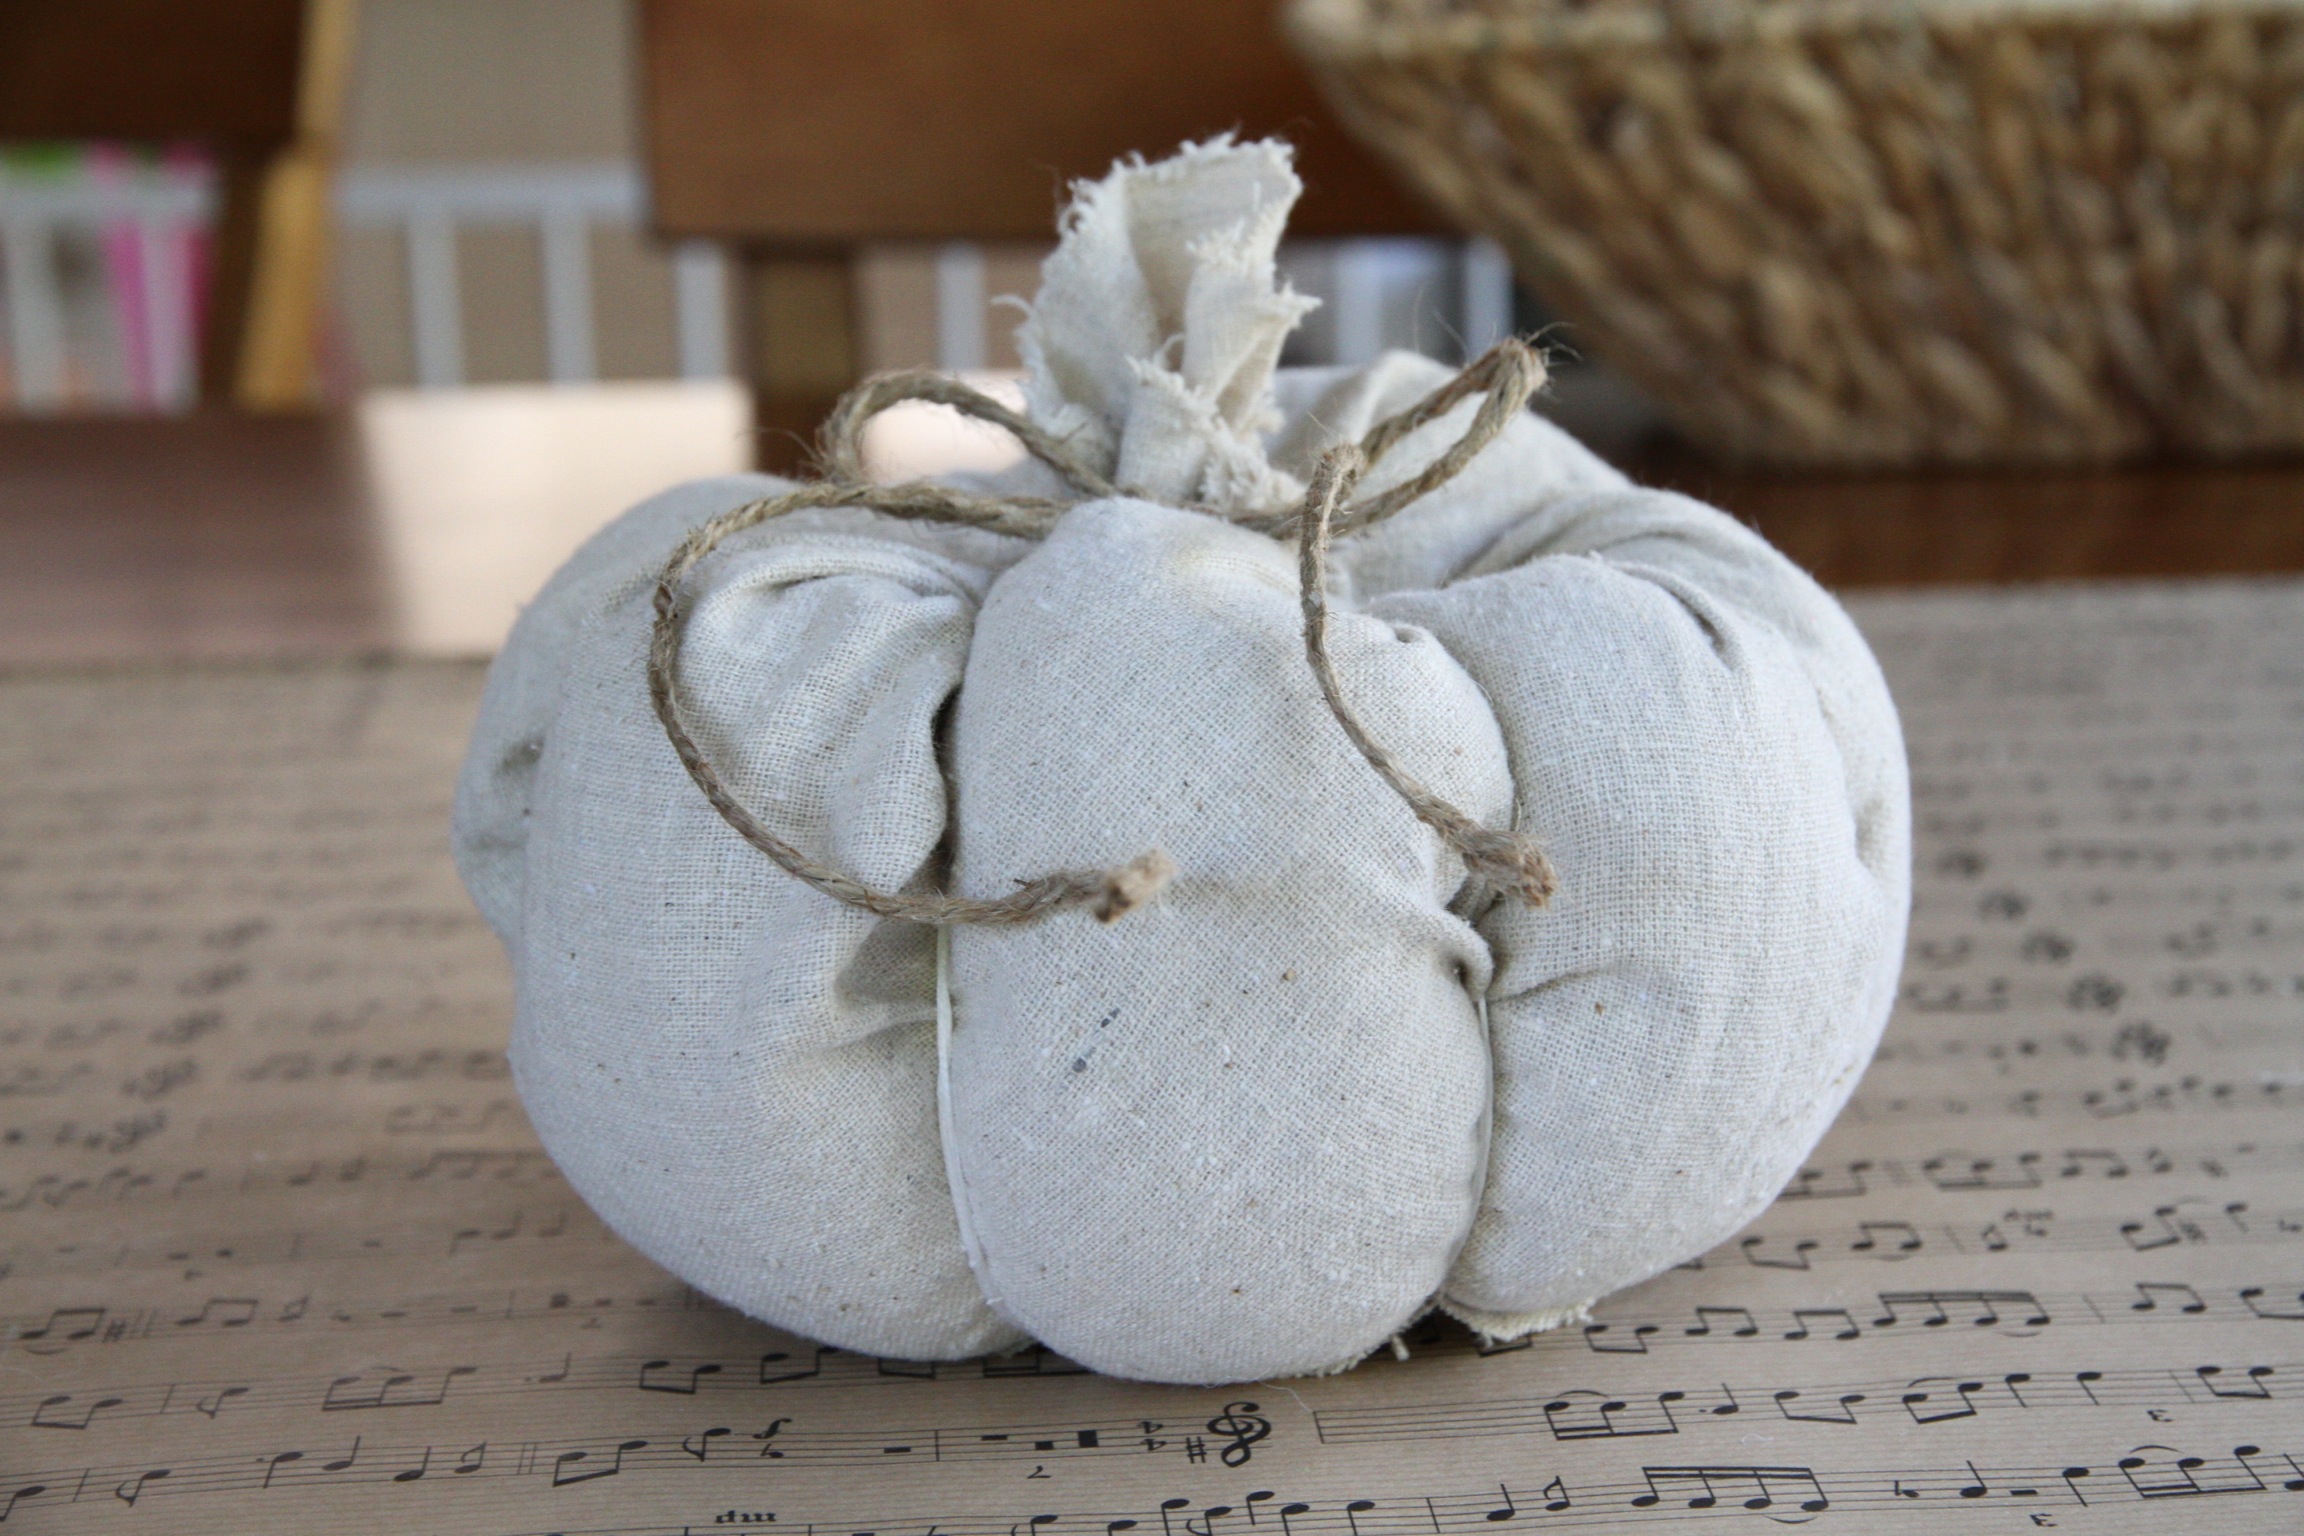
Once everything was totally dry, I used Rub ‘N Buff to finish the candlesticks.

I love how they turned out and I have kept them here for nearly a year now!

I chose to make a set of 3 as I like how that looks on our mantel. They look much more high-end than they cost and that’s always a sign of a good DIY project!

I think candlesticks are such a lovely and delicate way to decorate throughout all the seasons.

You can find another favorite candleholder project here too!

Thanks so much for stopping by! I’ll be sharing kitchen cabinet storage solutions later this week, so head back here soon!

Wow, love the candlestick idea!!!
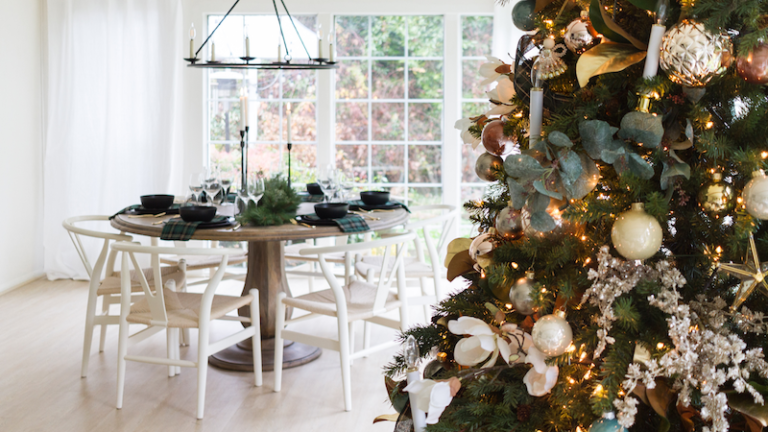
Love the candlesticks, and your living room looks beautiful!