Simple DIY Kitchen Rack
I recently had the pleasure of participating in a One Room Spring Tour sharing our kitchen all dressed up for spring here. I added an easy and quick update to our kitchen with this simple DIY kitchen rack that enabled me to add some fun decorative details to the space. This entire project took about 20 minutes from start to finish and cost me about five dollars because I had most of the materials on hand.
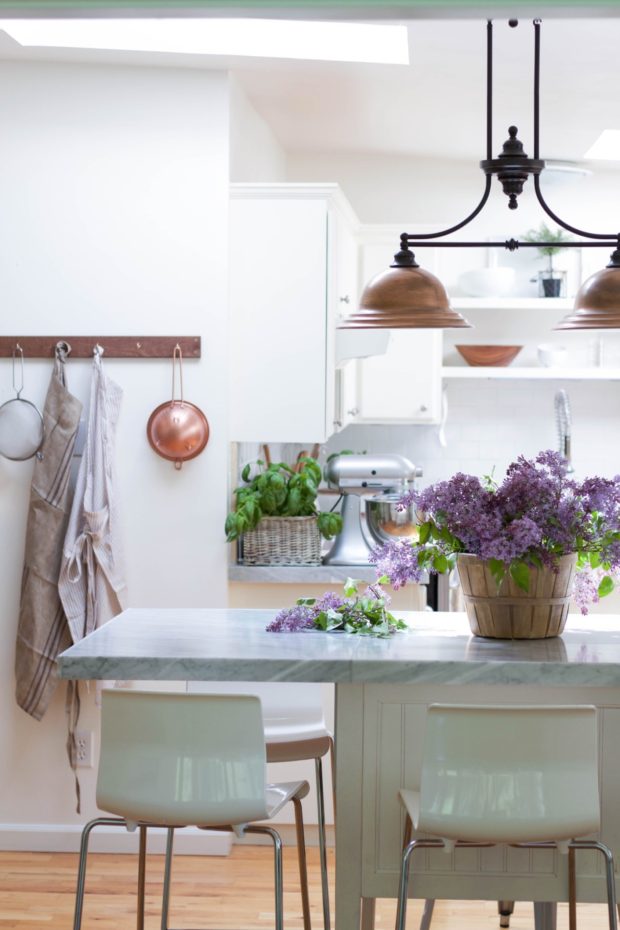
We had this large blank wall that was a bit tricky to decorate. The thing about it is, you see this wall from most angles when spending time in the back end of our home. I didn’t want it to be too busy but I knew I wanted some attention drawn to this area.

This kitchen rack was the perfect solution. In addition it helps with storage issues that arise when living in a small home. Like I have said before, it is a great way to display pretty things that are also functional!

Here is what you will need if you would like to make one…
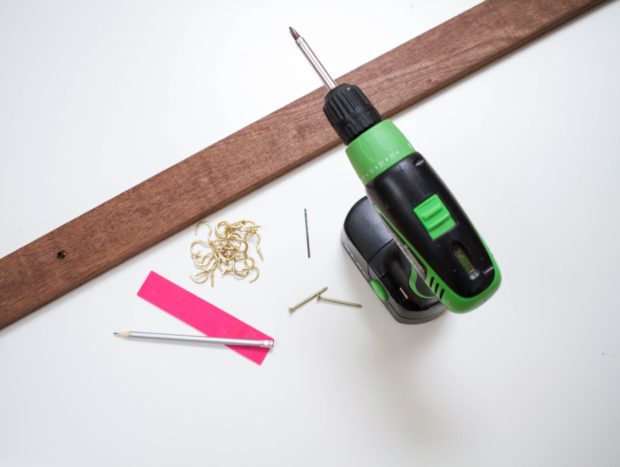
- A 1×4 wood plank. Mine was 5 feet long (we had this random piece in our garage, truthfully I don’t know where it came from but it was the perfect stain/size). This can be any length depending on the needs or size of your space.
- A pencil and ruler for measuring
- A screw driver (remember to practice safety when using tools or any sort of power tool).
- A drill bit for making pilot holes
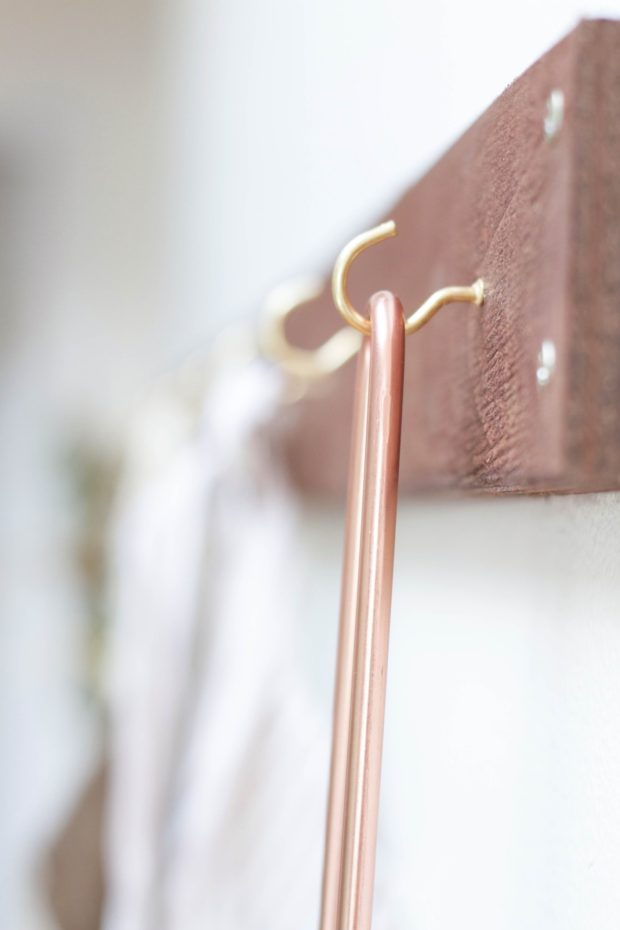
- Cup hooks (that you can screw in by hand). Amount will depend on how long your wood piece is and how far you spread them out.
- 5 screws for hanging the wood plank
- Stain or paint depending on what finish you would like the 1×4 to have. Again, mine was already stained so I skipped this step.
Here is how you will make it…
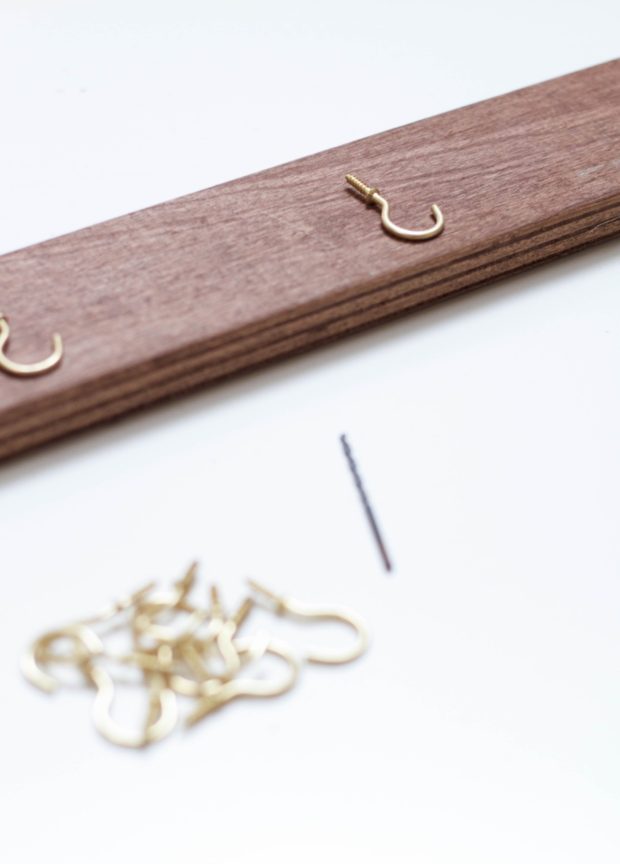
- Measure out and mark with your pencil the distance between each hook. I spaced mine out every 4 inches.
- Drill pilot holes with your drill bit based on your recent measurements and marks.
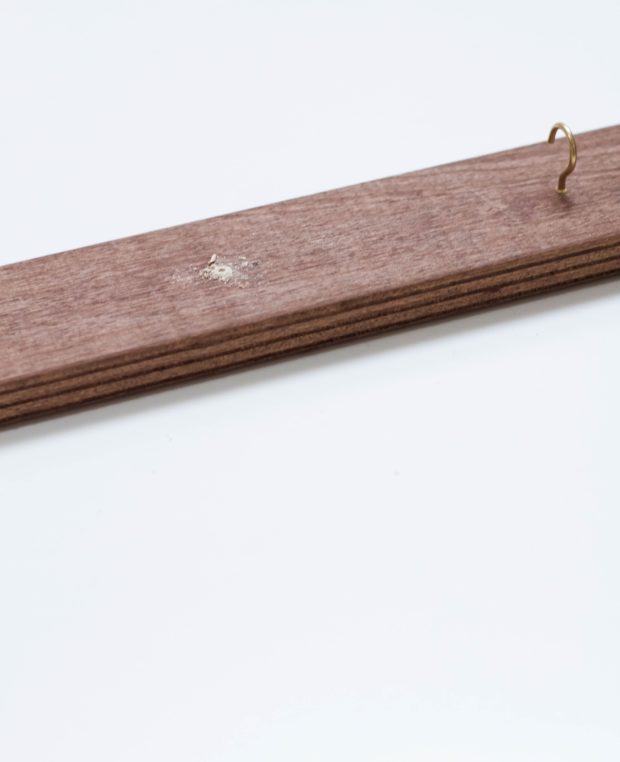
- Gently screw the cup hooks into the pilot holes (this makes the job a whole lot easier).
- Now take the plank of hooks and decide where you will hang it. We were able to screw it into studs and it worked just fine (you may want to use anchor screws if you are unable to find studs). Use two screws on each end and one in the middle.
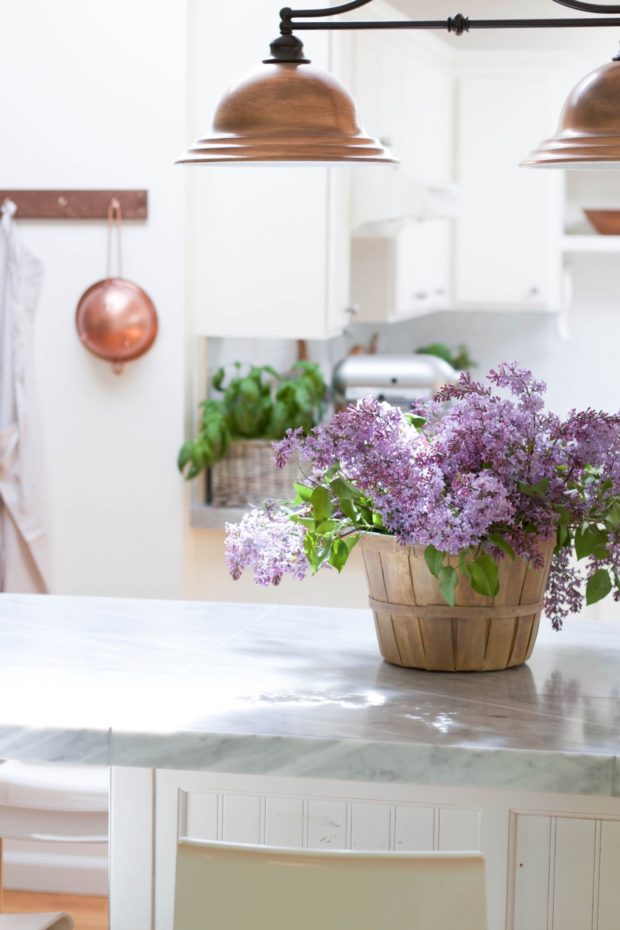
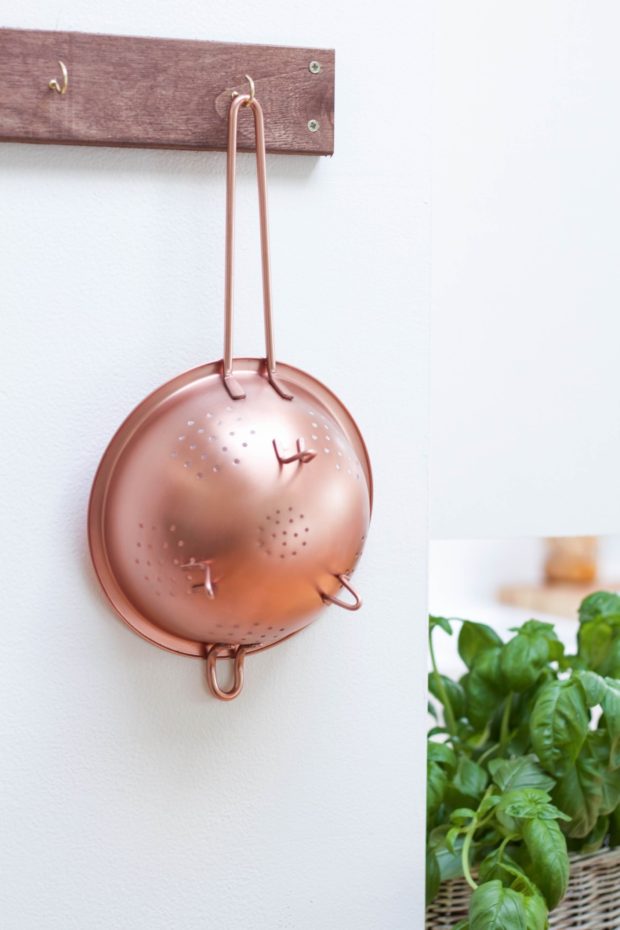
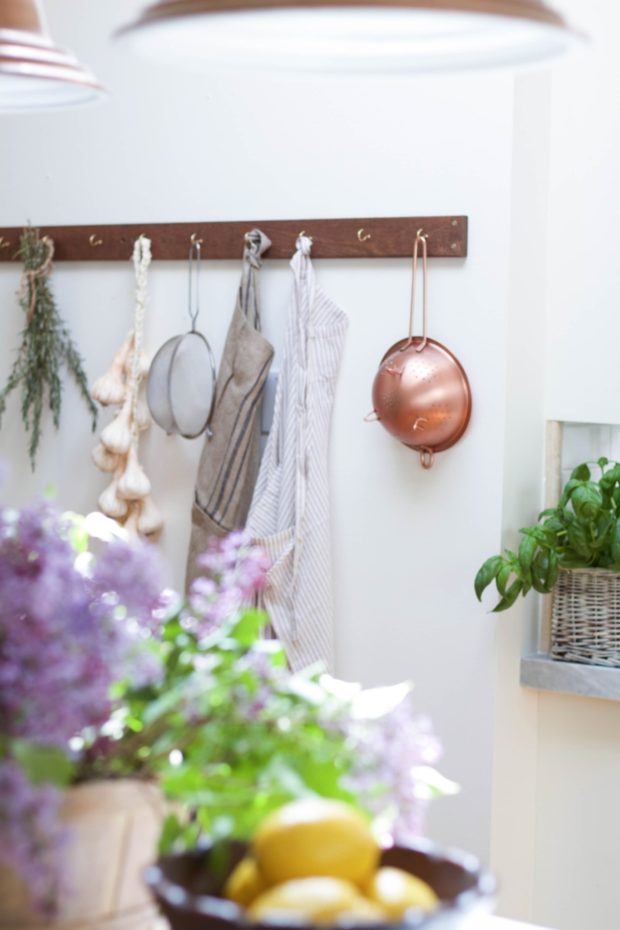
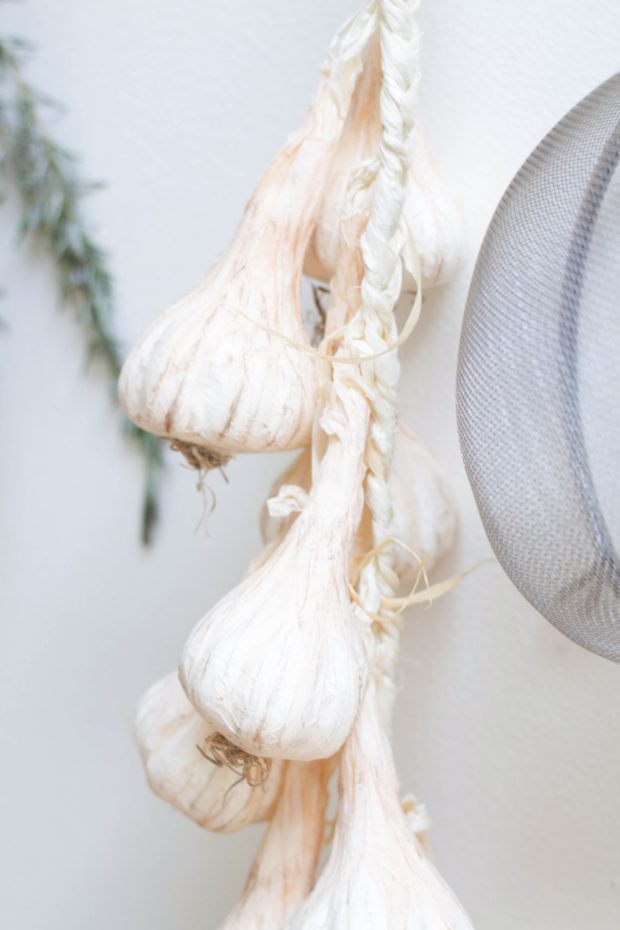
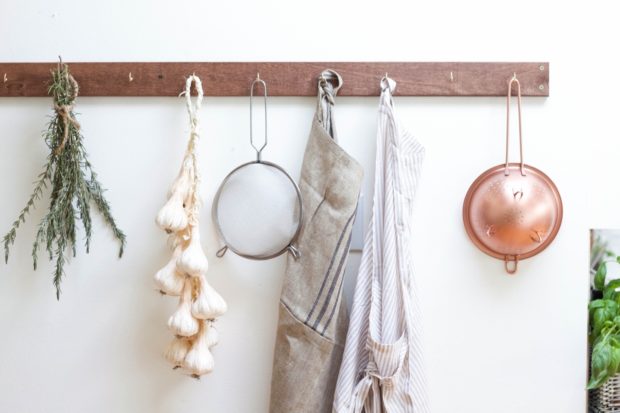
I found that this was a fun way to hang aprons, some lightweight strainers, and faux garlic or fresh herbs.

Of course I couldn’t resist pruning some of our lilac and putting it in the kitchen alongside this new addition…
I am really loving the simplicity of this kitchen rack and how something this inexpensive can make a statement.

Which just goes to show once again, that something so simple and thrifty can beautifully decorate a home.

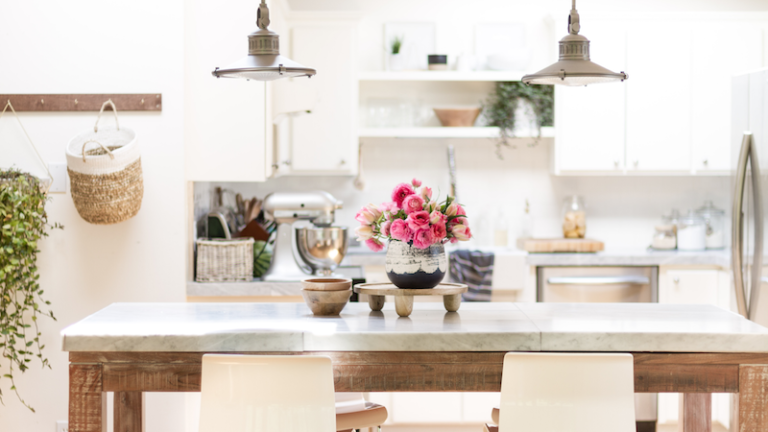
You can style it with any assortment of accessories too. Small pots or pans, dish towels, a wreath, etc… You can use it in a bathroom, bedroom or really any space of the home!
I hope you enjoy and let me know if you try something similar out.
I’ll be back sharing our last shop the house challenge tomorrow and I would love to have you visit. And be prepared to see many more photos of these fragrant lilacs throughout the next couple weeks =)!