My Experiment With Wood Staining Over Existing Stain
Here is a look at the time I decided to add wood stain to an already stained wood frame. I am sharing how it turned out and what I learned!
I’ve read about staining already stained wood, but was curious if it actually works and how it would turn out. So I set up an experiment with a small project I had on my to-do list. I set out to see what would happen and am going to run down the process here with you!
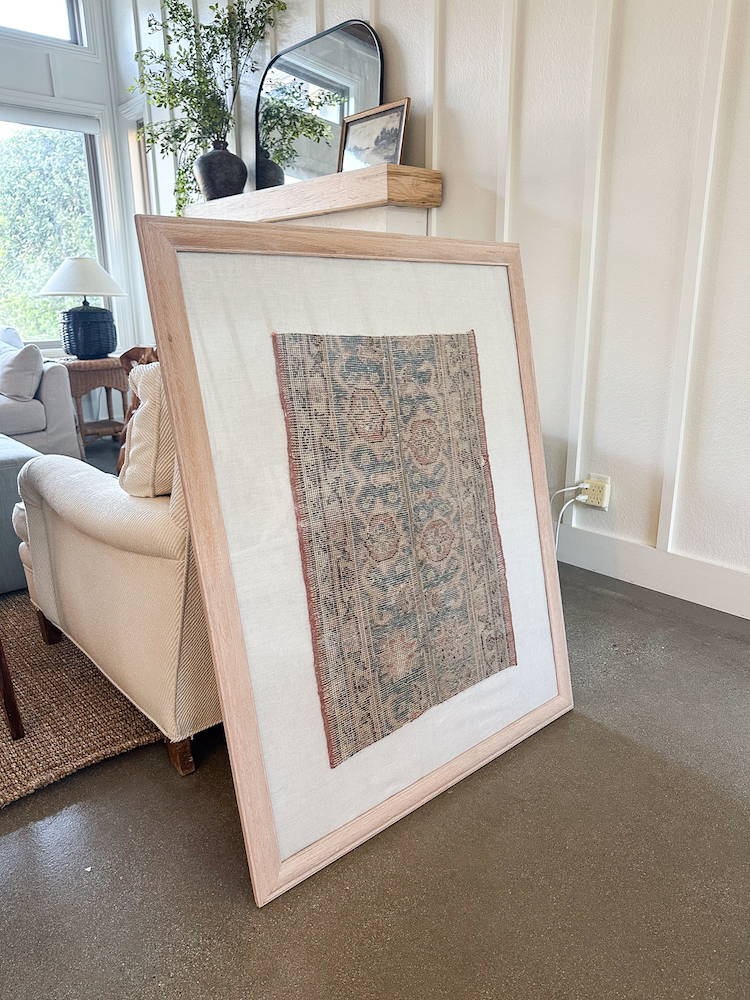
You can see here I had this very LARGE FRAME I purchased second hand. I loved the size of the frame and the price… But I didn’t love the very pink wood stain tone! it was straight from the 80’s. The funny thing about all of this is I bought this frame over 2 years ago. I knew from the beginning this would be a project that needed to get done but avoided it until now. I don’t know why and please tell me you do this with projects too- lol?! Maybe I was intimidated about staining it or sanding it, etc…
Here is the thing though… It wasn’t that bad and took nearly 30 minutes (excluding the drying time)! I will say, I am not sure how this would work on a bigger project or furniture piece. I am certain you would want to do more prep, test it in a non conspicuous spot and really take your time with a special piece. This would only work if going from a lighter stain to a darker stain as well.

I threw on my safety gear (glove, goggles, and mask) and then I took some fine grit sandpaper and gave the frame a simple sanding down before staining. I didn’t worry about removing the previous stain as I knew I was going darker and it is very possible I should have used a conditioner. Remember, this was all an experiment… I really just wanted to make sure that the wood would take the stain and not just sit on the surface of the exterior. Like I mentioned with a bigger piece this may be tricker as you want the stain to glide on smoothly and there may be blotching.
I was so happy with the change as seen between the two finishes. It made a huge difference already!
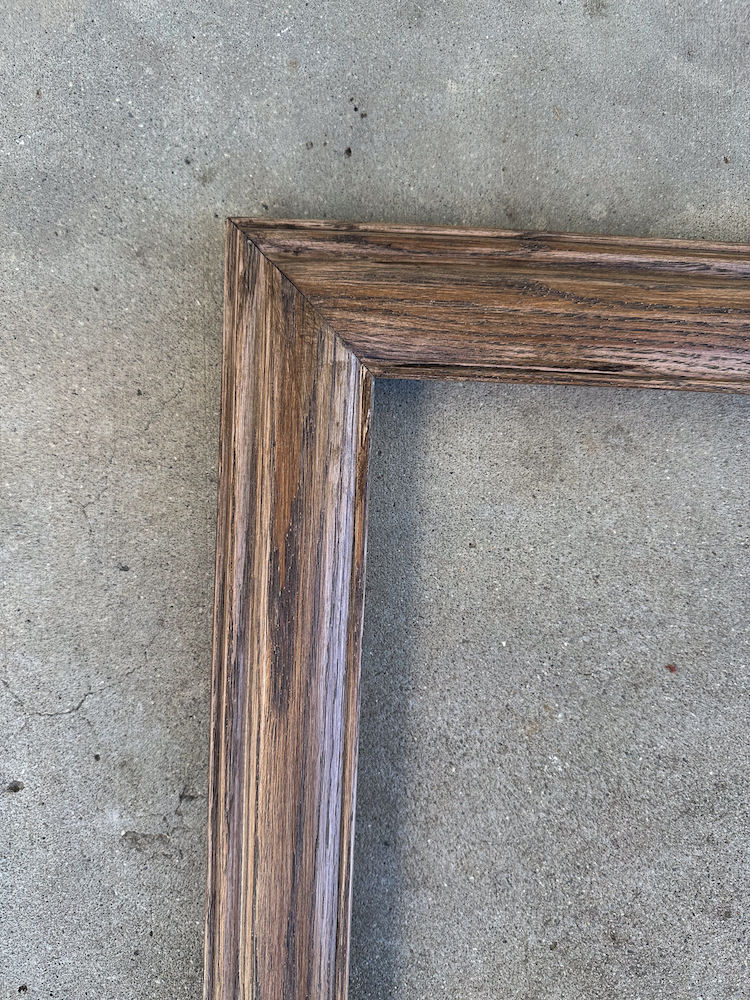
I gave everything a good coat of an expresso stain I had on hand. I knew that I wanted the color to cancel out the very pink tones from before. This worked really well and you can see from up above how it was drying. I could have added more coats with dry time in between as needed per the direction on the can. I just wanted a nice deep stain though, so this is where I stopped.

I gave it adequate time for drying and then brought it back into the house. It turned out great and did exactly what I had hoped! No more pink!

I would call this experiment with wood stain a success! I was thankful it actually worked and looks so much better. I am not sure why I let it take 2+ years to complete, haha.

What’s nice is I was able to use what I had on hand at home as well. This made over frame fits in so much better with everything we have going on in here now.

I was planning to share how this turned out regardless of wether it was a success or a fail, I am thankful though I didn’t have to go out and buy a new frame… Phew! I have worked with wood stain in the past on a BENCH and our BEAMS. The difference here, is I have not re-stained a piece. From this experiment, I can honestly say adding darker wood stain to an already stained piece did work for me.

Maybe one day I will try this on a bigger piece of furniture and I will be happy to break down the entire process to share with you. Thanks so much for visiting today and see you next week!